

February 7, 2018
Washer Repair
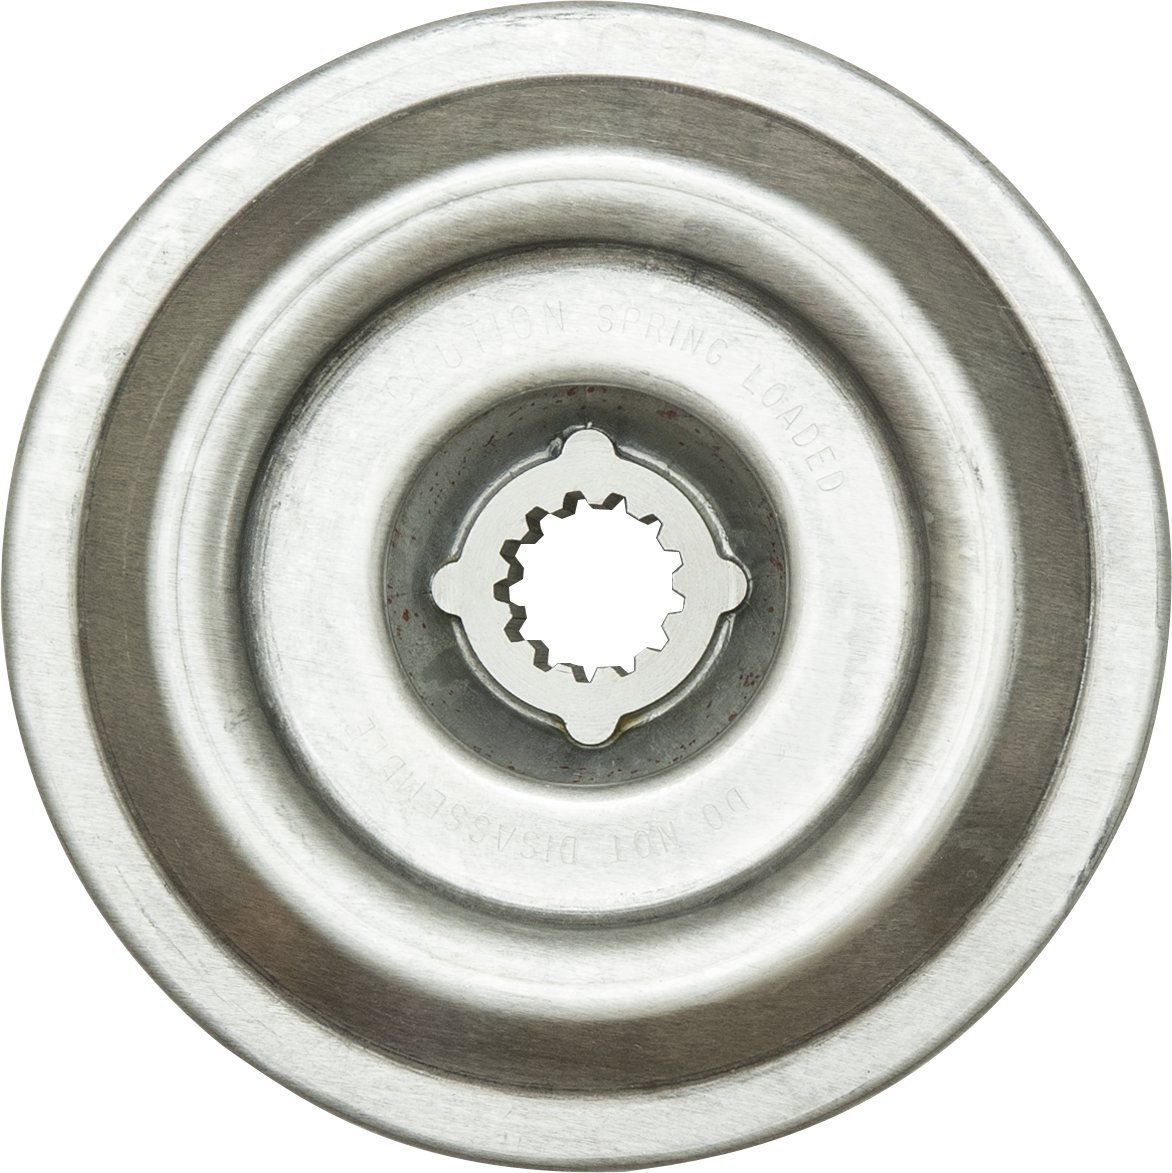
There are two common signs that your brake assembly needs to be replaced: the machine is squeaking loudly or there’s a jam that stops the tub from moving. No matter what the signs of the problem are, replace your assembly with part #WP6-2011900 for most Maytag and Whirpool machines then follow these steps below.
- Unplug the appliance, and turn off the water supply lines. Both the cold and hot water lines need to be turned off. Also, unhook drain line from the wall so it isn’t stretched when you move the machine.
- Remove the inlet hoses from the back of the appliance.
- Tilt the machine onto its back.
- Remove the belts at the bottom of the appliance.
- Remove the screw and washer from the brake assembly’s drive shaft. Also pry the center lock free, then remove the drive pulley by spinning it free. Then loosen the stopper screw at the side of the assembly and unscrew the remainder of the assembly with a brake assembly tool. Once it’s loose, remove it completely from the shaft.
- Replace the brake assembly. First, work the bearing from the interior of the assembly. Your new brake assembly will not come with a bearing. Instead of adding it to the new part, add it to the appliance’s shaft and the place the new brake assembly behind it. Work it into position until it clicks, then start to tighten it clockwise by hand. Finish tightening it with the removal tool and mallet.
- Replace the screws and parts you removed. First, add the stopper screw back into place, then replace the drive pulley by rotating it clockwise over the shaft and tighten it into place with the center lock. Next, put both belts back into position and tilt the washer back upright. Finish by reinserting the inlet hoses (with the hot and cold water going into the correct positions) and drain hose.
If there are more problems with your washer you want to diagnose or other appliance you need to repair, go to Jerry’s Appliance Repair for step-by-step procedures.
Oct. 17, 2019
How to Replace the Handle on Your Oven
Oct. 07, 2019
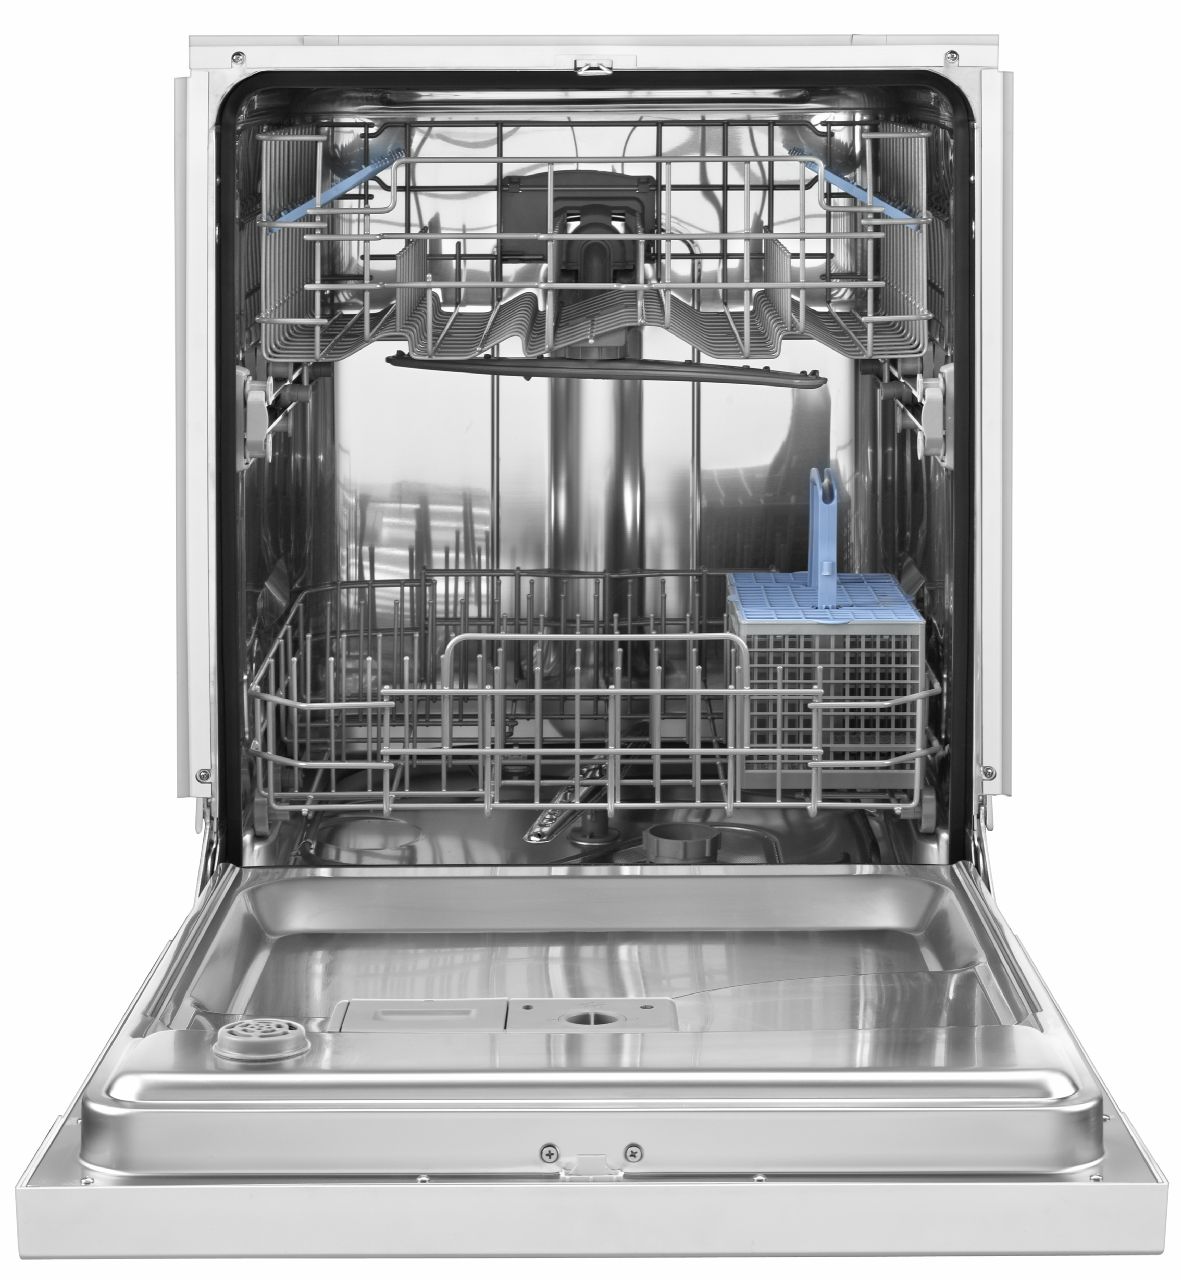
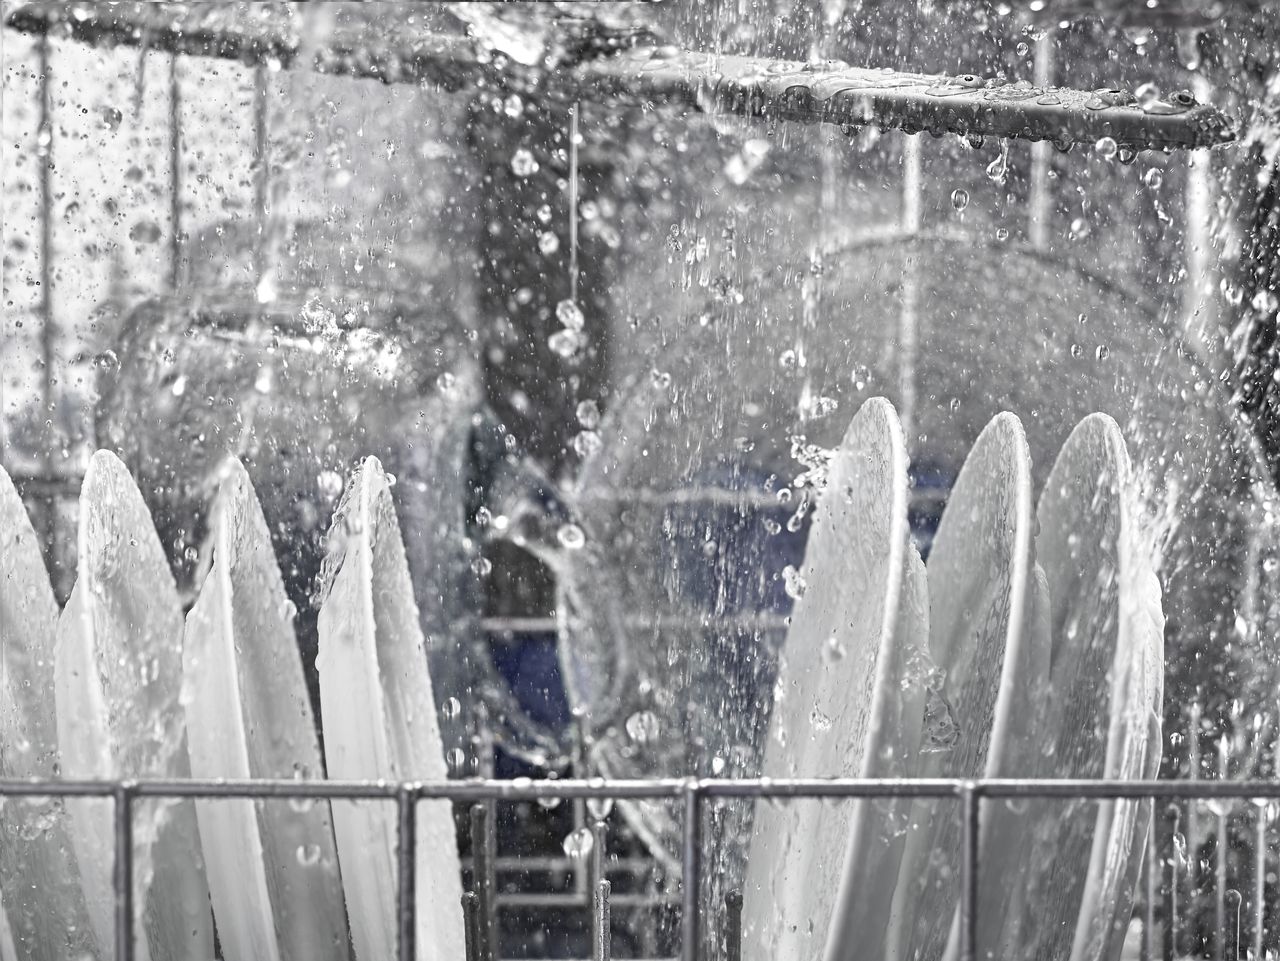
Soap Not Dissolving in Dishwasher
Sep. 29, 2019
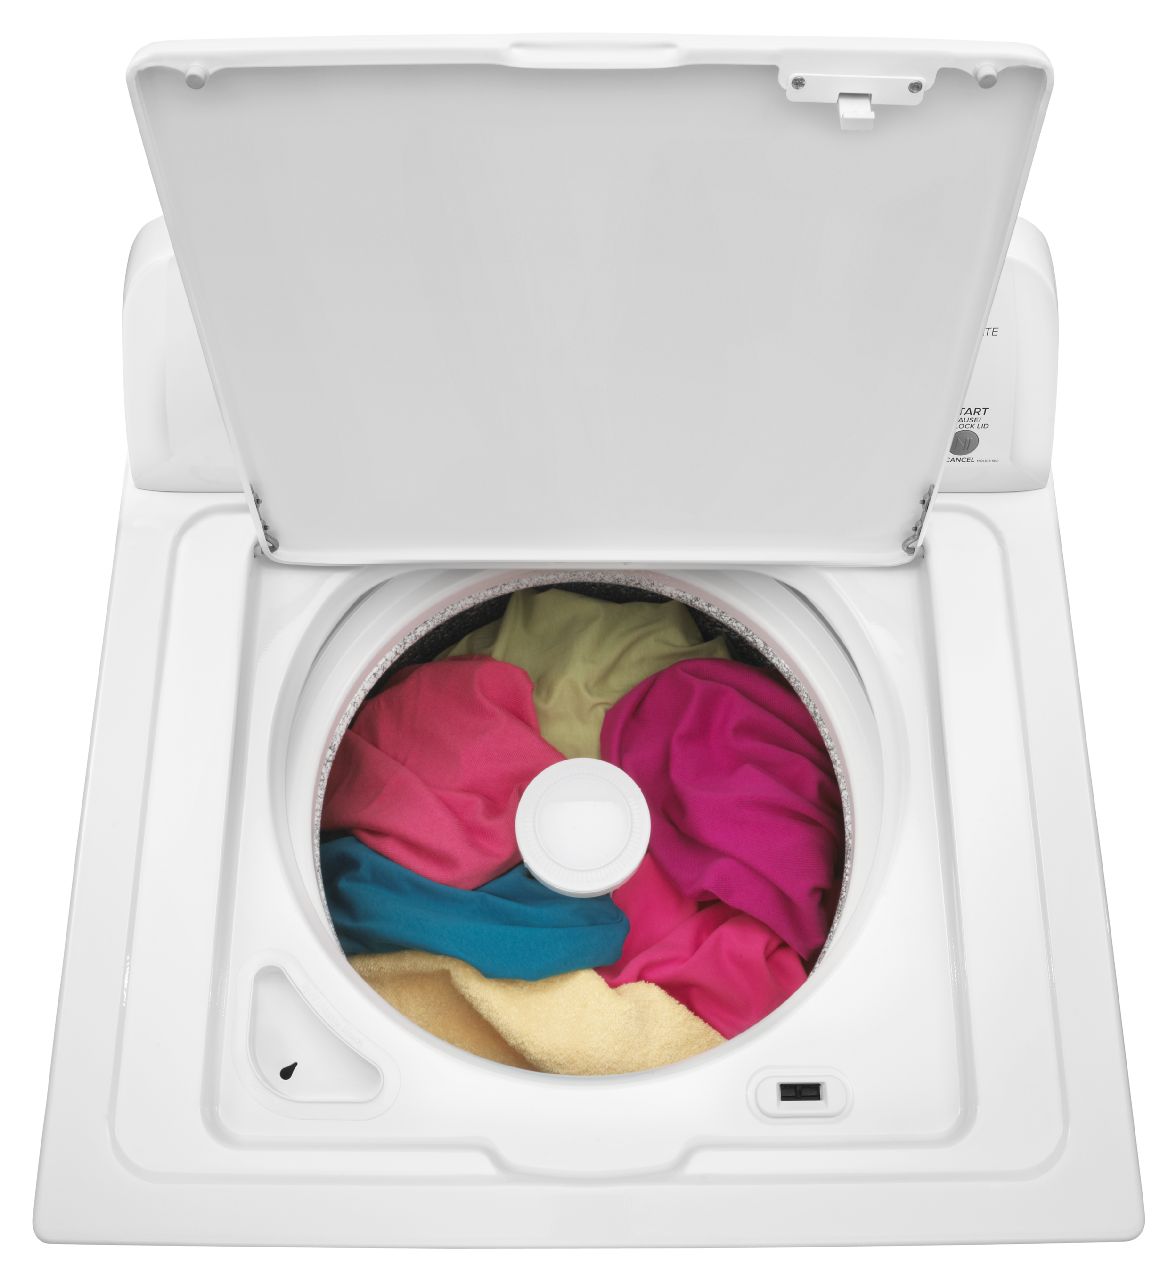
Why Won’t My Washing Machine Stop Spinning?
Sep. 16, 2019
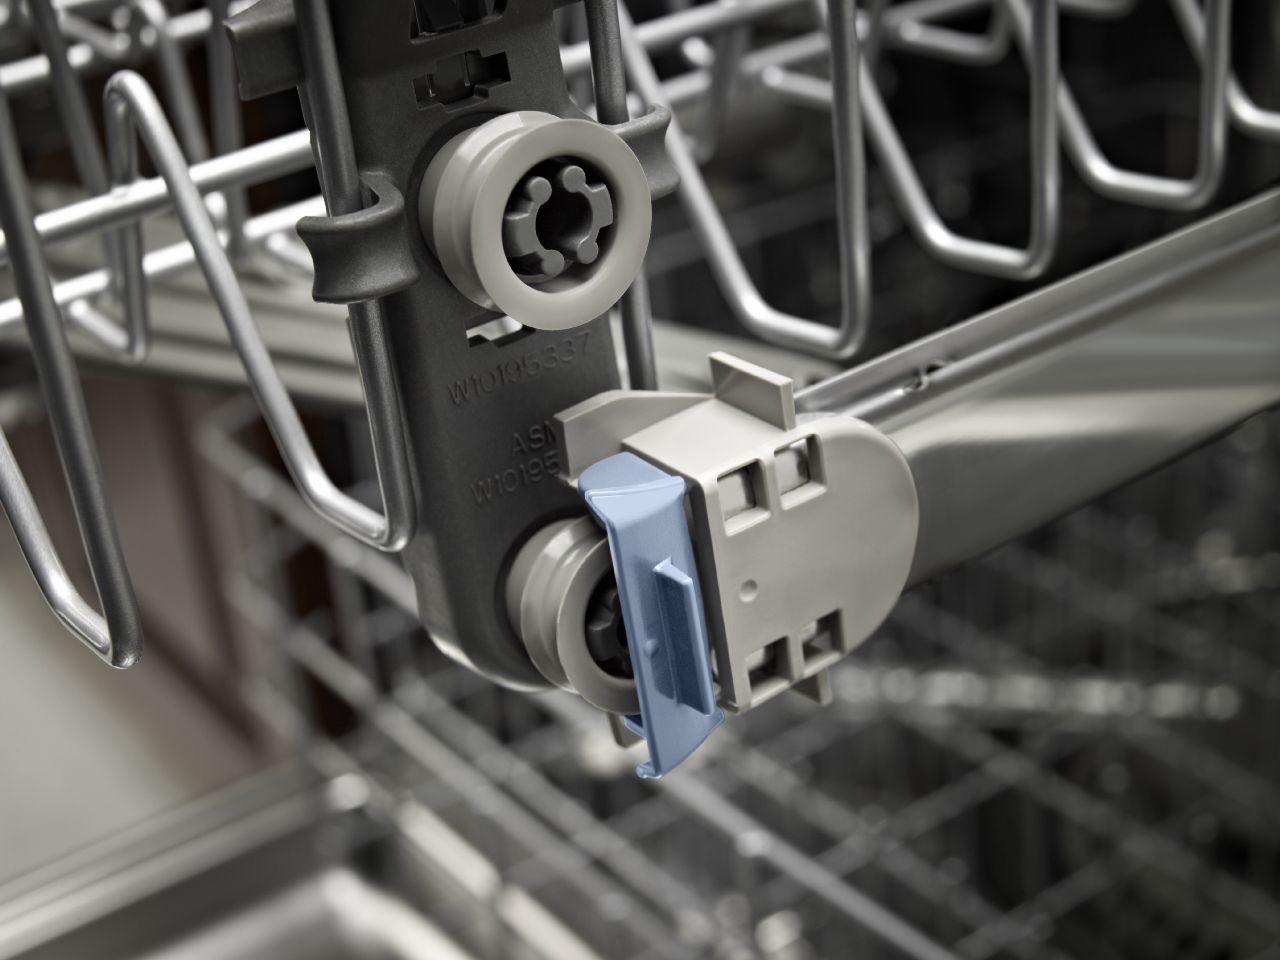
How to Replace the Door Panel on a Dishwasher

Sep. 09, 2019
Samsung Top Load Washer Lid Lock Repair
Aug. 22, 2019
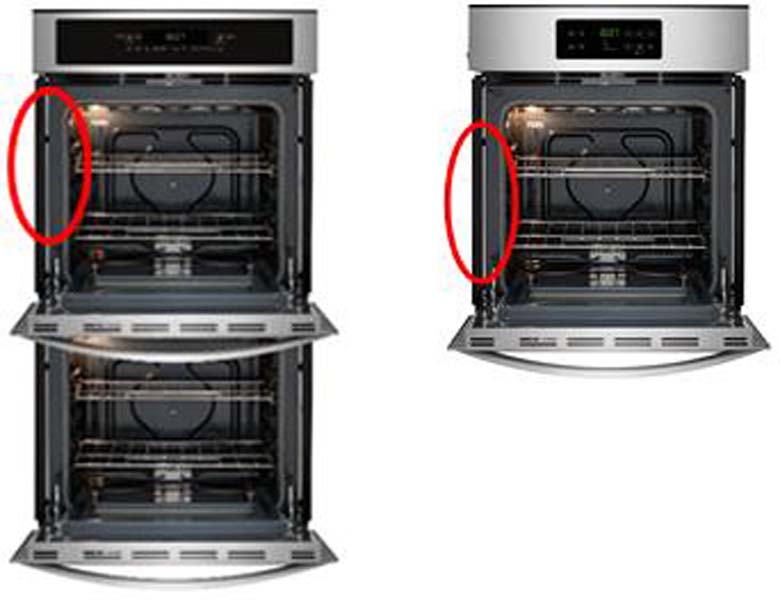
Kenmore and Frigidaire Wall Ovens Recalled
Aug. 16, 2019
What to Do When an Oven Door Will Not Unlock
Aug. 06, 2019
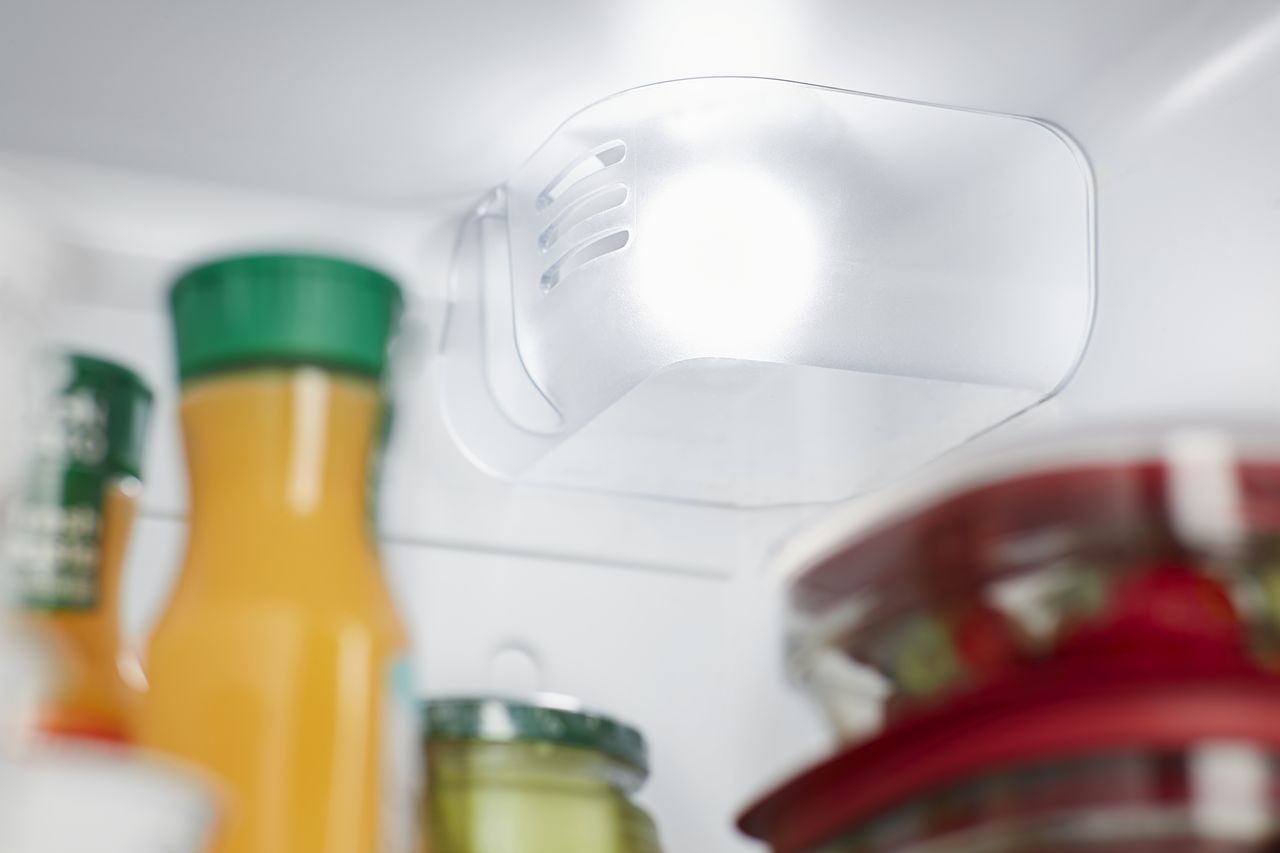
How to Replace a Refrigerator Light
Jul. 29, 2019
Reasons Your Dishwasher Takes Forever to Fill
Jul. 22, 2019
Fixing a Washer That is Not Filling Fast Enough
Jul. 16, 2019
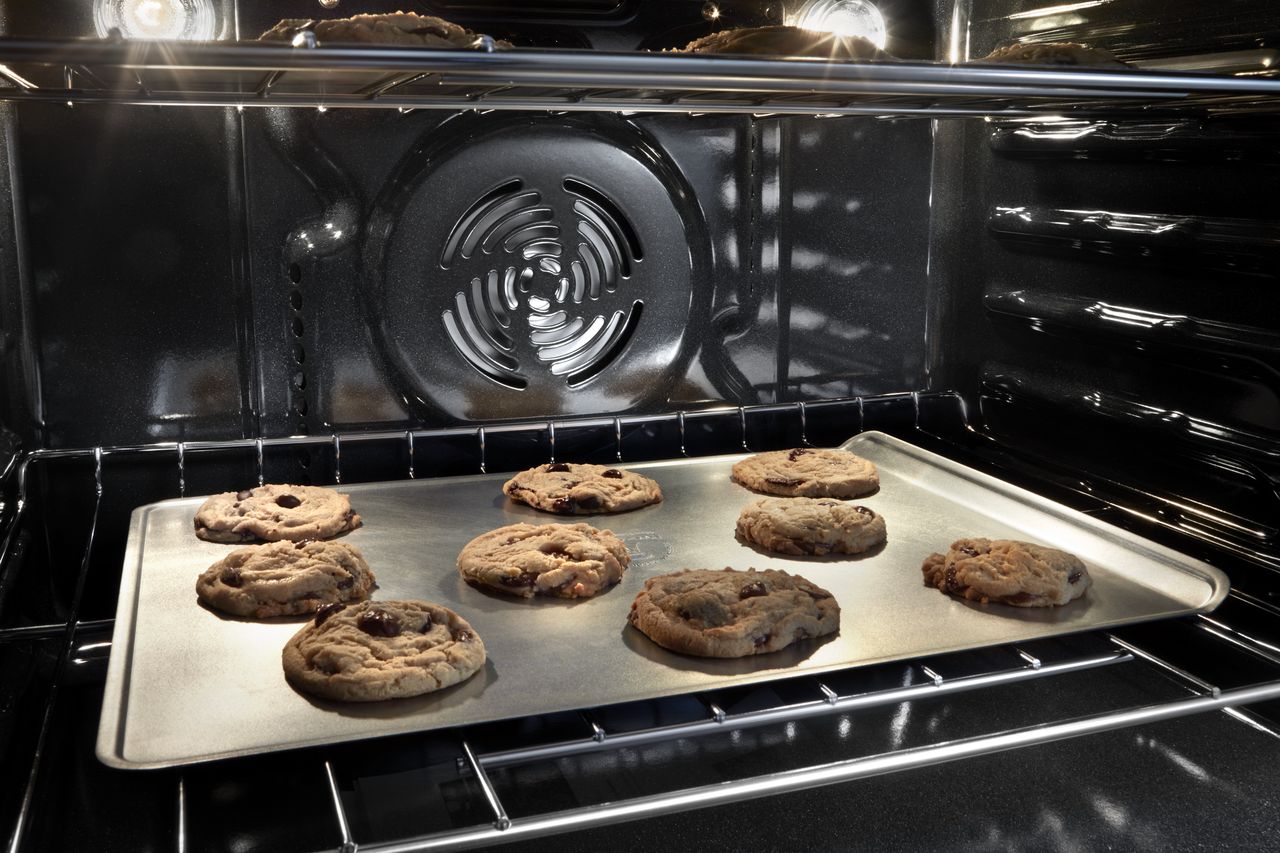
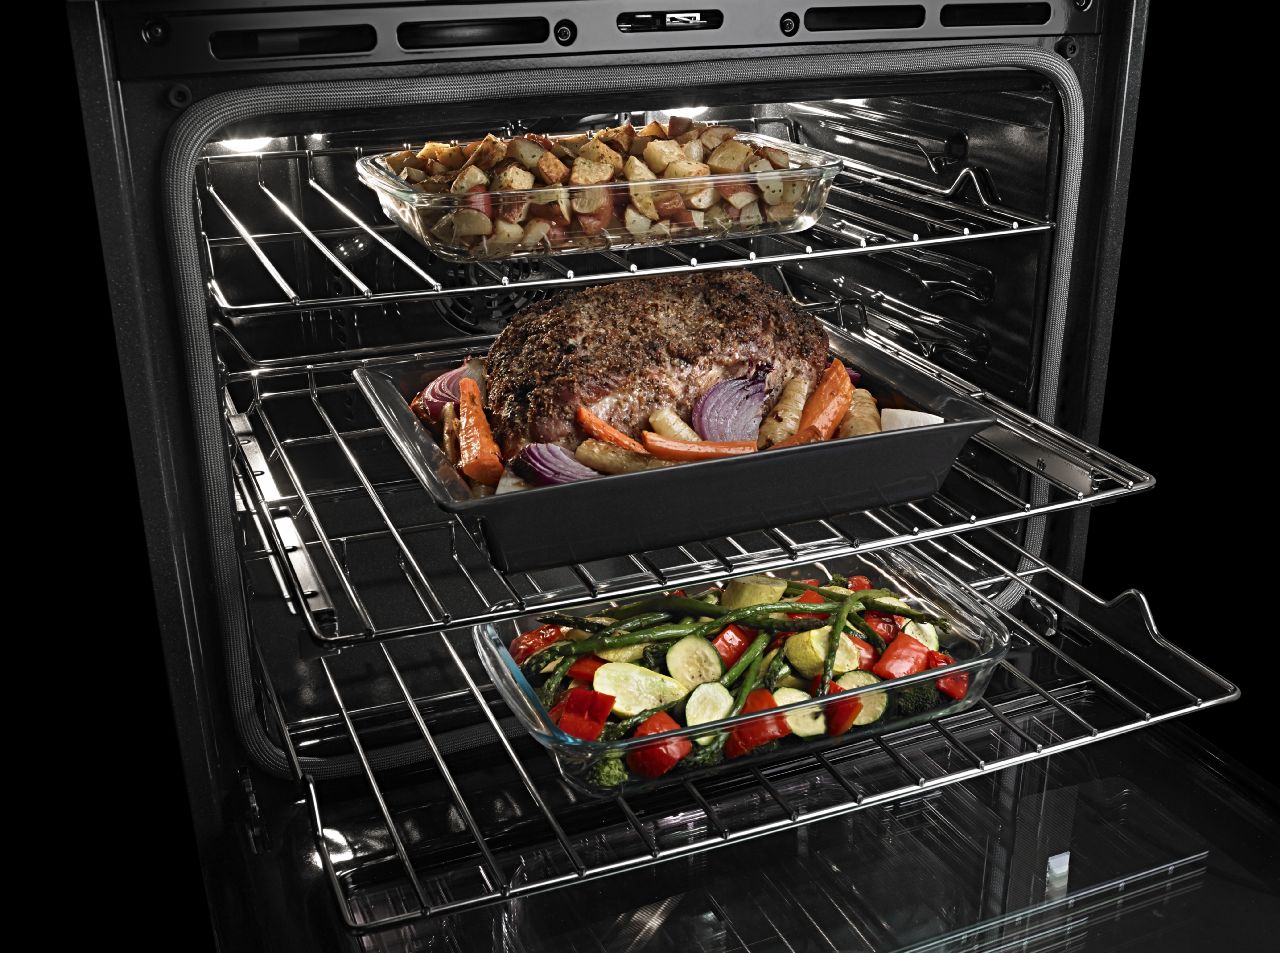
What to Check When The Oven Door Won’t Close
Jun. 27, 2019