

October 17, 2019
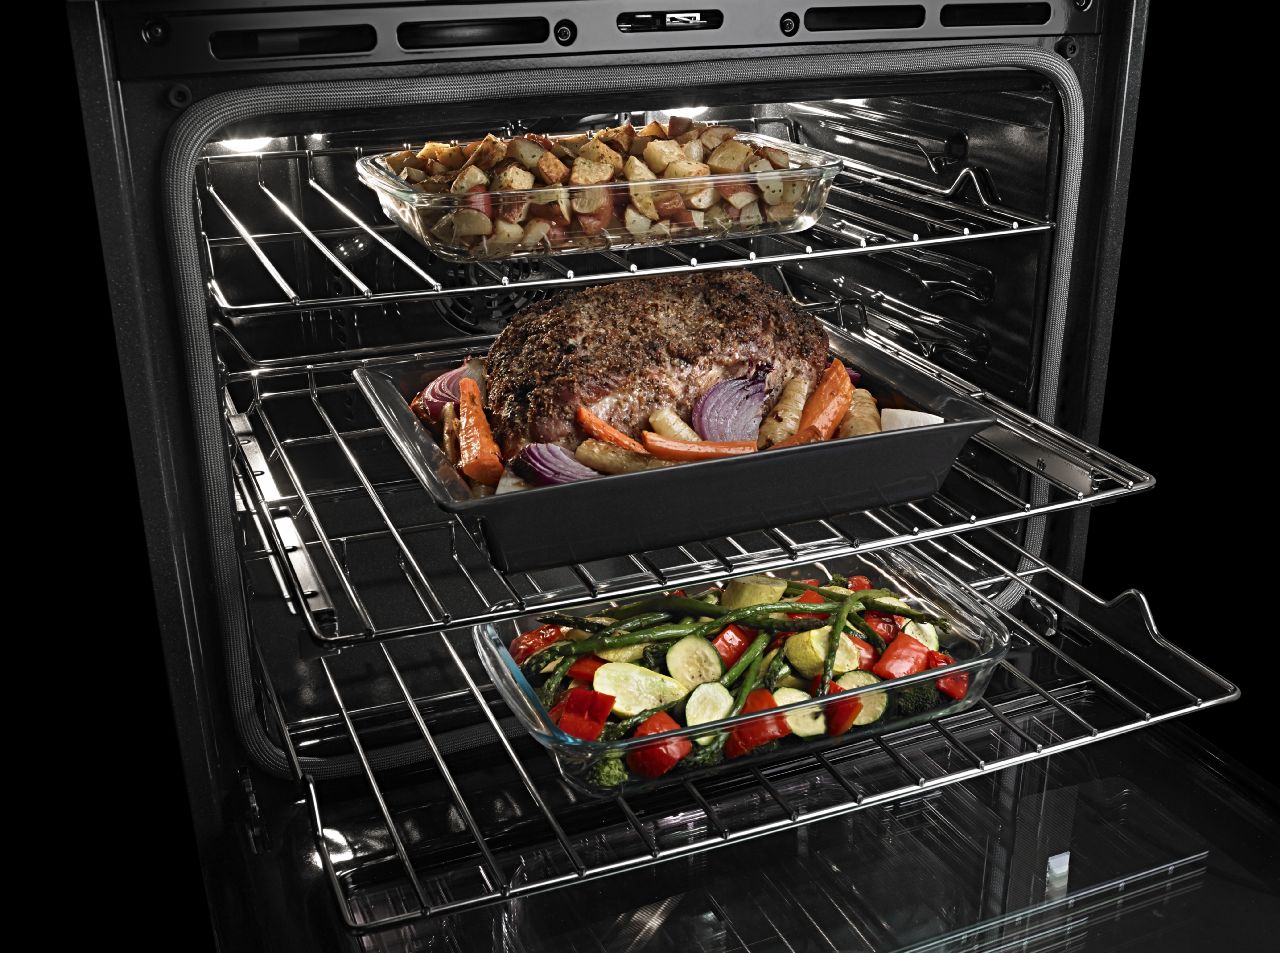
Oven Repair
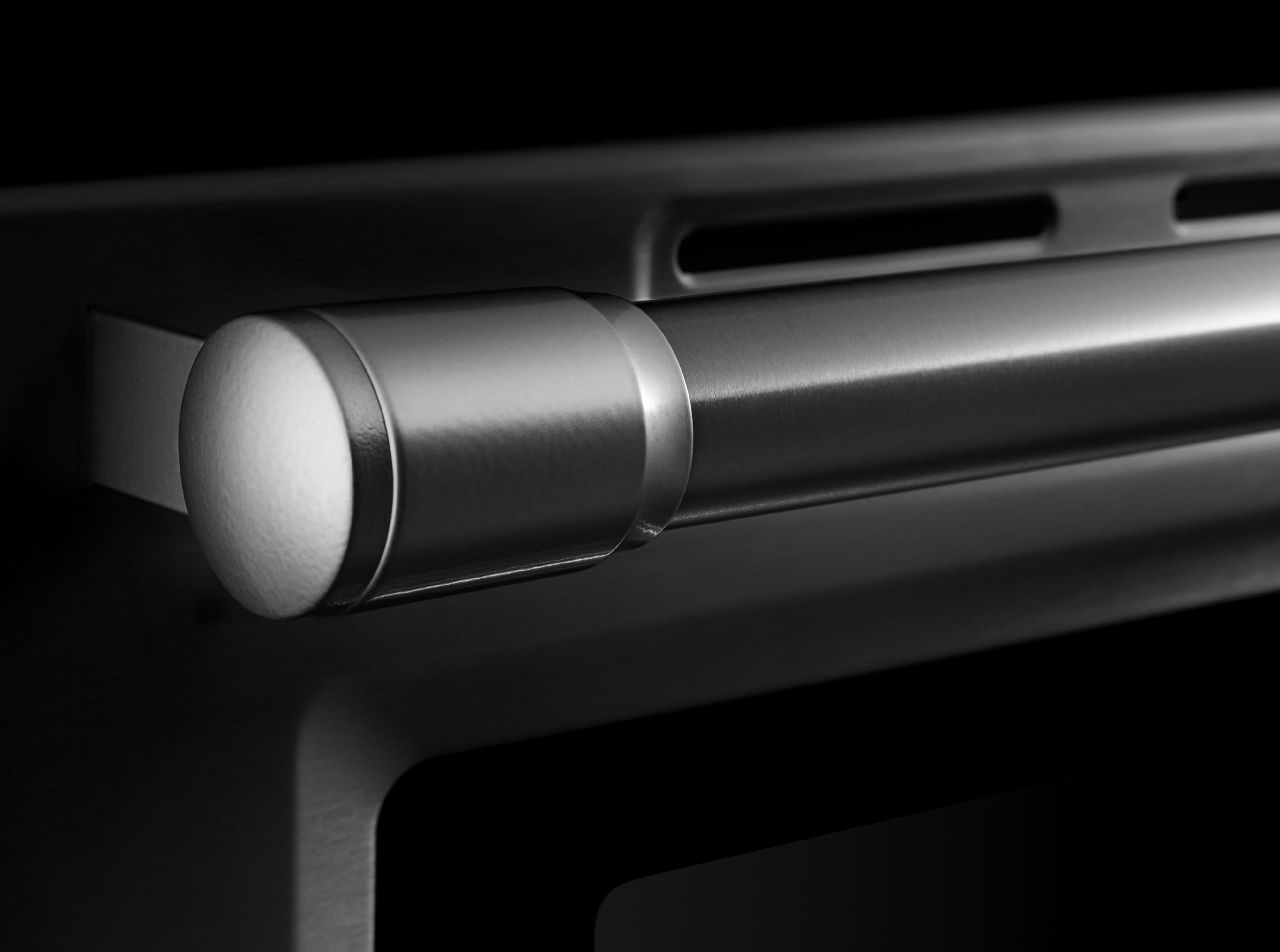
The handle on your oven is meant to last longer than the lifespan of your appliance. It is very sturdy and unlikely to be damaged. However, over regular use, the handle is prone to becoming very dirty and stained. If you can no longer clean it sufficiently, you may want to replace it so your appliance looks nice again. Yet while it requires a bit of disassembly, it isn’t difficult to do so.
Start this repair by opening your oven door fully. You will want to move the locking tabs on the hinges to the up position on both sides. Once done, you can close the door until it stops then lift it right up and out.
Once on a work surface, you will want to remove the screws located at the top and bottom of the oven door. Once the bottom screws are removed, you will want to remove and set aside a piece of bottom trim.
Now you need to remove the front cover by pulling it up. You may need to use a putty knife to break through some adhesive tape on the sides before you can actually pull it up. As this cover is positioned in three slots at the top, you will want to work it down a bit before pulling it upwards.
Now you have access to the brackets that hold the top trim and the handle on. Remove the screws and the top trim and handle will lift right up. Turning the trim upside down will give you access to the screws securing the handle. Once unthreaded, your new handle can be installed and your oven door can be reassembled.
While this repair is pretty easy as far as oven repairs go, appliance repairs can get pretty difficult. If you aren’t comfortable making this replacement or any other appliance repairs, contact us today so Jerry’s Appliance Repair can get it done.
Oct. 17, 2019
How to Replace the Handle on Your Oven
Oct. 07, 2019
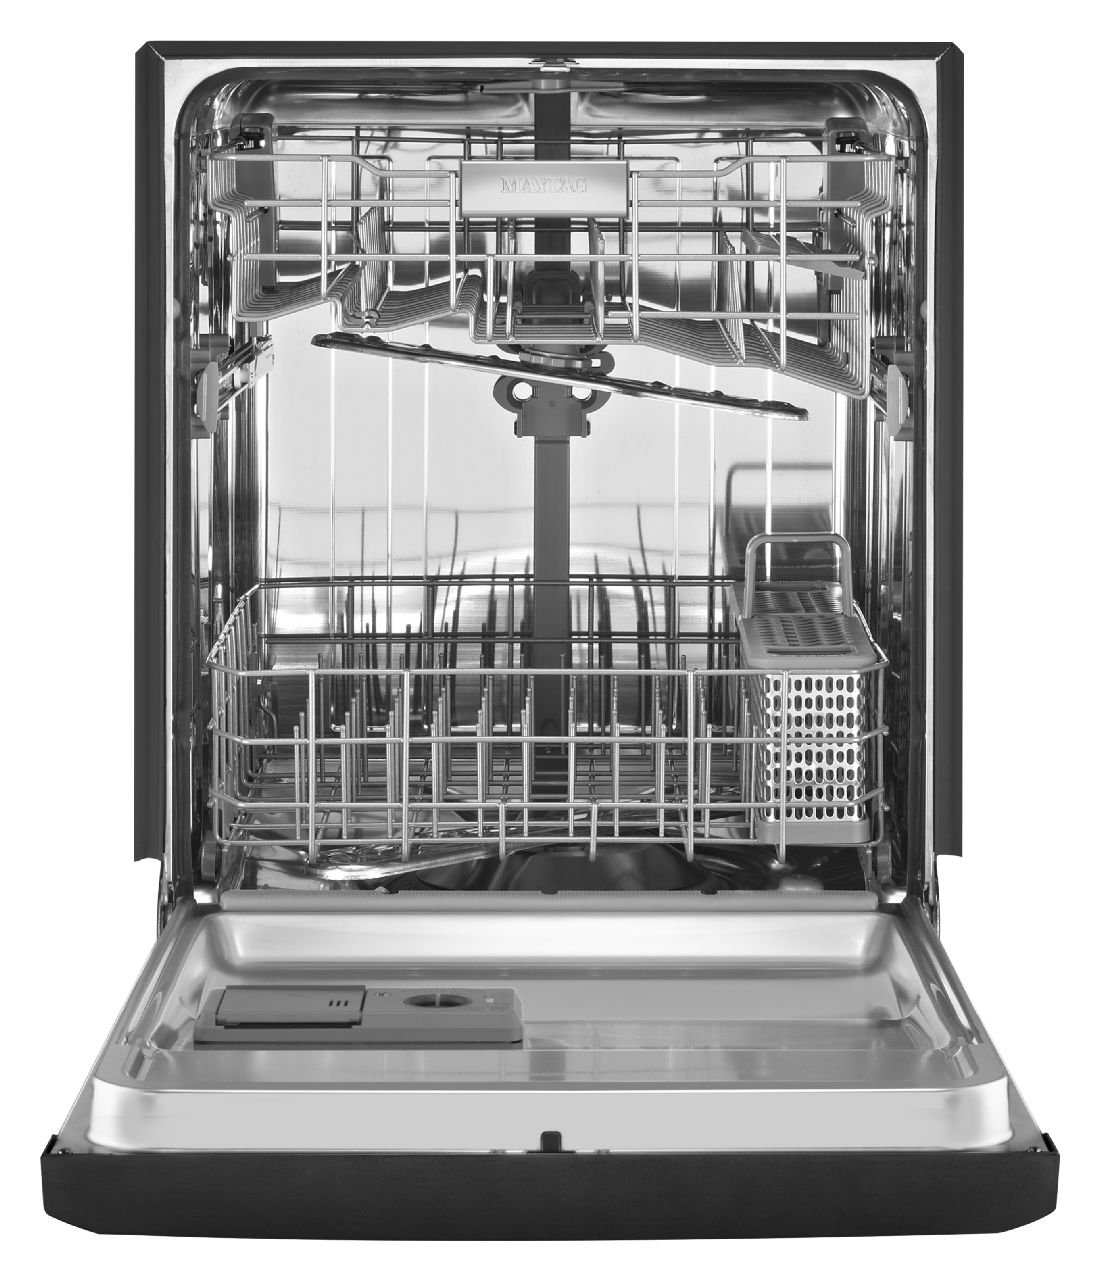
Soap Not Dissolving in Dishwasher
Sep. 29, 2019
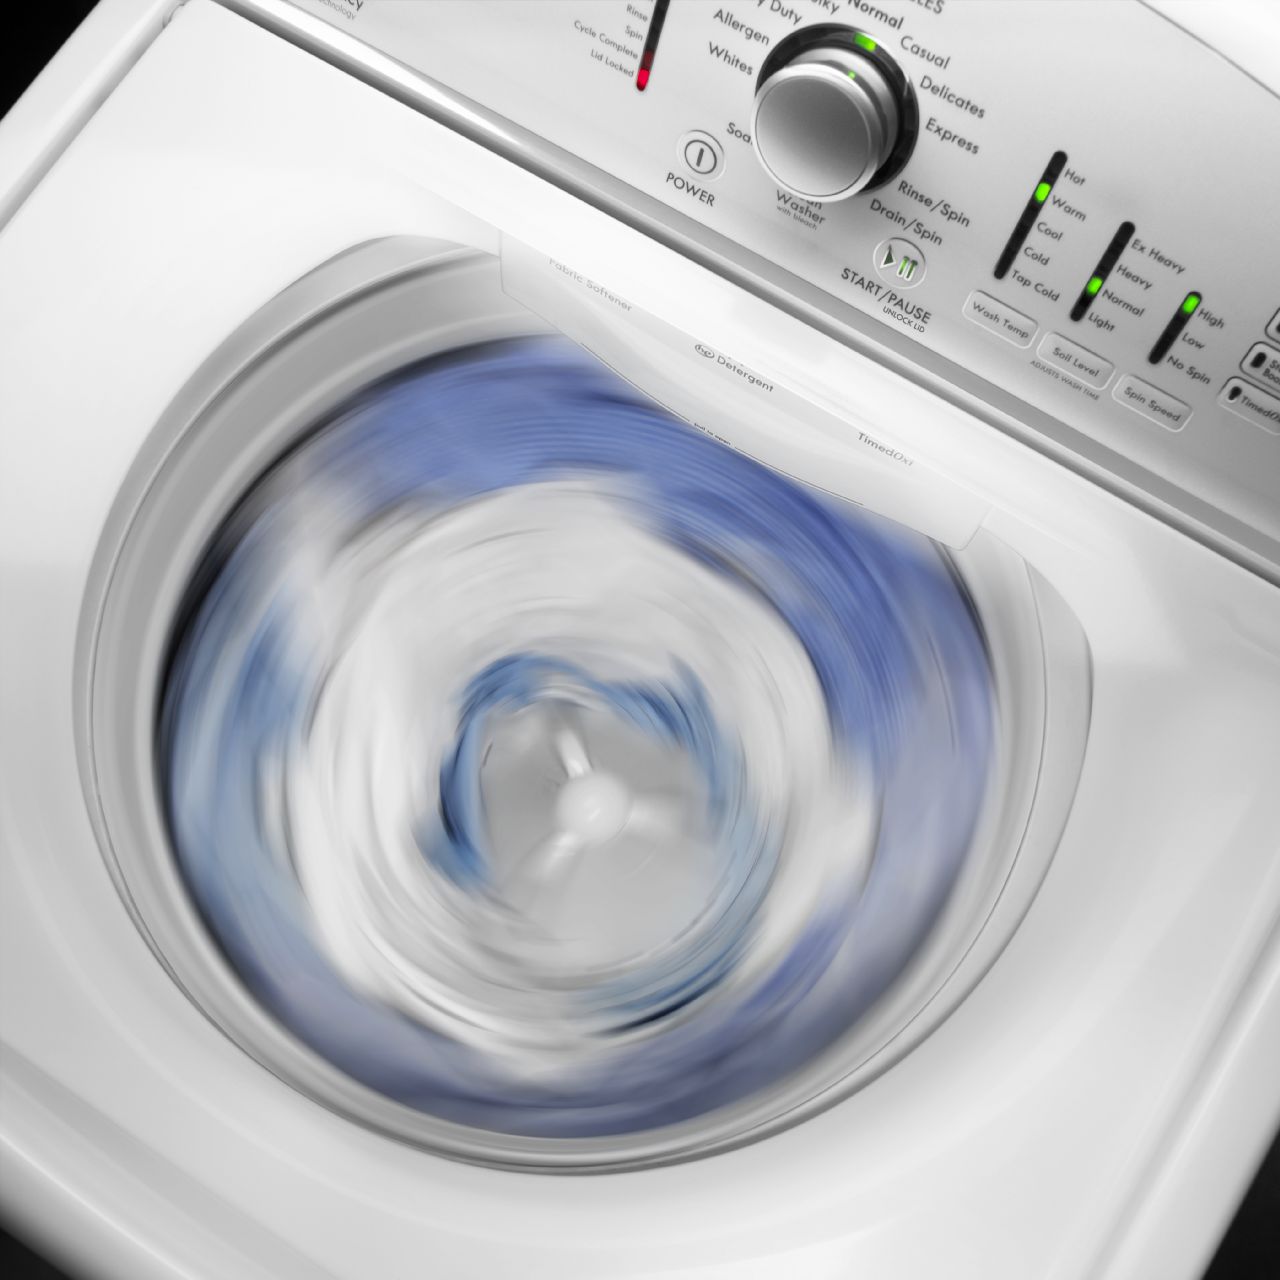
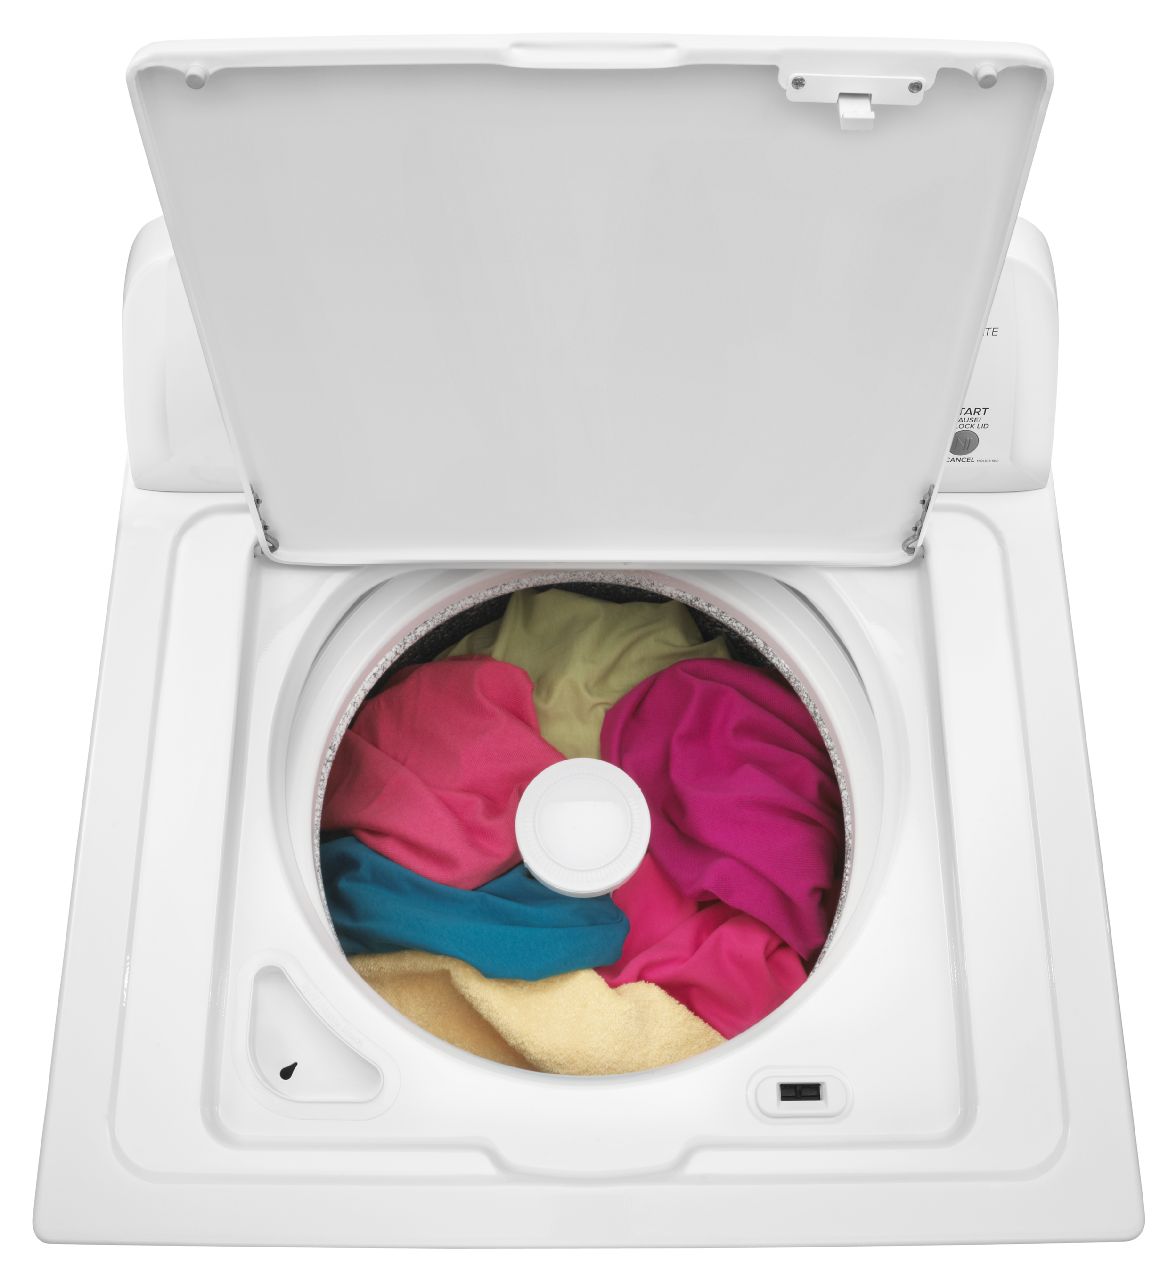
Why Won’t My Washing Machine Stop Spinning?
Sep. 16, 2019
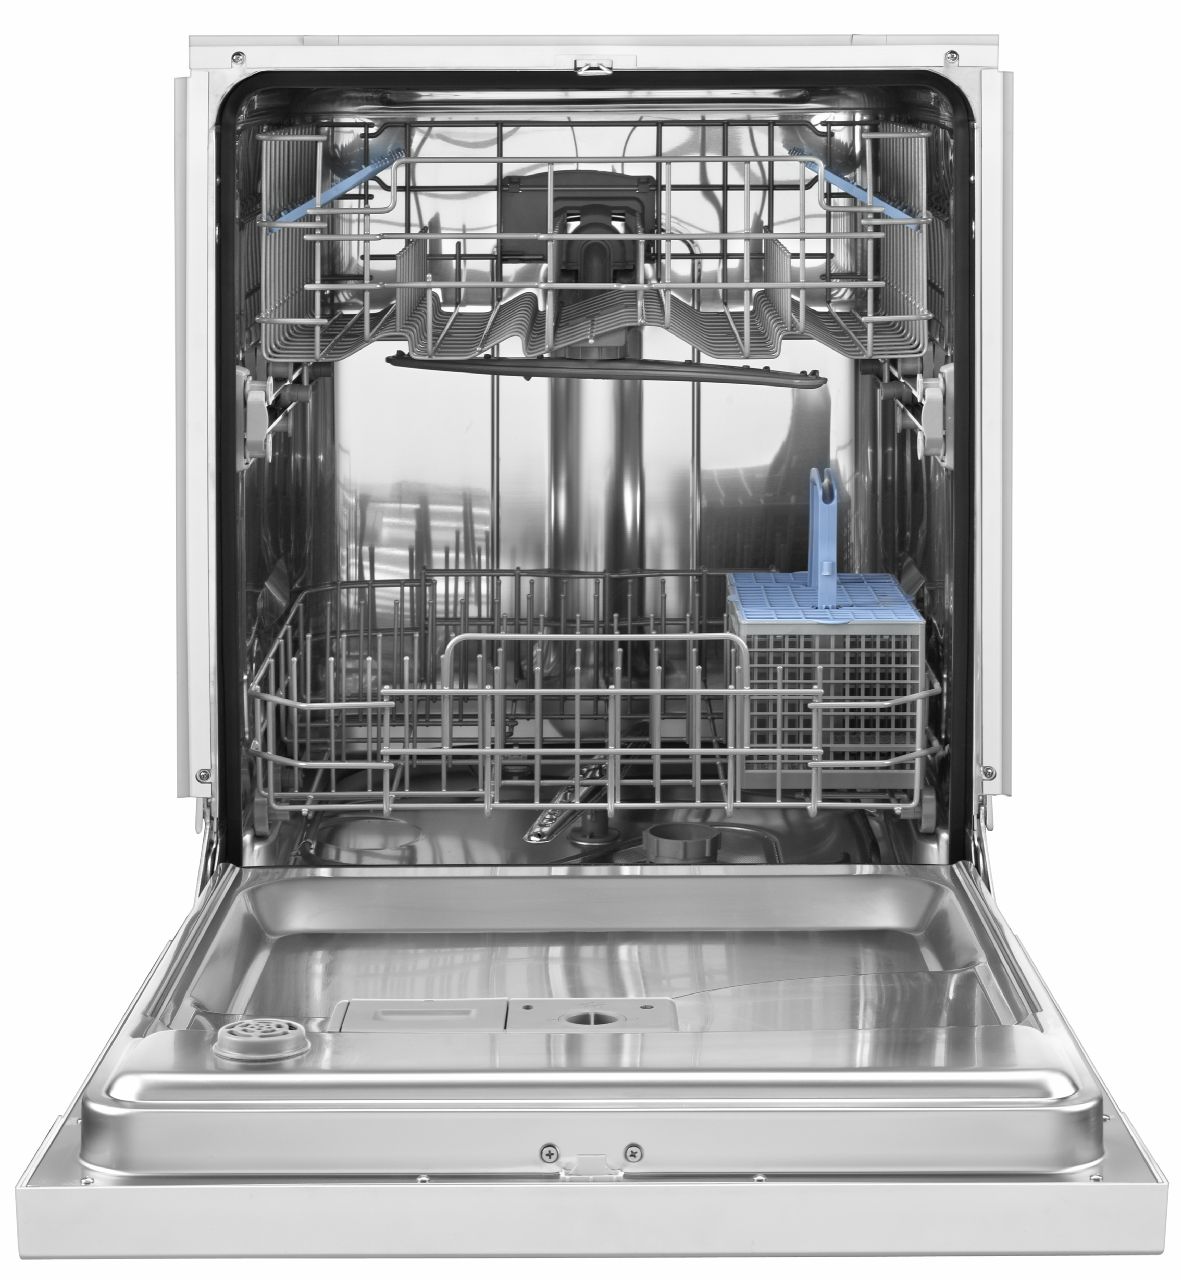
How to Replace the Door Panel on a Dishwasher

Sep. 09, 2019
Samsung Top Load Washer Lid Lock Repair
Aug. 22, 2019
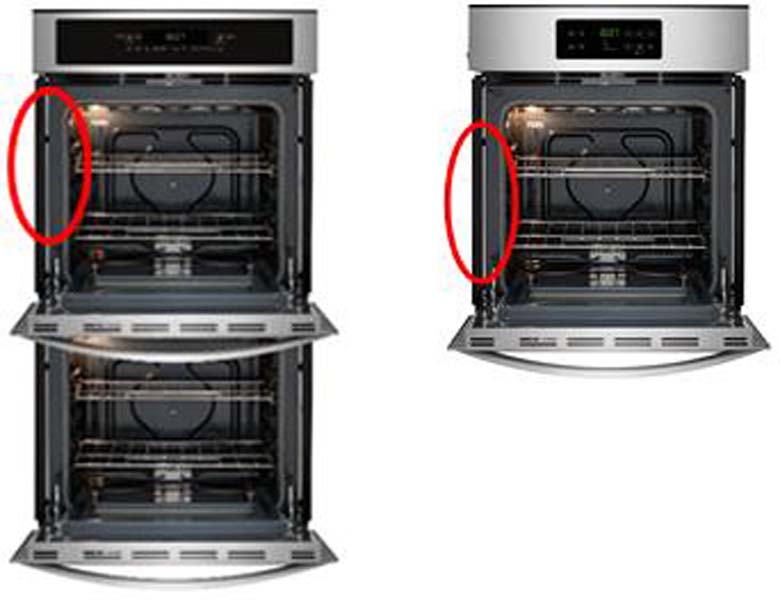
Kenmore and Frigidaire Wall Ovens Recalled
Aug. 16, 2019
What to Do When an Oven Door Will Not Unlock
Aug. 06, 2019
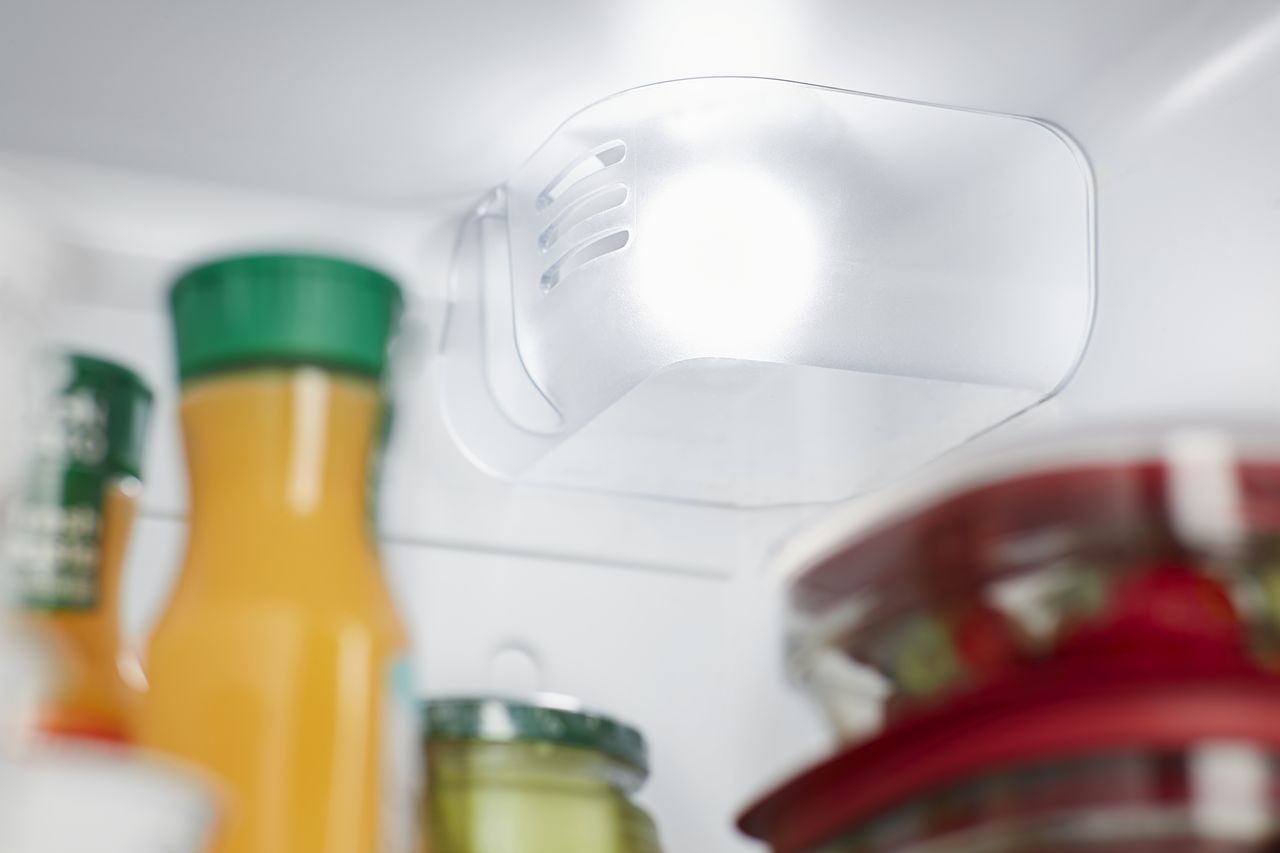
How to Replace a Refrigerator Light

Jul. 29, 2019
Reasons Your Dishwasher Takes Forever to Fill
Jul. 22, 2019
Fixing a Washer That is Not Filling Fast Enough
Jul. 16, 2019
What to Check When The Oven Door Won’t Close
Jun. 27, 2019