


January 17, 2018
Washer Repair
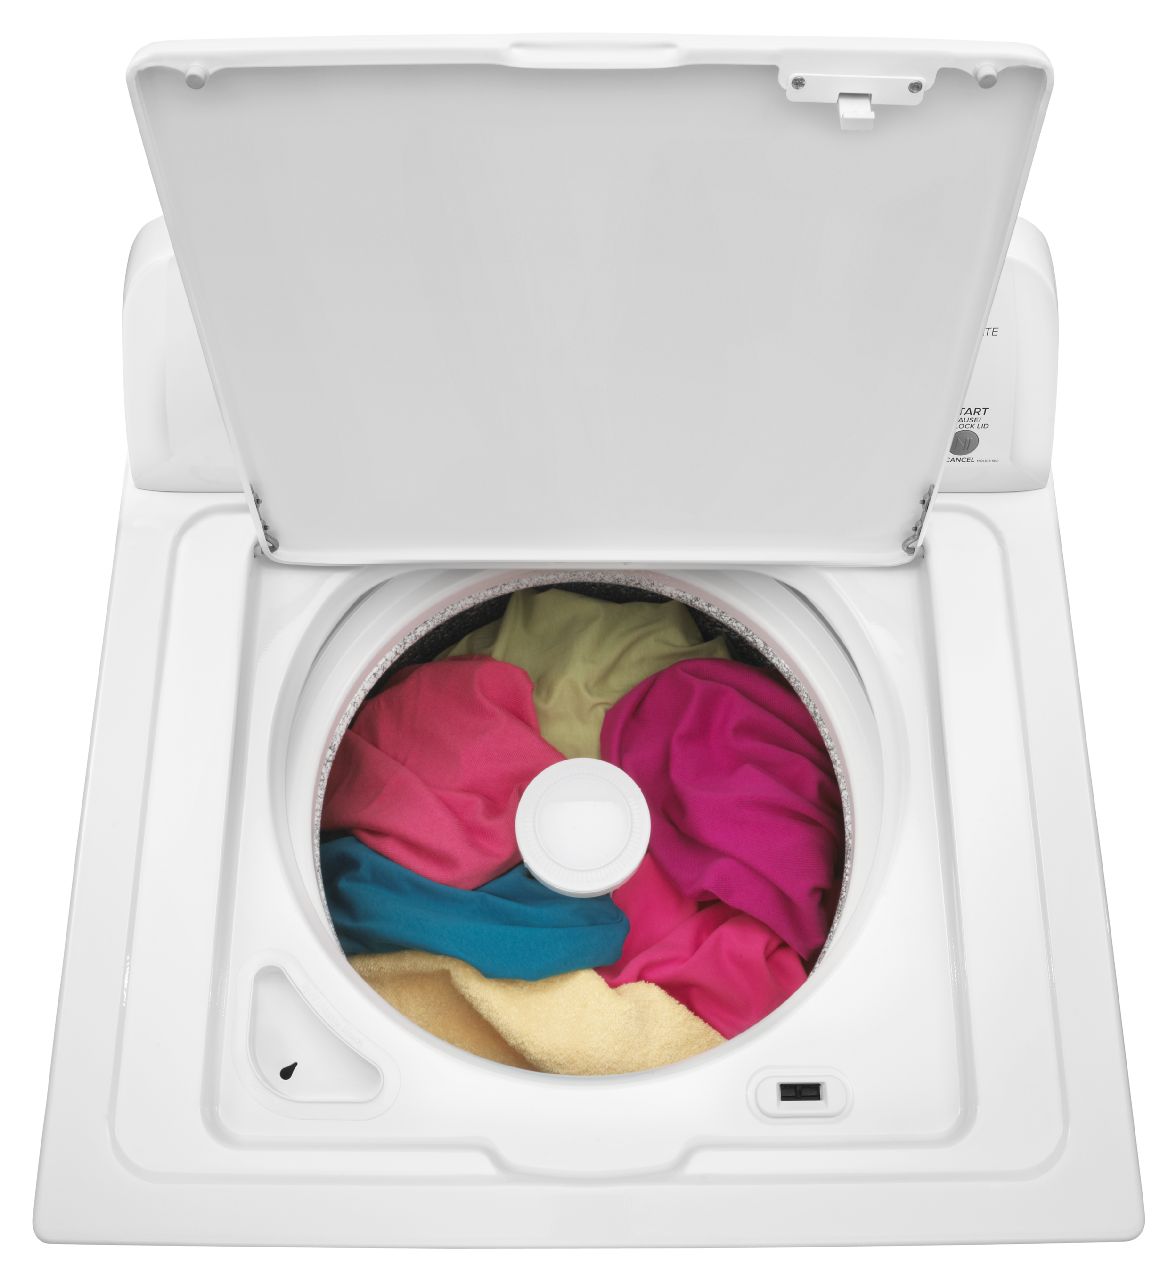
If your Maytag washer won’t agitate a load of laundry, or it shakes and makes clunking noises when you turn it on, the agitator assembly may be at fault. Order replacement part #WP22004042 for a new agitator and follow these steps:
- Unplug the appliance. Even though this repair doesn’t involve any electrical components, it’s always the safest policy to remove the power source to the device before any repairs. However, you don’t have to remove the water connection for this job.
- Lift the lid.
- Remove the fabric softener dispenser. Depending on your specific model, you may need to rotate it counter-clockwise to loosen the dispenser; other times, you can simply pull it free with a bit of force. Set the dispenser aside.
- Loosen the agitator. Inside the agitator shaft (and underneath the dispenser) is a bolt that holds the assembly together. Loosen it with a half-inch socket. You can pull the bolt out if you have a magnetic tool, but otherwise, you can leave the bolt loose in the agitator for now.
- Remove the agitator completely. Just like with the dispenser, you may need to rotate it slightly to work it free, but often all you need to do is lift it up and out of the machine. Then shake the bolt free of the old agitator.
- Put the bolt in position before putting the agitator in the machine. It can be tricky to get the bolt into the correct position if it’s already in place around the shaft, so just tilt the new assembly to the side and slip it in first.
- Assemble the agitator. Rotate the agitator until it aligns with the shaft, then turn it a bit further until it clicks into position.
- Tighten the bolt and add the dispenser back into place.
For more washer repairs and procedures for common appliance jobs, go to Jerry’s Appliance Repair.
Oct. 17, 2019
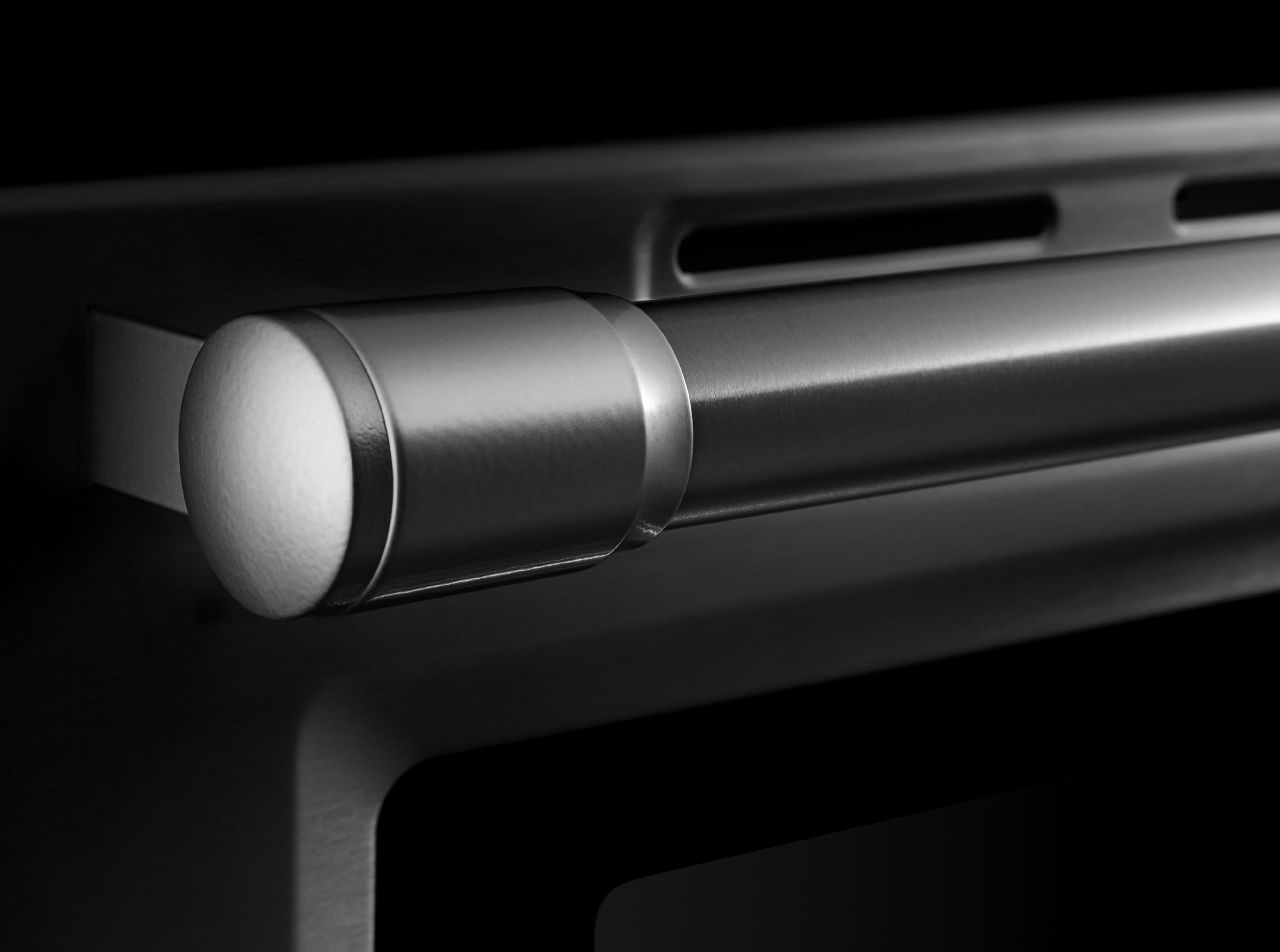
How to Replace the Handle on Your Oven
Oct. 07, 2019
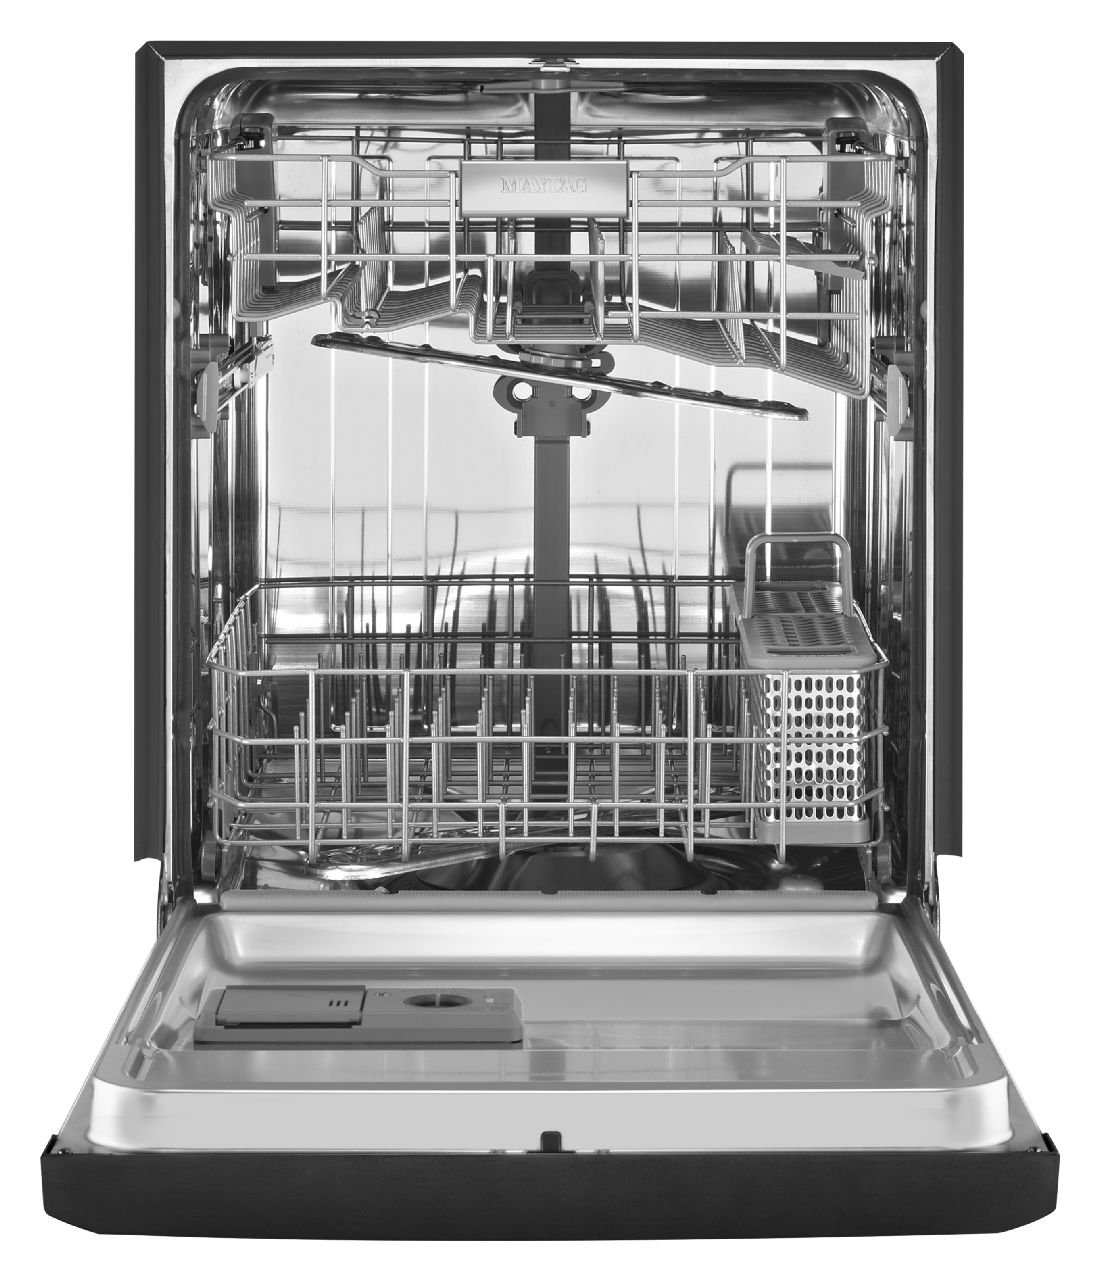
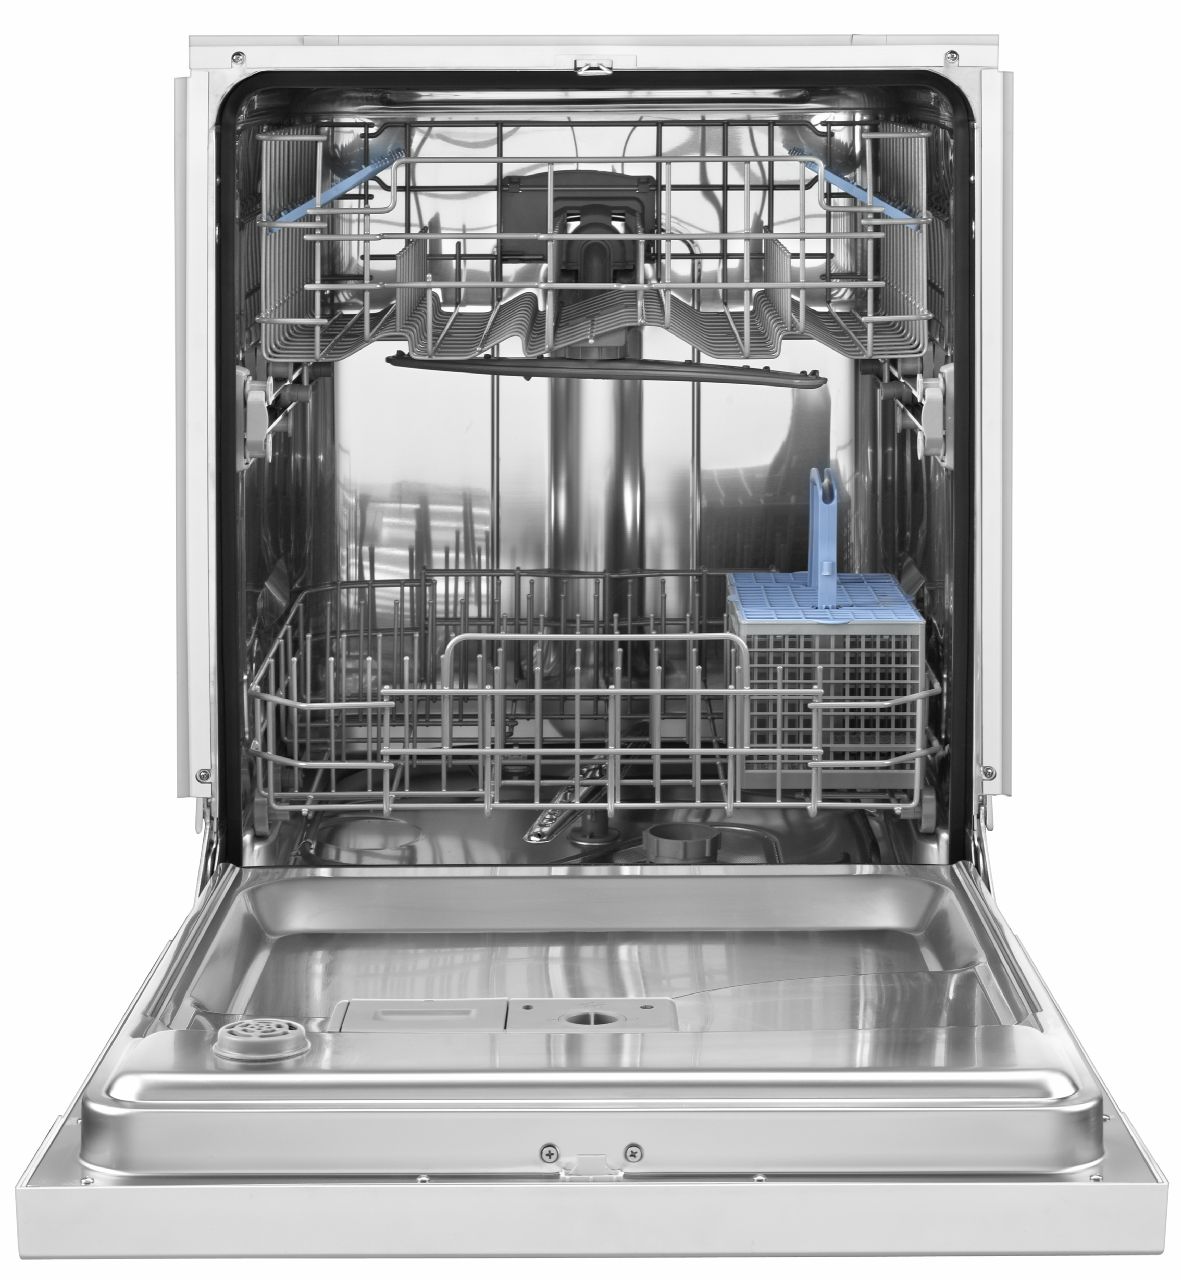
Soap Not Dissolving in Dishwasher

Sep. 29, 2019
Why Won’t My Washing Machine Stop Spinning?
Sep. 16, 2019
How to Replace the Door Panel on a Dishwasher

Sep. 09, 2019
Samsung Top Load Washer Lid Lock Repair
Aug. 22, 2019
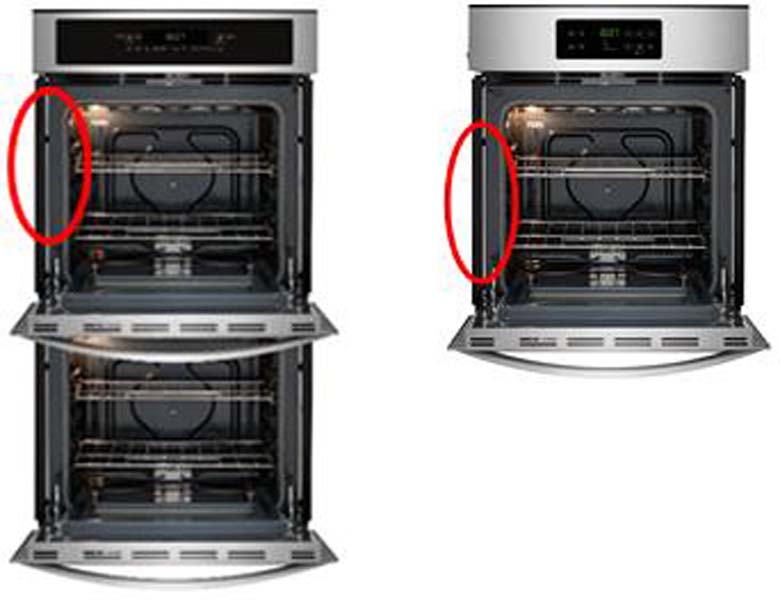
Kenmore and Frigidaire Wall Ovens Recalled

Aug. 16, 2019
What to Do When an Oven Door Will Not Unlock

Aug. 06, 2019
How to Replace a Refrigerator Light

Jul. 29, 2019
Reasons Your Dishwasher Takes Forever to Fill
Jul. 22, 2019
Fixing a Washer That is Not Filling Fast Enough
Jul. 16, 2019
What to Check When The Oven Door Won’t Close
Jun. 27, 2019