


January 31, 2018
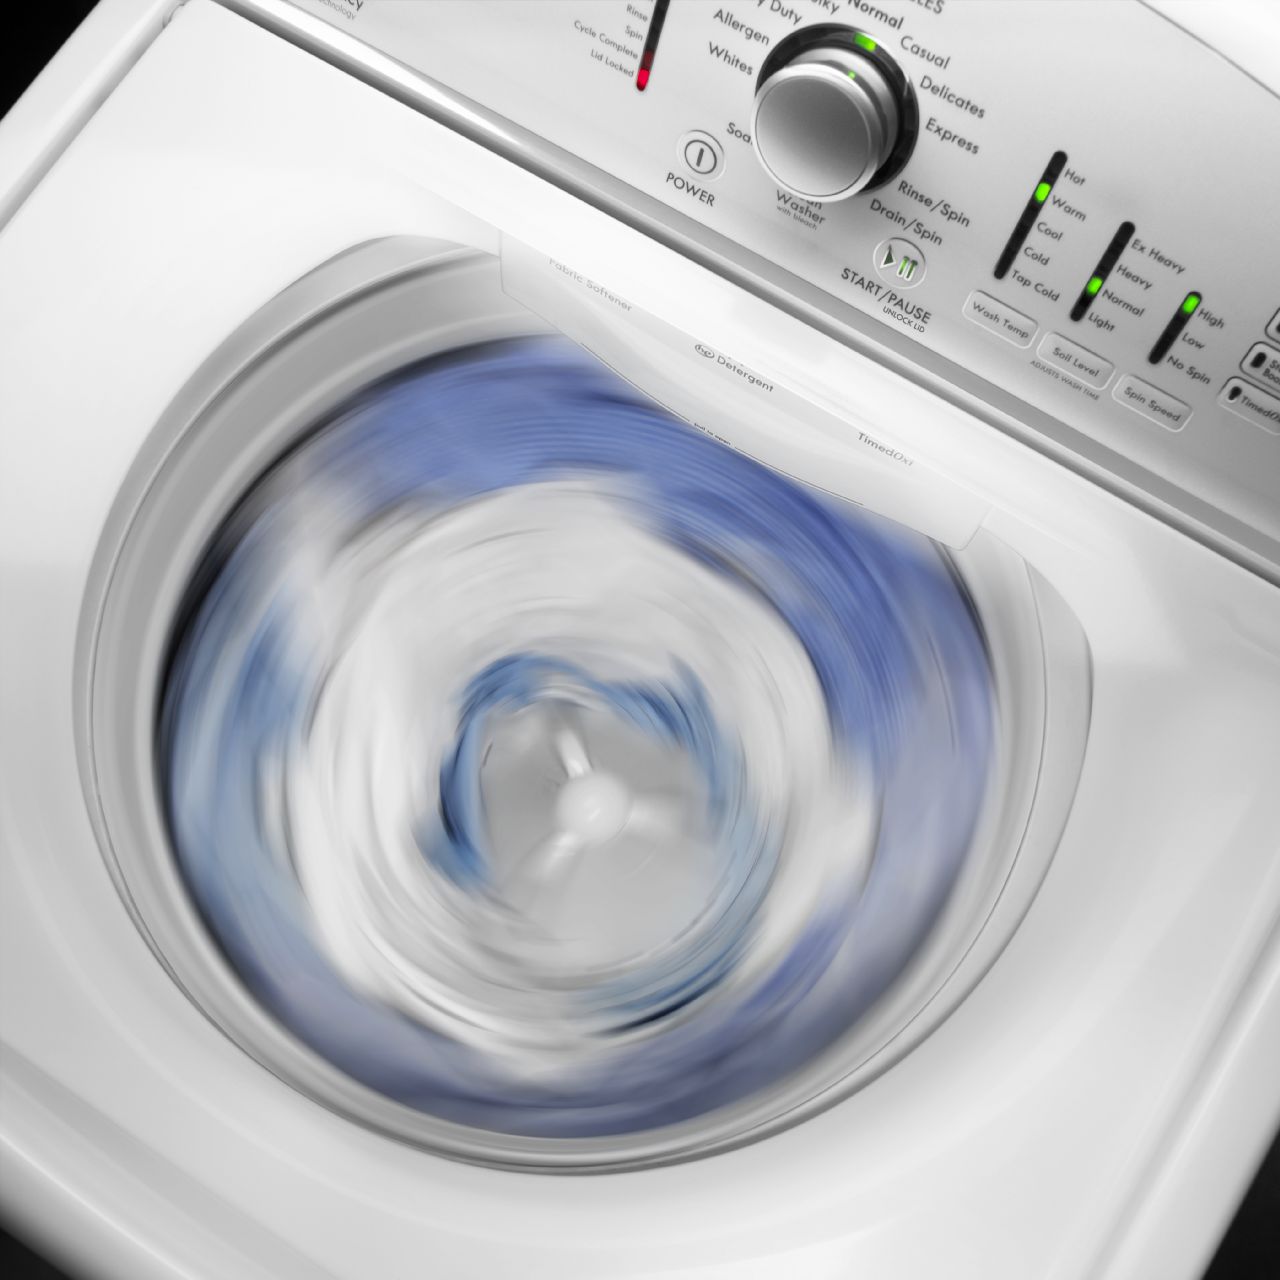
Washer Repair
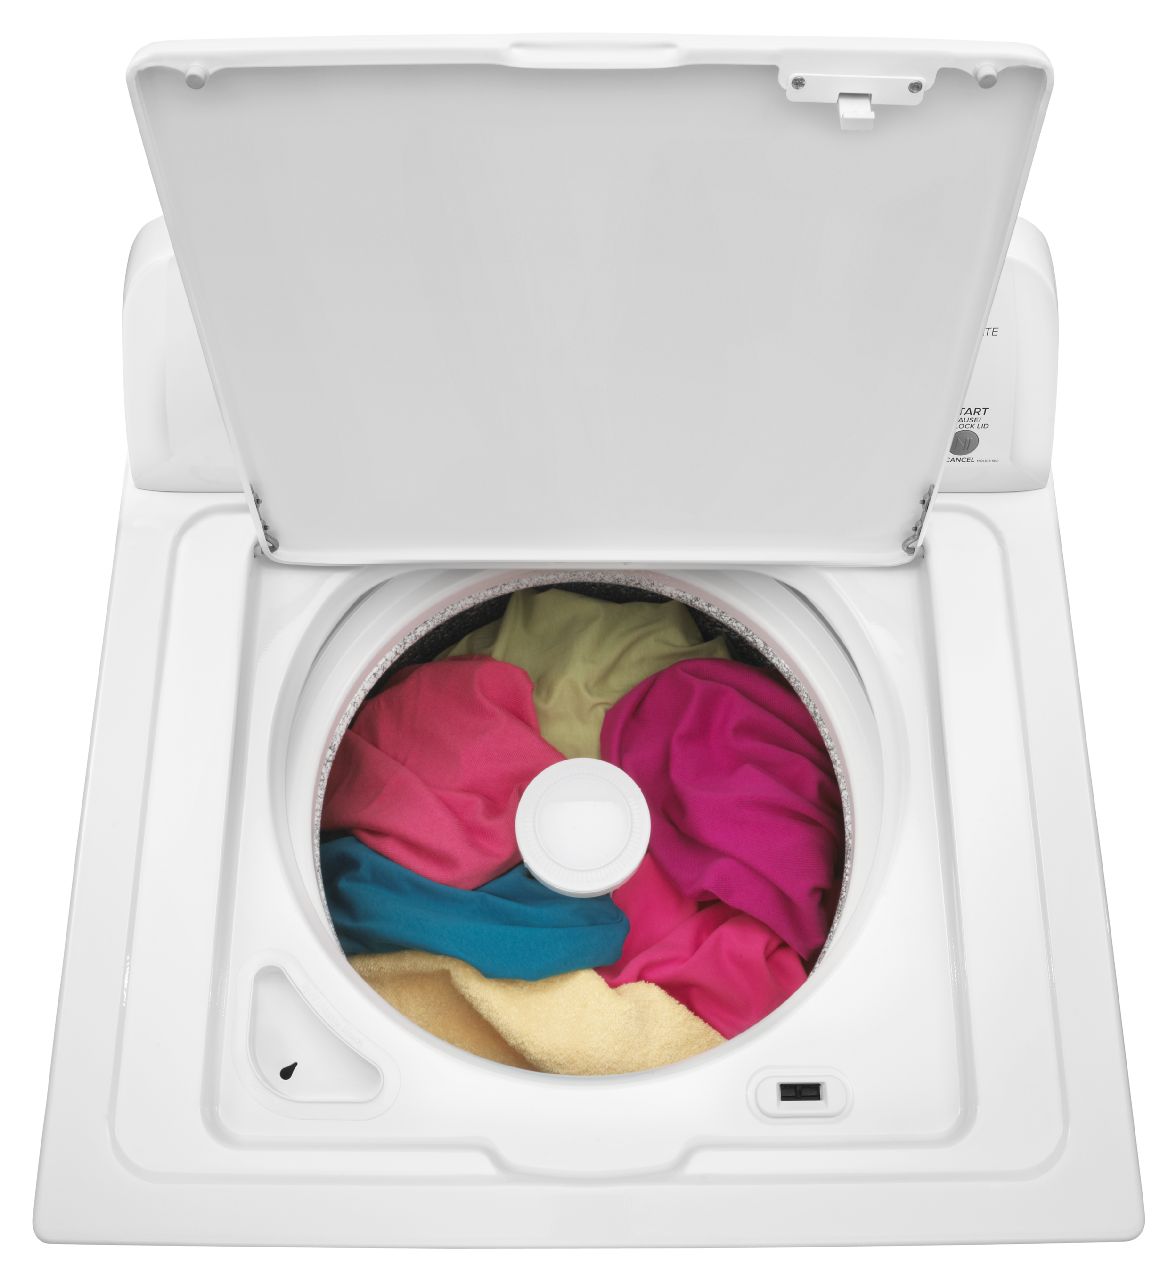
If your washer’s tub isn’t moving, the culprit is most likely the drive belt under the machine. Check to see if it’s stretched, worn, or torn. Follow the first three steps of this procedure to inspect the belt and, once you see it needs to be replaced, order part #WPW10006384 for a Maytag washer’s drive belt and follow the remainder of the steps.
- Unplug the washing machine and turn off both the hot and cold water supply lines. This removes the chance of electrocution and reduces leaks or the chance of water damage.
- Tilt the machine so it’s lying on its front panel. Before you move the machine, tape the lid shut first so it doesn’t bang, and then disconnect the water hoses from the machine and loosen the drain line from the wall. Some water may come out of the hoses, so have a towel ready just in case.
- Remove the shield from the bottom of the appliance. Loosen the two screws on either side of the wider circle. This should reveal the belt.
- Remove the belt. Use a nut driver or flathead screwdriver to carefully pull the belt off of the gears. If you use your fingers, they might get pinched between the belt and the rotating pulley.
- Insert the new belt. Put it over the motor pulley first. Then put the other end over the top of the pulley. Hold it tight and slowly turn the pulley until the rest of the belt pulls into place with a snap. Make sure the belt can move smoothly over its tracks.
- Put the shield back into position.
- Lift the machine upright. Then reconnect the water lines, ensuring that the lines are oriented correctly based on temperature, and put the drain line back into the wall before turning on the water supply and electricity.
Go to Jerry’s Appliance Repair here for more repair tips and part replacement procedures.
Oct. 17, 2019
How to Replace the Handle on Your Oven
Oct. 07, 2019
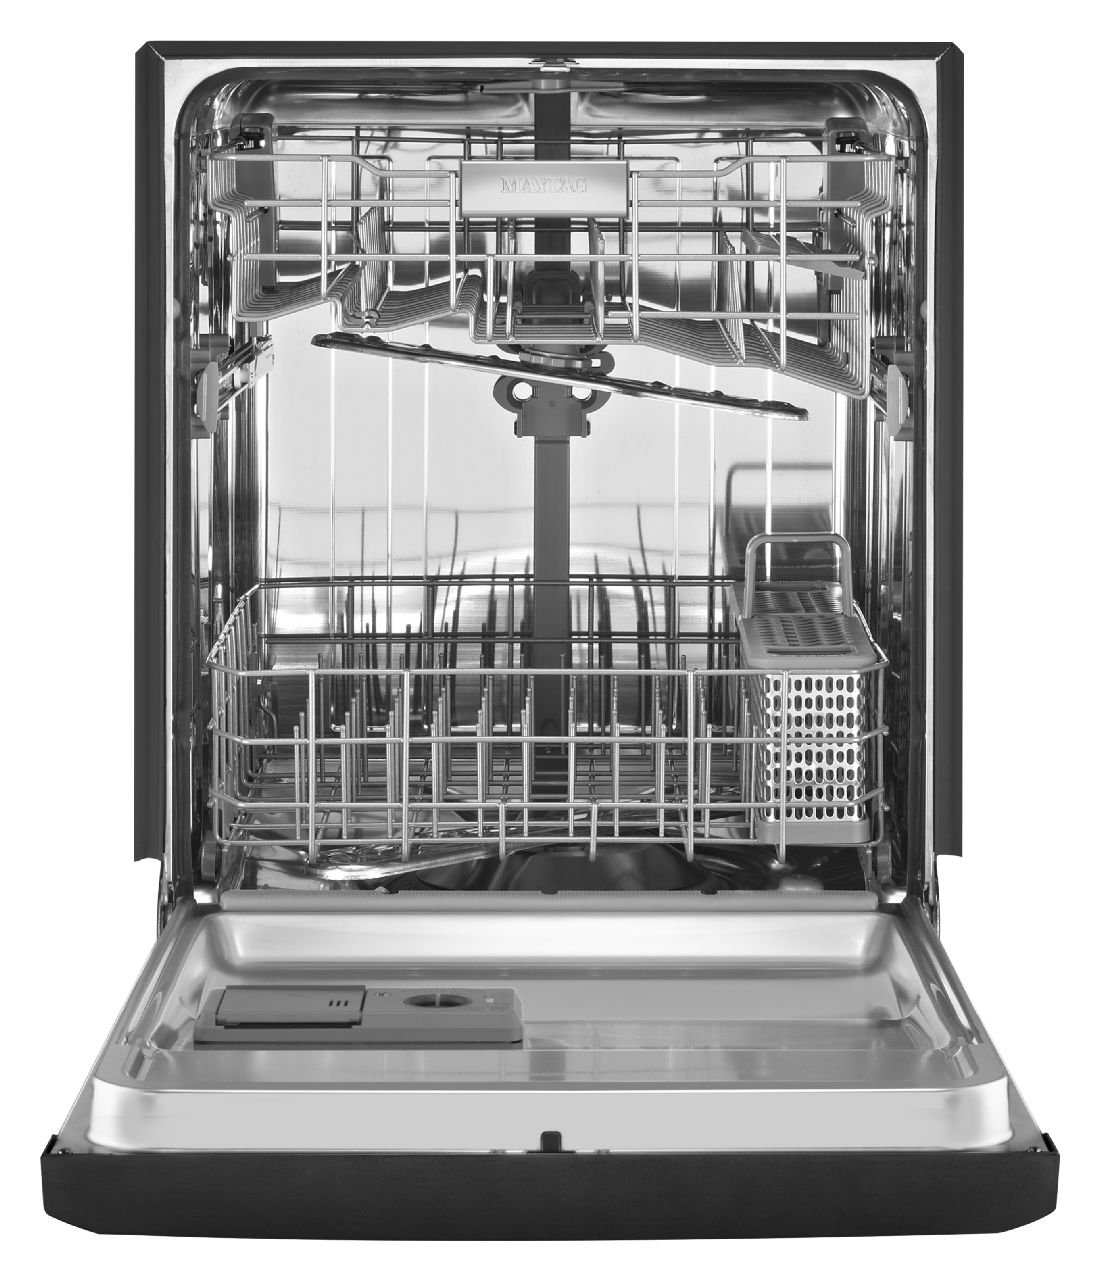
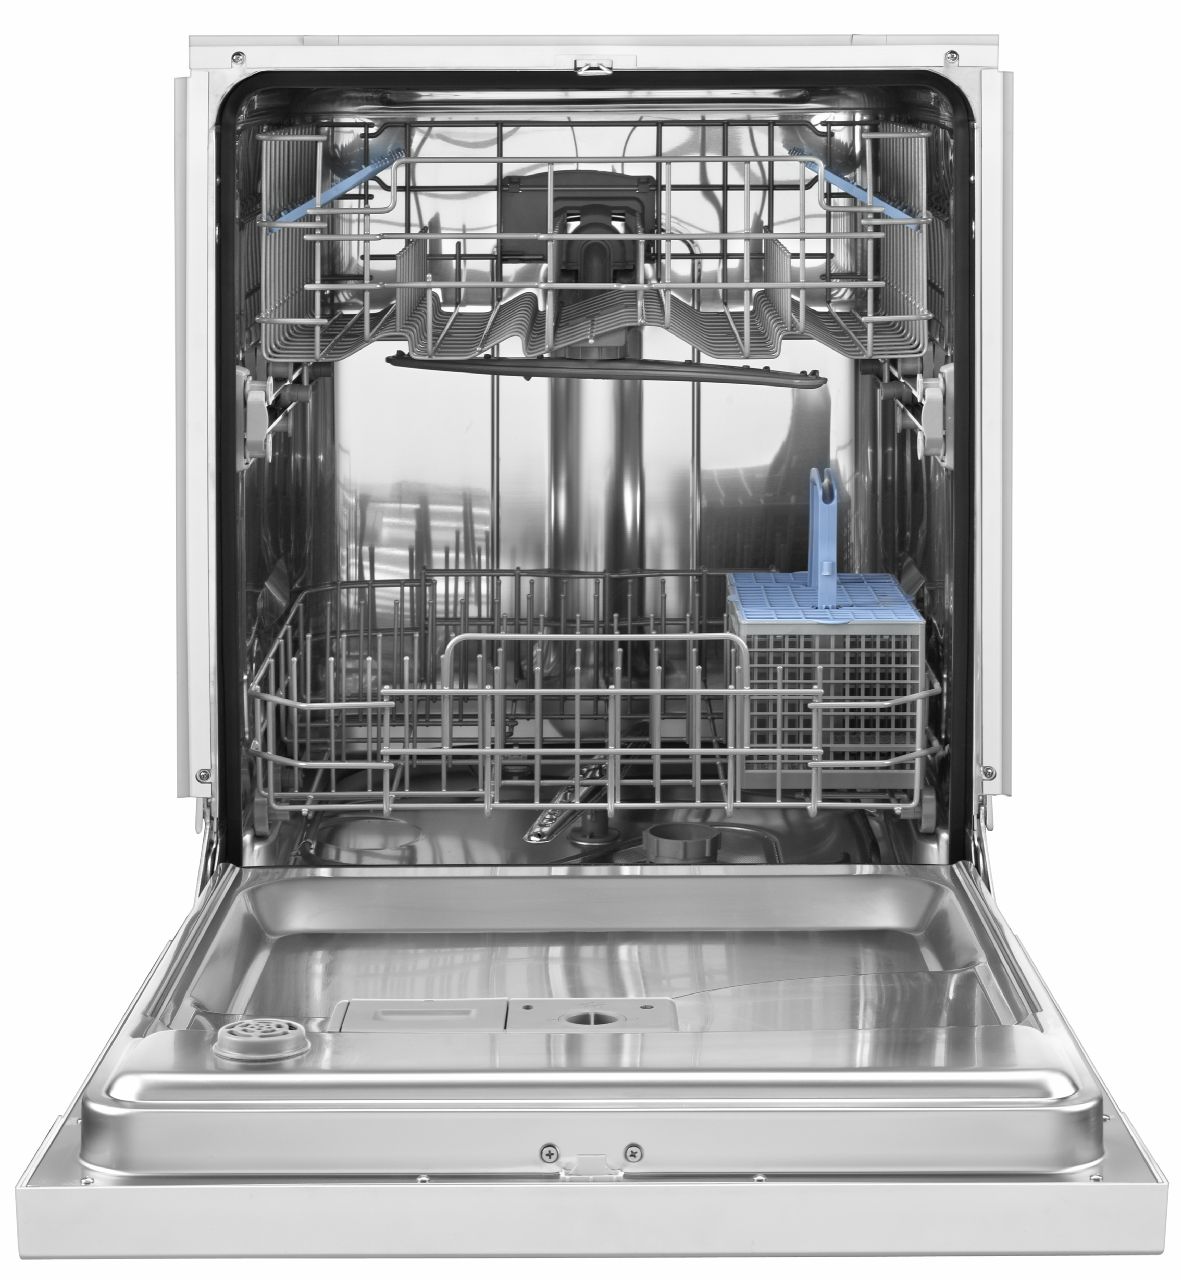
Soap Not Dissolving in Dishwasher
Sep. 29, 2019
Why Won’t My Washing Machine Stop Spinning?
Sep. 16, 2019
How to Replace the Door Panel on a Dishwasher

Sep. 09, 2019
Samsung Top Load Washer Lid Lock Repair
Aug. 22, 2019
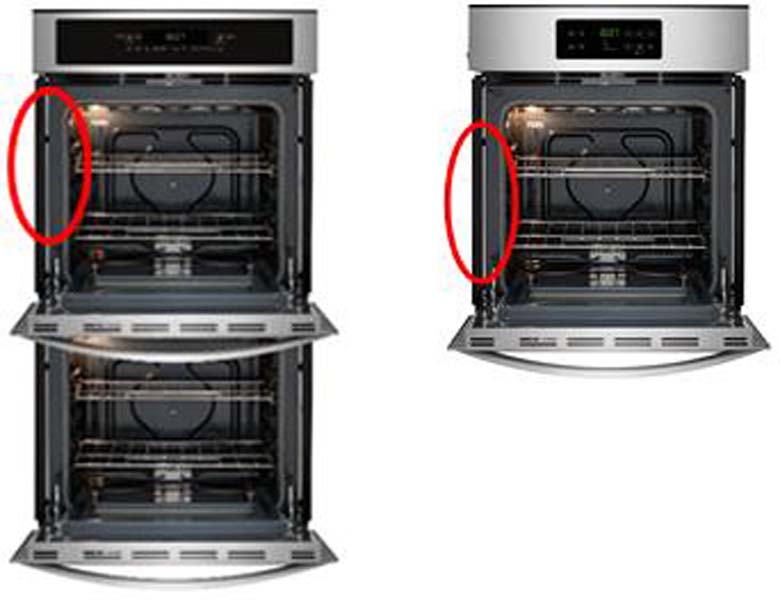
Kenmore and Frigidaire Wall Ovens Recalled
Aug. 16, 2019
What to Do When an Oven Door Will Not Unlock

Aug. 06, 2019
How to Replace a Refrigerator Light

Jul. 29, 2019
Reasons Your Dishwasher Takes Forever to Fill
Jul. 22, 2019
Fixing a Washer That is Not Filling Fast Enough
Jul. 16, 2019
What to Check When The Oven Door Won’t Close
Jun. 27, 2019