

August 2, 2018
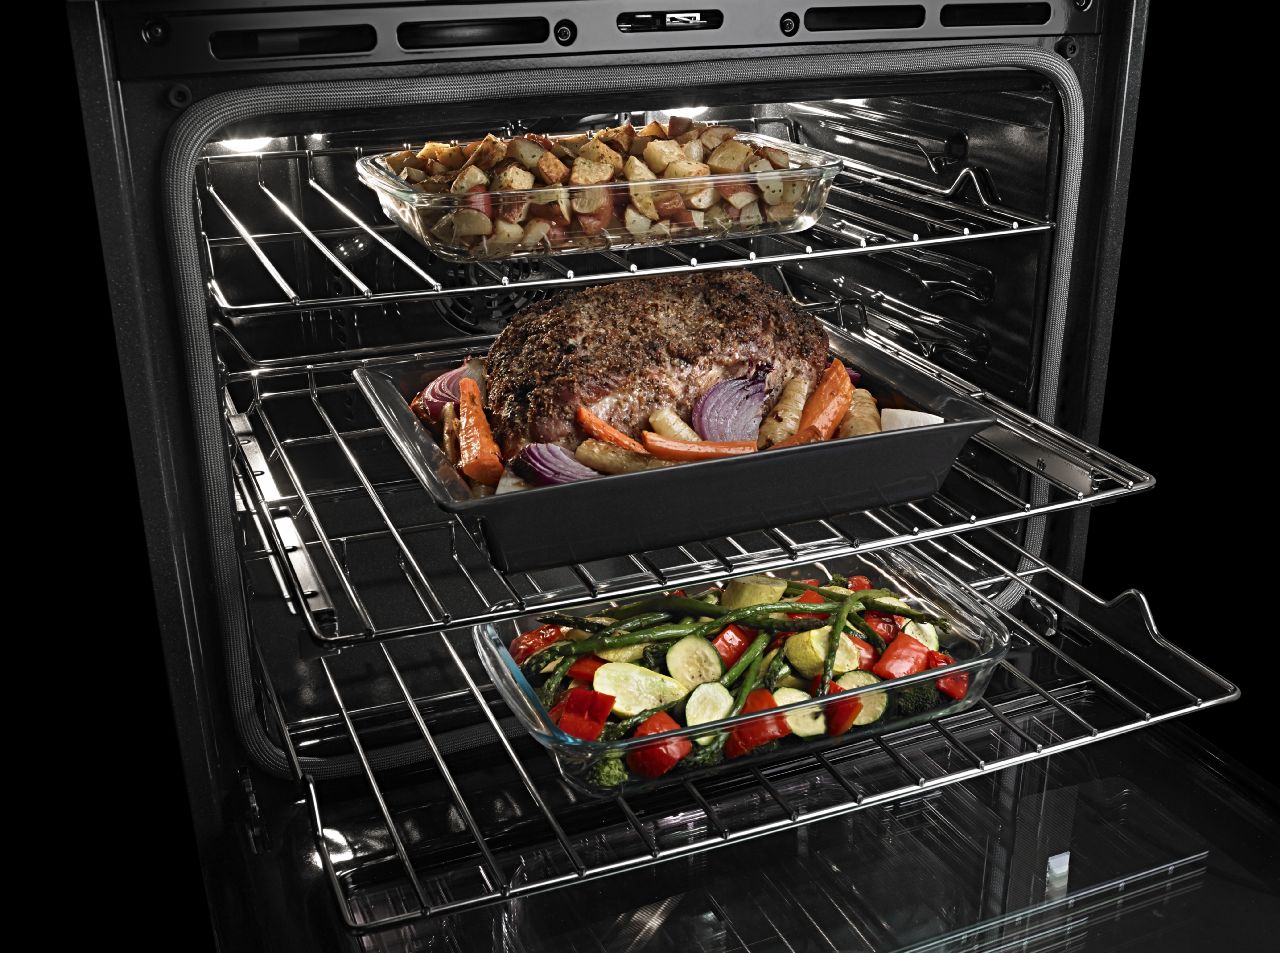
Oven Repair
Without a functioning thermostat, your oven won’t be able to heat evenly. Depending on the damage, the appliance’s fan might not turn on or off. If you want to replace the part yourself, order a replacement part #WBK20K10004 for GE model ovens and follow this procedure:
1. Unplug the oven.
Every appliance repair should start with you unplugging the appliance. Because this repair involves directly manipulating electrical parts, you need to make sure the power is entirely disconnected before getting started.
2. Remove the thermostat knob and the rear upper access panel.
Locate the thermostat knob on the front access panel. Pull the knob covering free from the shaft. Then pull the oven away from the wall. Unscrew the main rear access panel and set it aside.
3. Uninstall the thermostat assembly.
Locate the boxy exterior of the thermostat assembly. It usually has an ‘X’ shape on the back. Next, uninstall the mounting screws on the front access panel that were concealed under the thermostat knob. Then remove the wires attached to the part. Because there are a lot of different wires, take a picture of the orientations before you remove any. This will give you an easy guide when you install the new part.
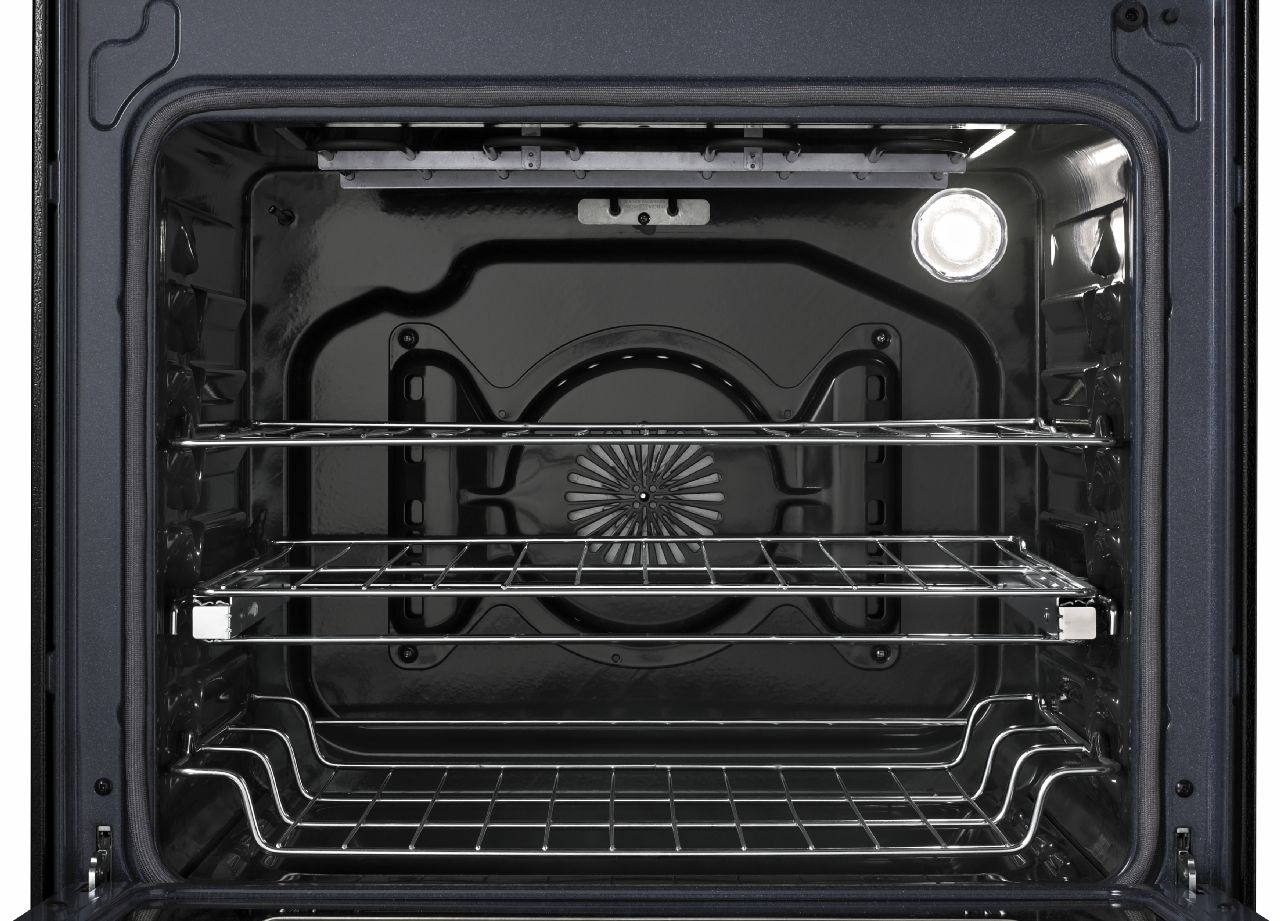
The thermostat includes a temperature sensing bulb that runs down the back of the appliance and into the oven itself. Release it from the retaining clips at the rear of the oven interior and thread it up to the back of the appliance. Set the whole thermostat aside.
4. Install the new part.
Unlike most installation procedures, don’t reassemble the oven in backward order. First, secure the box of the thermostat assembly to the back of the oven by tightening the front-facing screws under the knob. Once the part is tightly in place, attach the wires. Use your picture as a guide to ensure everything is connected correctly.
Next, thread the sensing bulb down through the back of the oven and into the interior. Clip it to the rear wall under the element.
5. Reassemble the oven.
Slide the rear panel into position and make sure the bottom clips are in place. Then replace the screws along the panel’s edge. Move to the front of the appliance and push the knob back into position.
For more appliance repairs and tips, go to Jerry’s Appliance Repair here.
Oct. 17, 2019
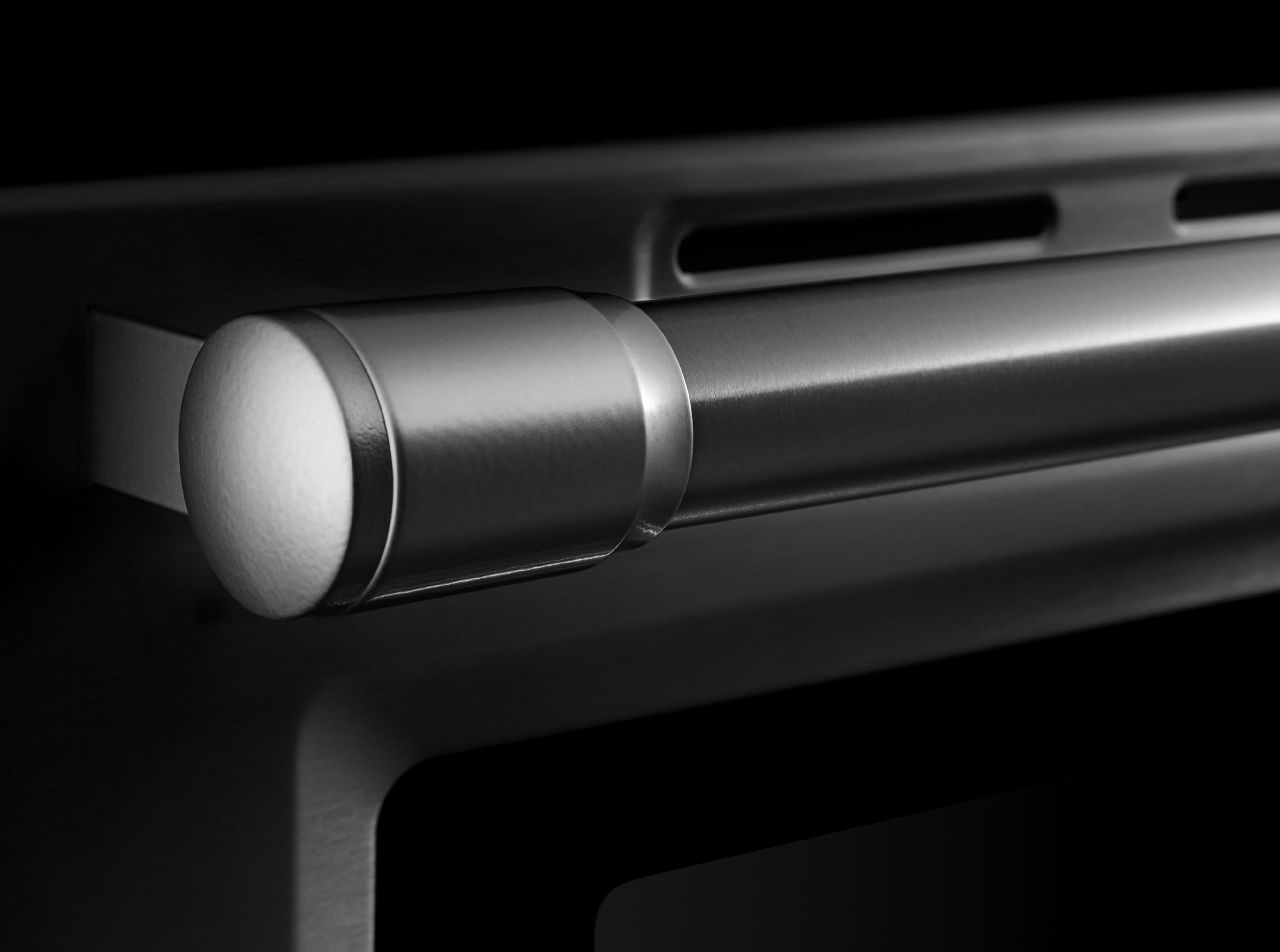
How to Replace the Handle on Your Oven
Oct. 07, 2019
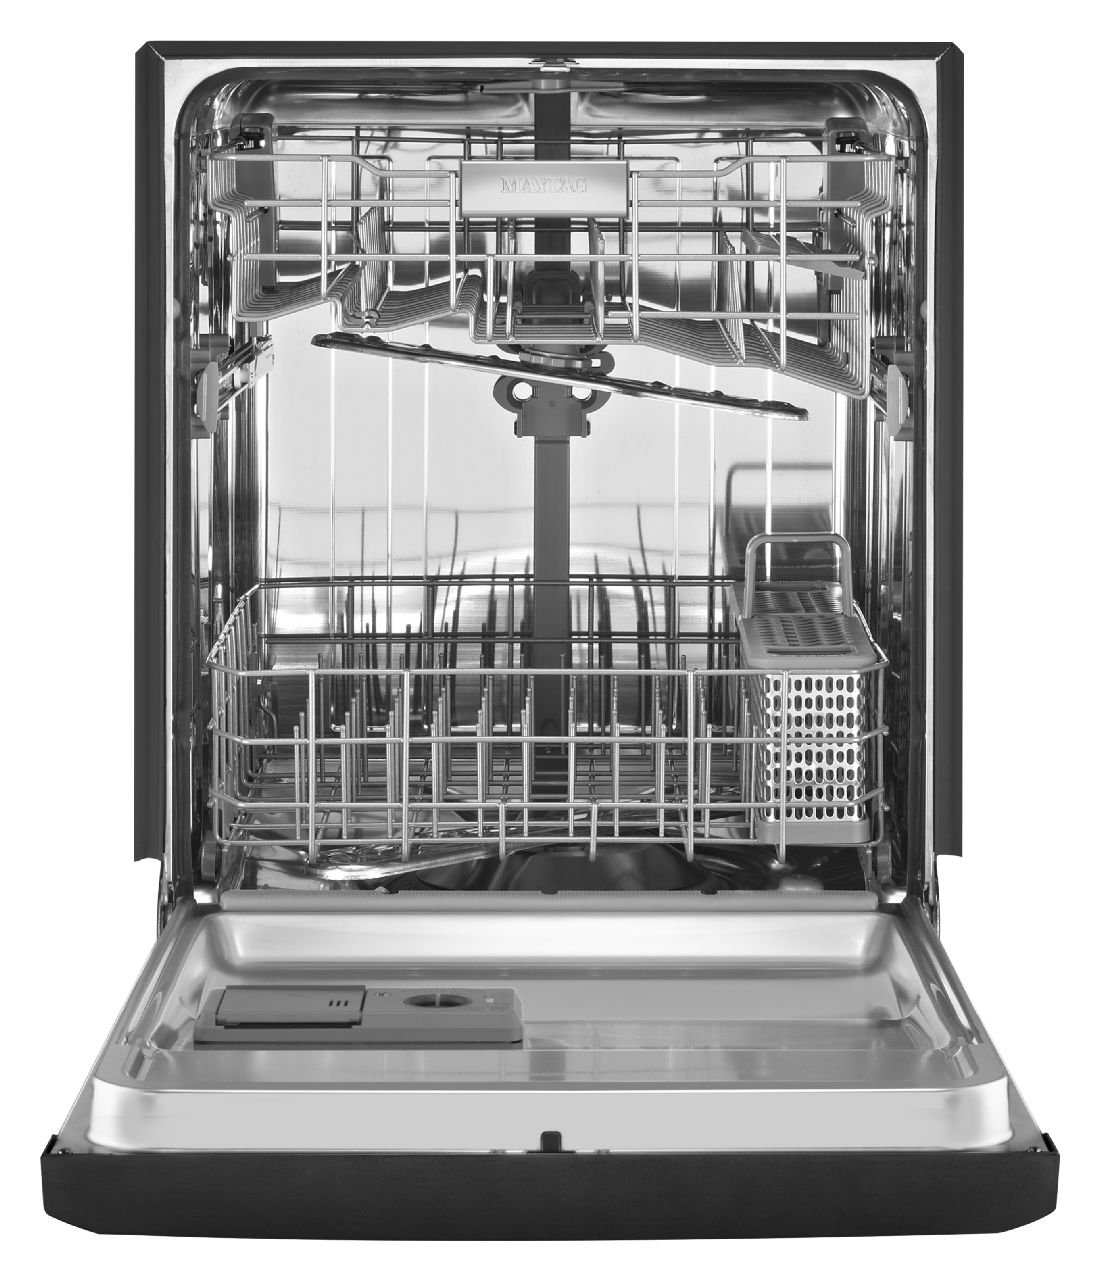
Soap Not Dissolving in Dishwasher
Sep. 29, 2019
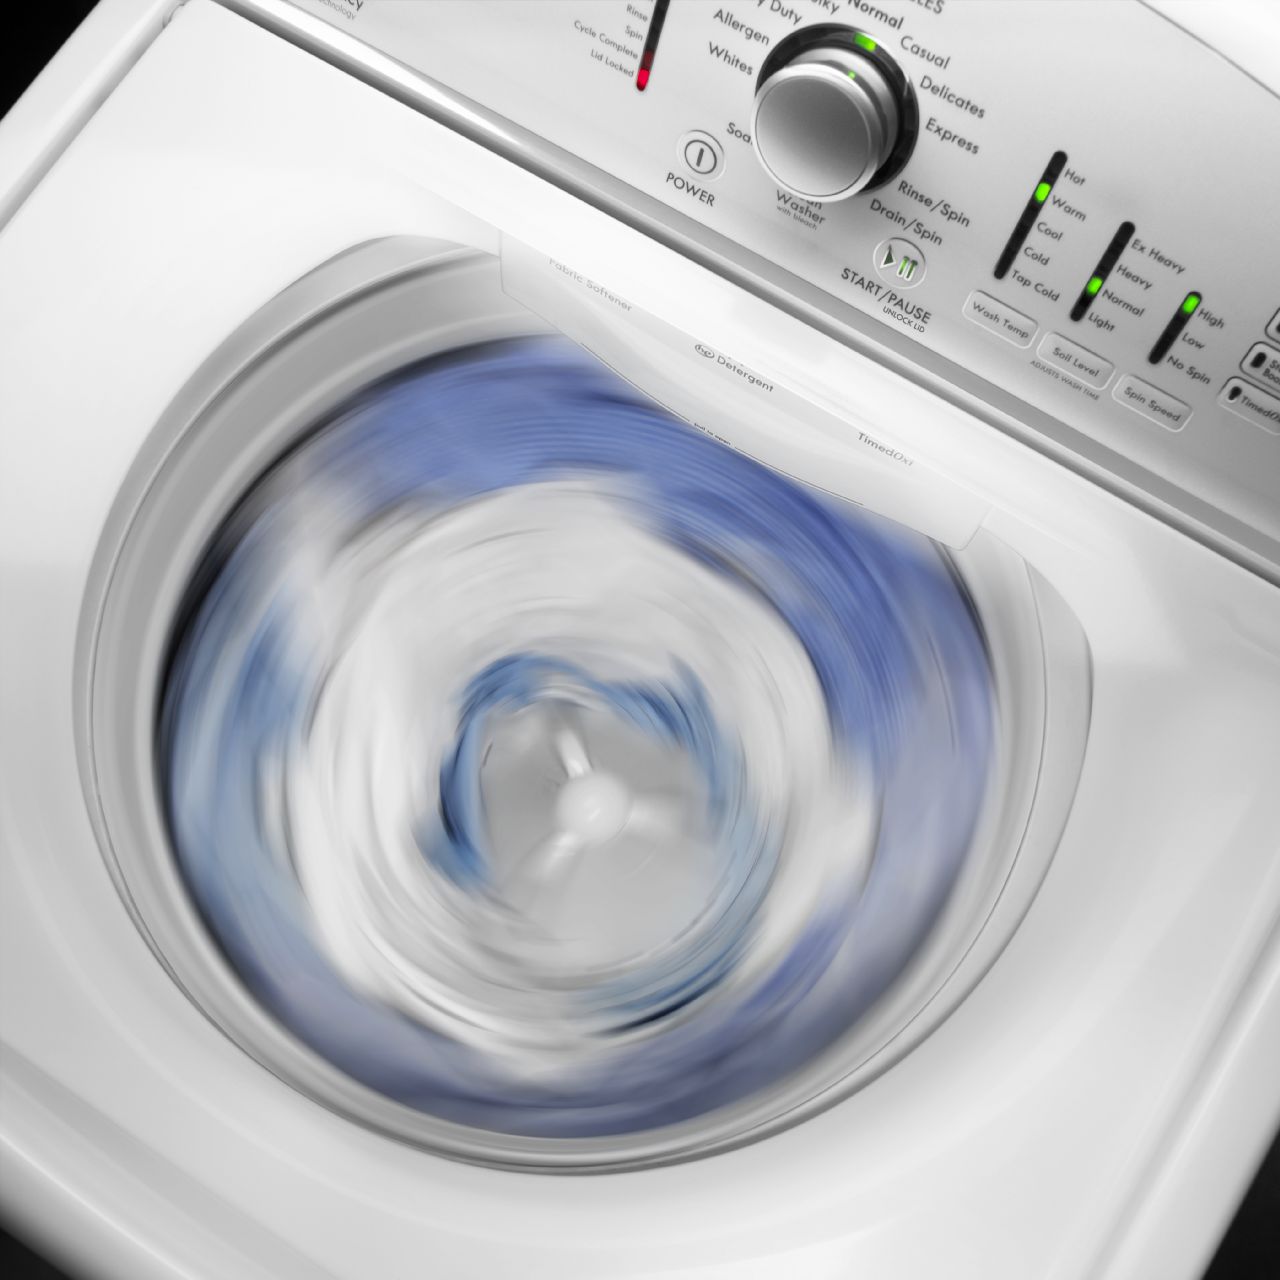
Why Won’t My Washing Machine Stop Spinning?
Sep. 16, 2019
How to Replace the Door Panel on a Dishwasher

Sep. 09, 2019
Samsung Top Load Washer Lid Lock Repair
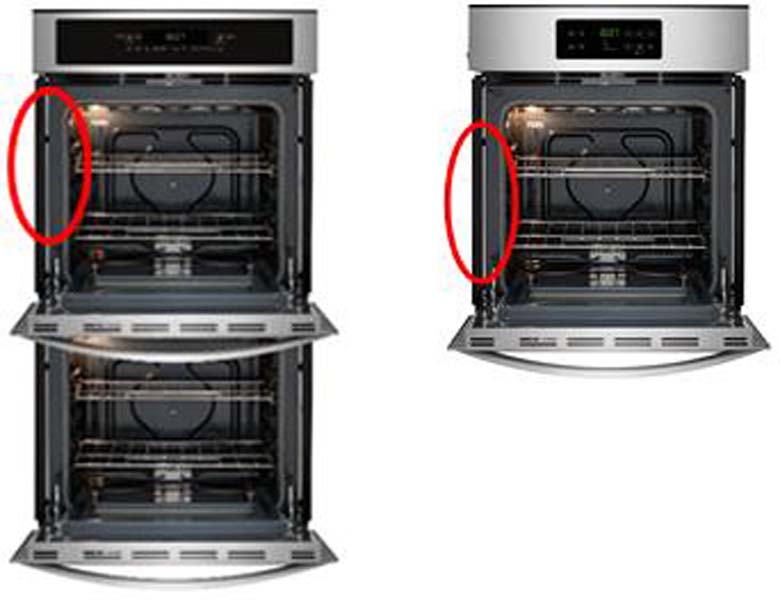
Aug. 22, 2019
Kenmore and Frigidaire Wall Ovens Recalled
Aug. 16, 2019
What to Do When an Oven Door Will Not Unlock
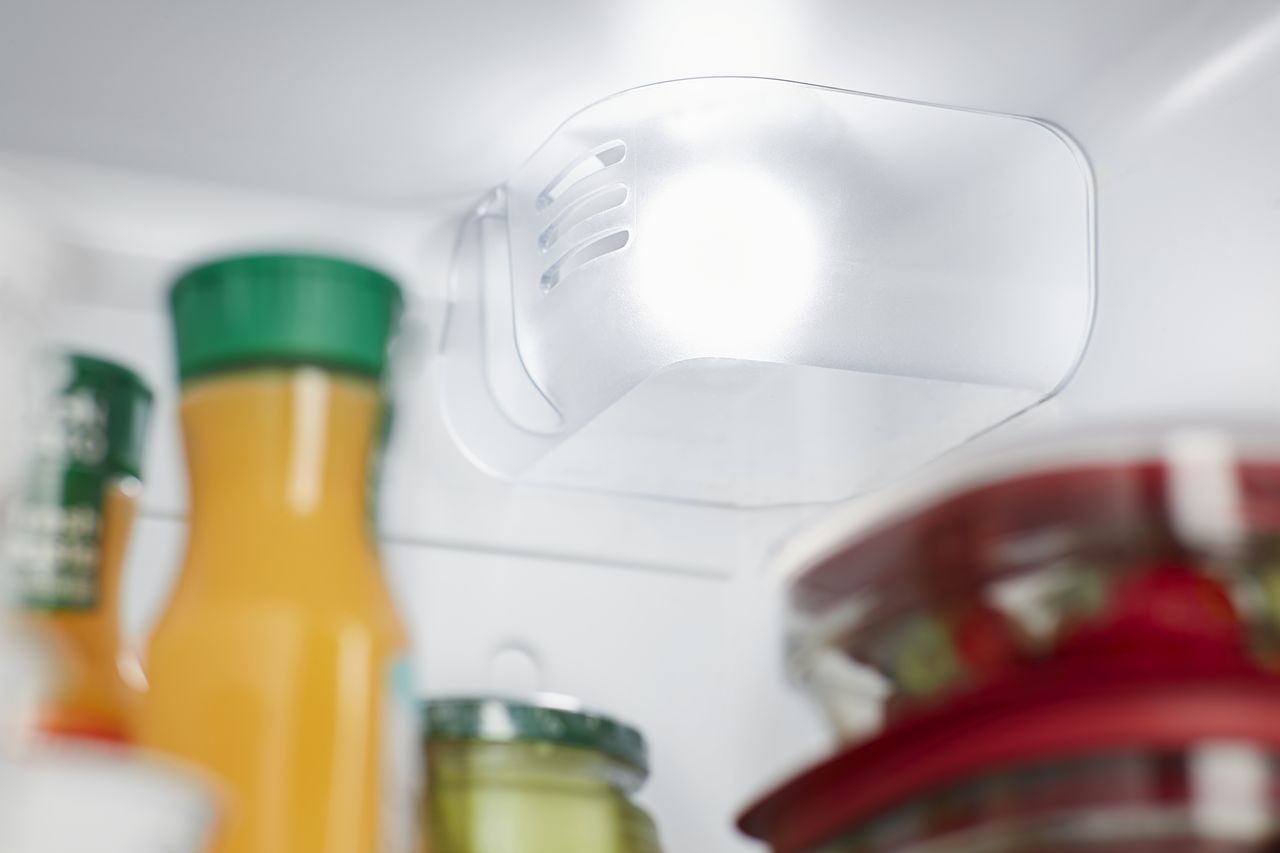
Aug. 06, 2019
How to Replace a Refrigerator Light

Jul. 29, 2019
Reasons Your Dishwasher Takes Forever to Fill
Jul. 22, 2019
Fixing a Washer That is Not Filling Fast Enough
Jul. 16, 2019
What to Check When The Oven Door Won’t Close
Jun. 27, 2019