

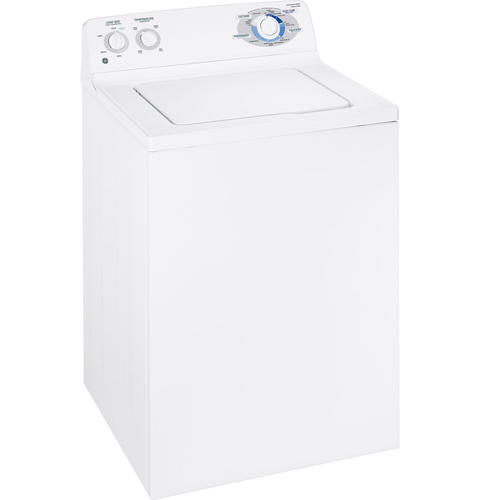
August 27, 2018
Washer Repair
The shock dampening straps in your top-load GE washer model WHDSR316GWW decrease the movement of the tub as it spins. A damaged strap can lead to an unbalanced washer, meaning your appliance will shake or vibrate excessively during the spin cycle. The dampening straps are located in the top four corners of your washer and run between the tub and the frame of your appliance. Switching out a broken strap for a new one is a repair that you can take on yourself. If you plan on replacing one or more of the shock dampening straps in your washer, follow the step-by-step directions provided below.
How to Replace the Shock Dampening Straps in Your GE Washer
To avoid electrocution, unplug your washer or turn it off at the circuit breaker. Always wear safety goggles and work gloves during a repair.
-
Unthread the screws on the back of the control panel. Move to the front of the washer, and rotate the control panel forward. Disconnect the wires from the control board and place it somewhere safe.
-
Insert a putty knife into the seam between the washer’s front panel and main top. Slide the putty knife over until you run into a spring clip. Release the spring clip, and repeat the same process on the opposite side of the main top. Once both spring clips are disengaged, pull the front panel off the washer.
-
Remove the two screws securing the main top to the washer’s frame. Slide the top forward and pull it off the washing machine.
-
Locate the damaged dampening strap, and unthread the screw holding the strap to the washer tub. Next, remove the screw attaching the bracket and the dampening strap to the frame of the washing machine. Take the old strap out of the washer and detach the bracket from the strap.
-
Now you can install the new shock dampening strap. First, with a screw, secure one side of the strap to the washer tub. Next, attach the bracket you removed from the old dampening strap onto the new strap, and connect the bracket and strap to the frame of the washing machine.
-
It’s time to reassemble your washer. Start by reinstalling the main top and securing it with the two screws you removed earlier. Then align the front panel, and snap it back onto the washer frame. Reconnect all the wires to the control board, and line up the tabs on the bottom of the control board with the slots on the washer. Move to the back of your appliance and replace the screws that hold the control panel in place.
-
Plug-in your appliance and enjoy your newly repaired washer.
If you have questions about your washer or another appliance in your home, please contact us today and we’ll be happy to help you.
Oct. 17, 2019
How to Replace the Handle on Your Oven
Oct. 07, 2019
Soap Not Dissolving in Dishwasher
Sep. 29, 2019
Why Won’t My Washing Machine Stop Spinning?
Sep. 16, 2019
How to Replace the Door Panel on a Dishwasher

Sep. 09, 2019
Samsung Top Load Washer Lid Lock Repair
Aug. 22, 2019
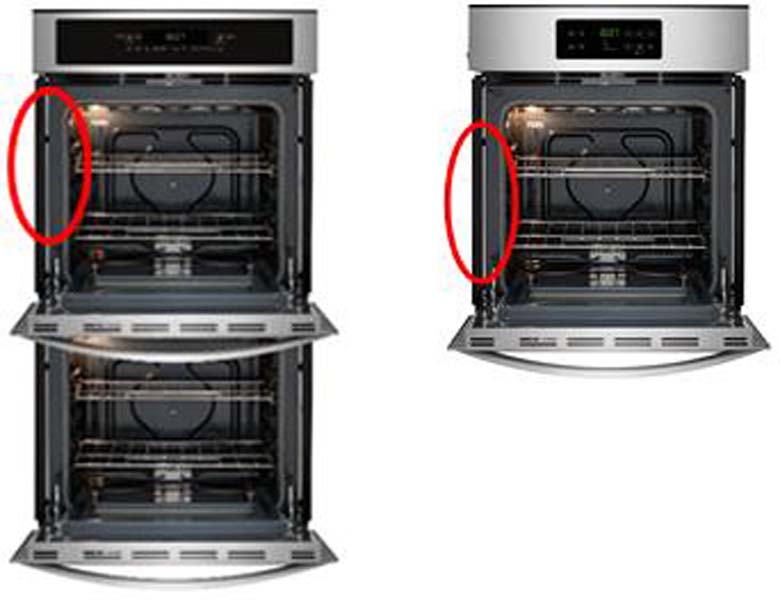
Kenmore and Frigidaire Wall Ovens Recalled
Aug. 16, 2019
What to Do When an Oven Door Will Not Unlock
Aug. 06, 2019
How to Replace a Refrigerator Light
Jul. 29, 2019
Reasons Your Dishwasher Takes Forever to Fill
Jul. 22, 2019
Fixing a Washer That is Not Filling Fast Enough
Jul. 16, 2019
What to Check When The Oven Door Won’t Close
Jun. 27, 2019