

January 4, 2018
Oven Repair
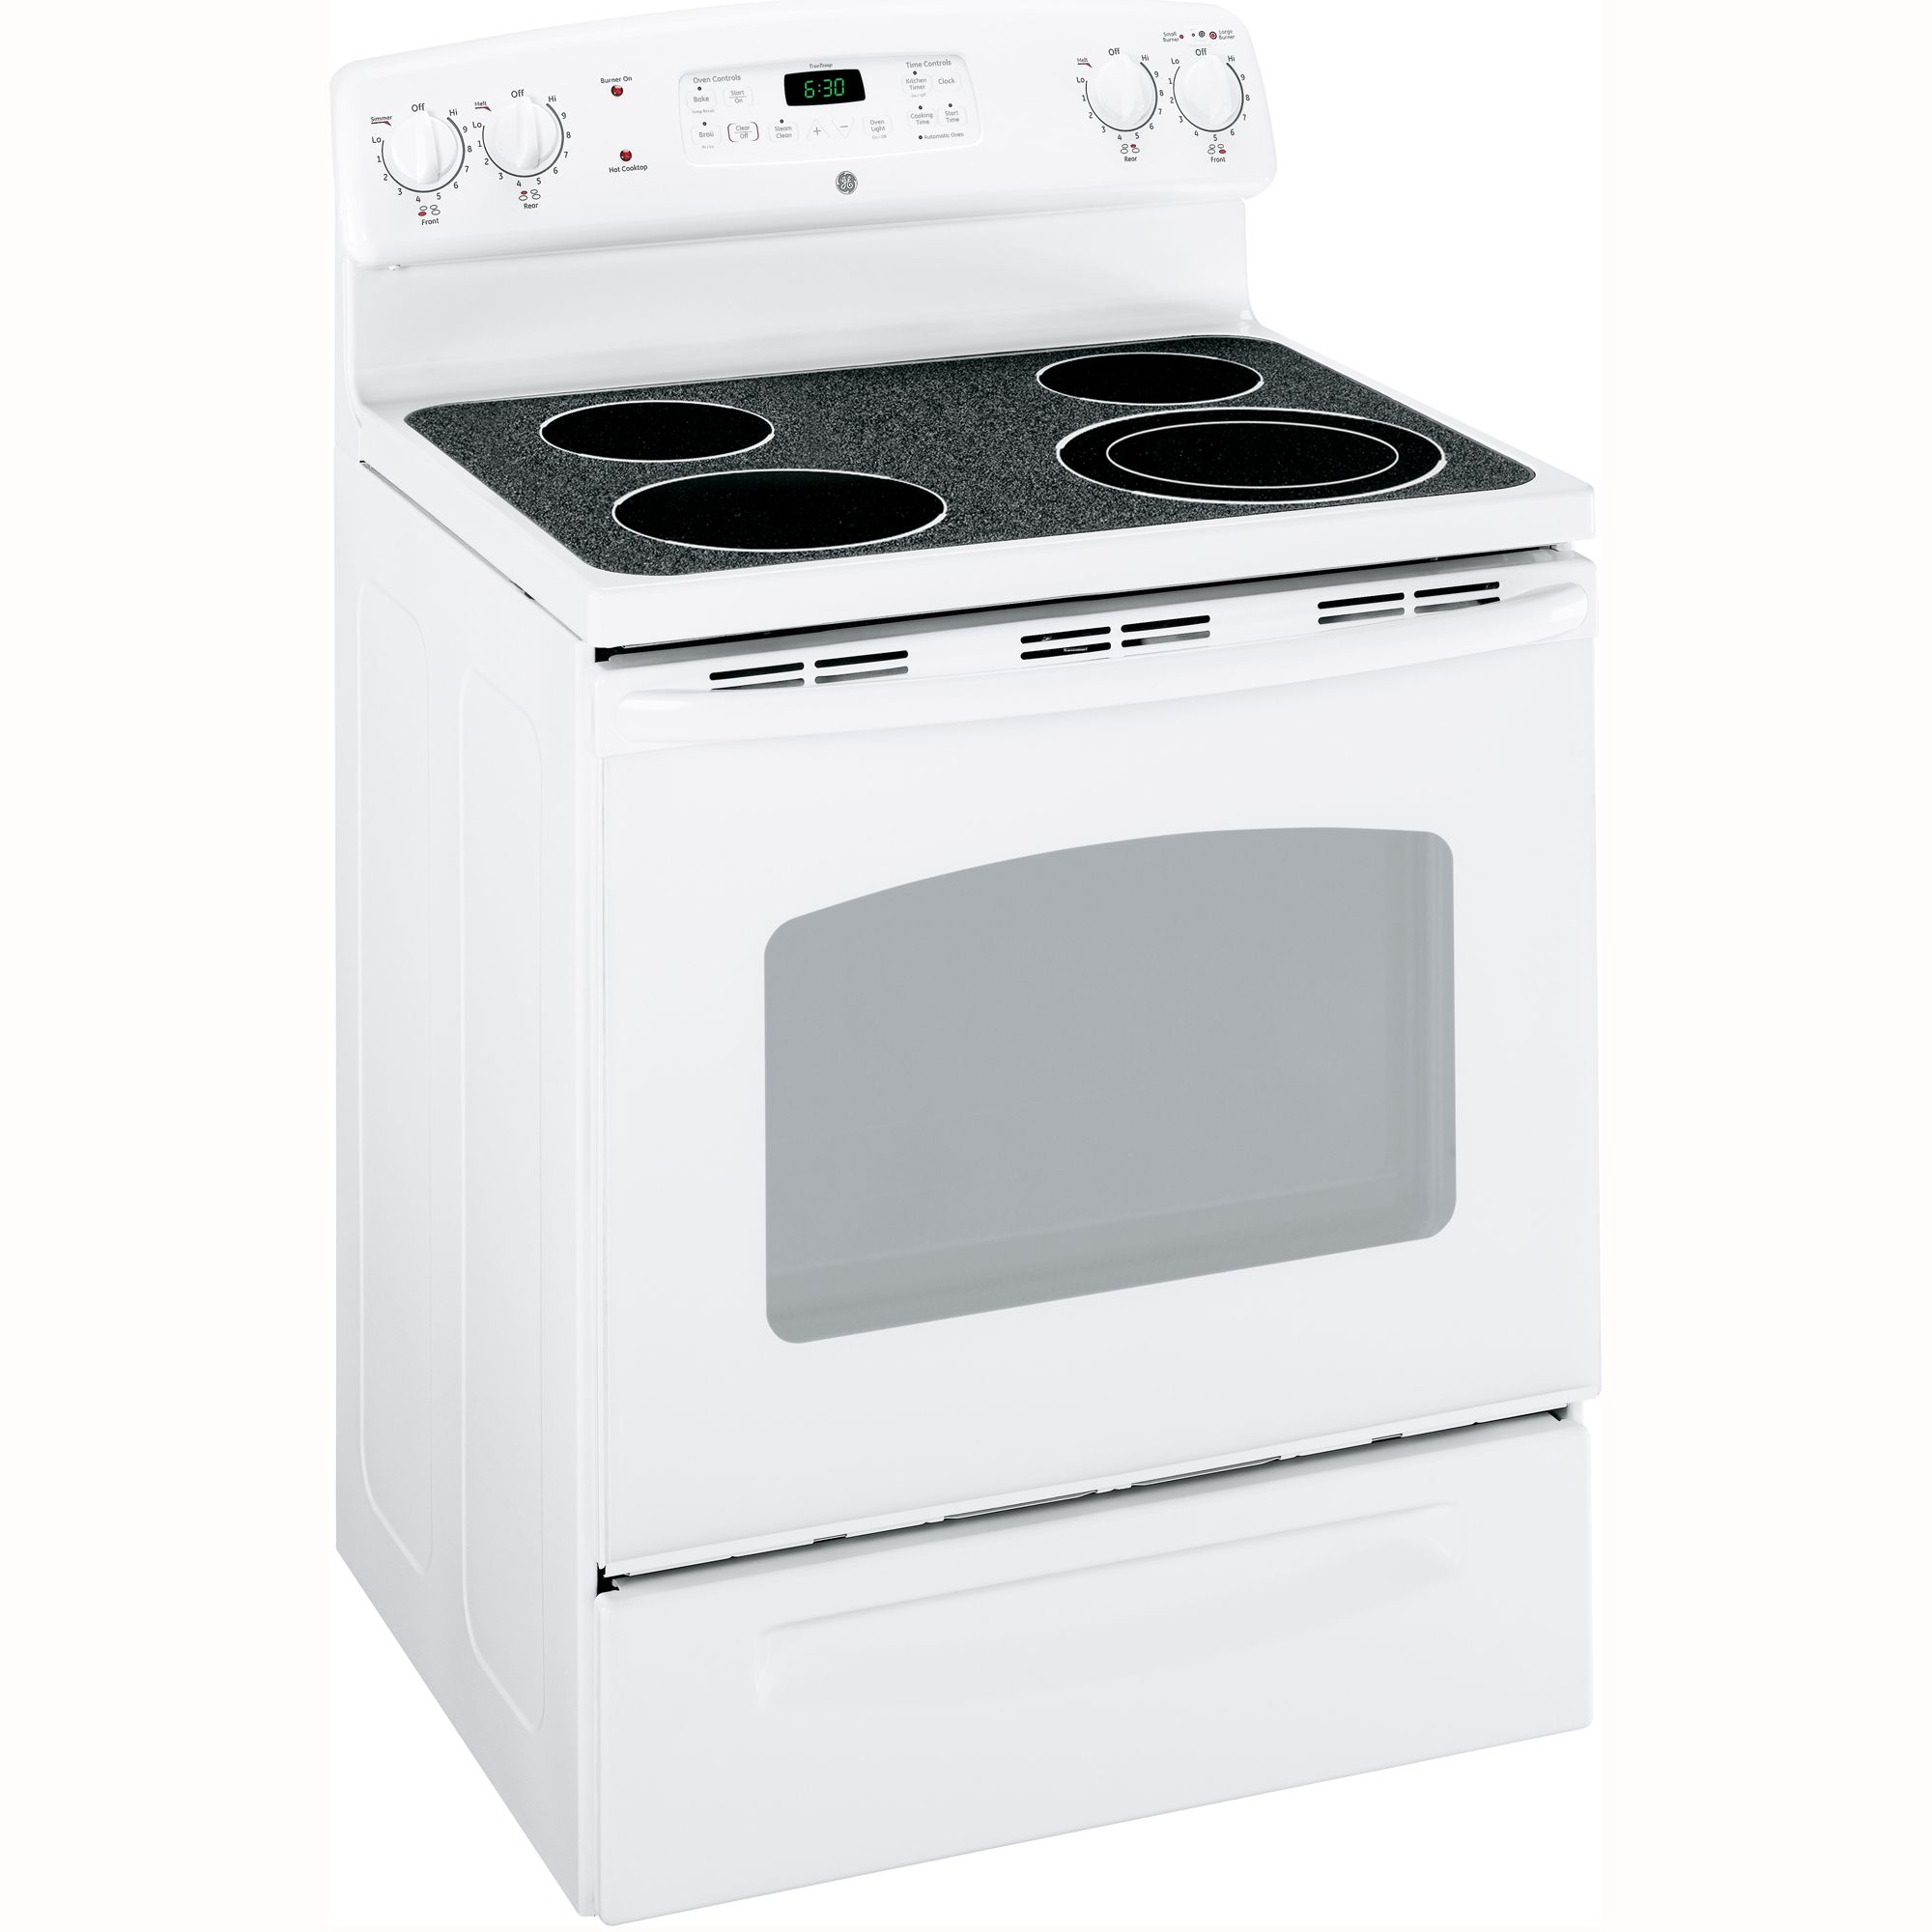
If your oven door isn’t closing properly, take a close look at the trim that supports the glass panel. If it is twisted or cracked, then it’s interfering with the closing mechanism and isn’t adequately supporting the glass. Here’s how to replace it on your GE range with part #WB07T10478.
- Unplug the oven or flip the circuit breaker open to power down the appliance.
- Remove the oven door. Open the door and snap open the hinge locks located where the base of the door attaches to the range. Then partially close the door and pull the door up to work it free of the hinges. You can set the door on a table for more convenient repairs or you can set it on the floor. Make sure to handle it carefully so the glass front doesn’t break.
- Remove the interior panel. Halfway loosen the screws along the inner door panel and unscrew the bottom trim entirely. Lift the inner door panel free and set it aside.
- Unscrew the bottom trim. Even though you already removed the three screws along the bottom of the trim, there are also screws along the side of the trim that have been newly uncovered. Then pull the trim free.
- Screw the new door trim into place. First, work the door glass into the trim’s clip and then snap the trim into place. Replace the side screws.
- Put the inner door panel back into place. At the top of the inner door panel, push the sleeves over the top screws down. Then put the inner door back into place and retighten the screws along the top of the panel and the bottom of the trim.
- Reinstall the door. Place the hinges along the hinge locks and carefully lower the door to lock it into place.
Whether you want to make repairs that involve electrical parts or just the hardware, we have the procedures you need. Go to Jerry’s Appliance Repair for more.
Oct. 17, 2019
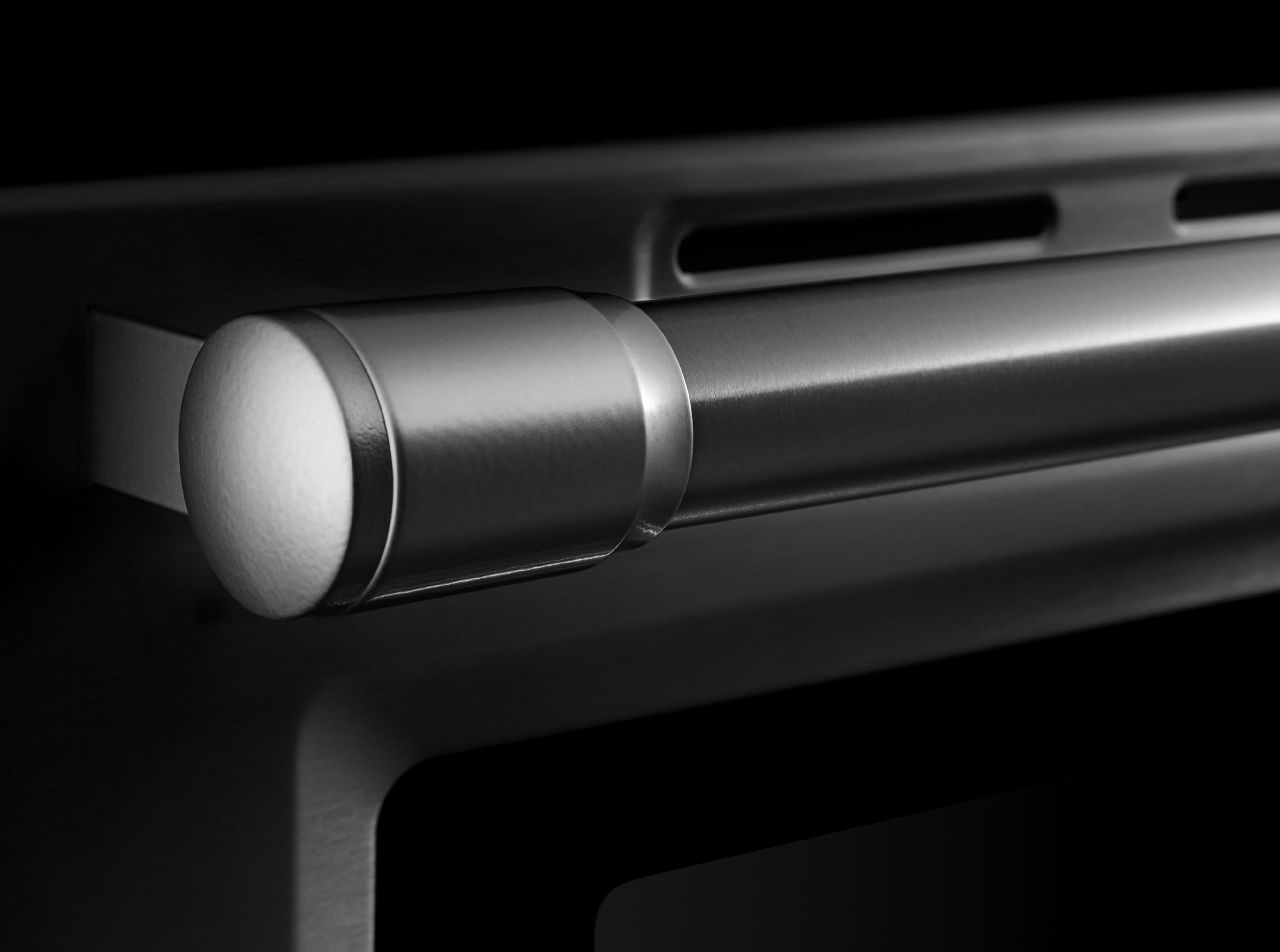
How to Replace the Handle on Your Oven
Oct. 07, 2019
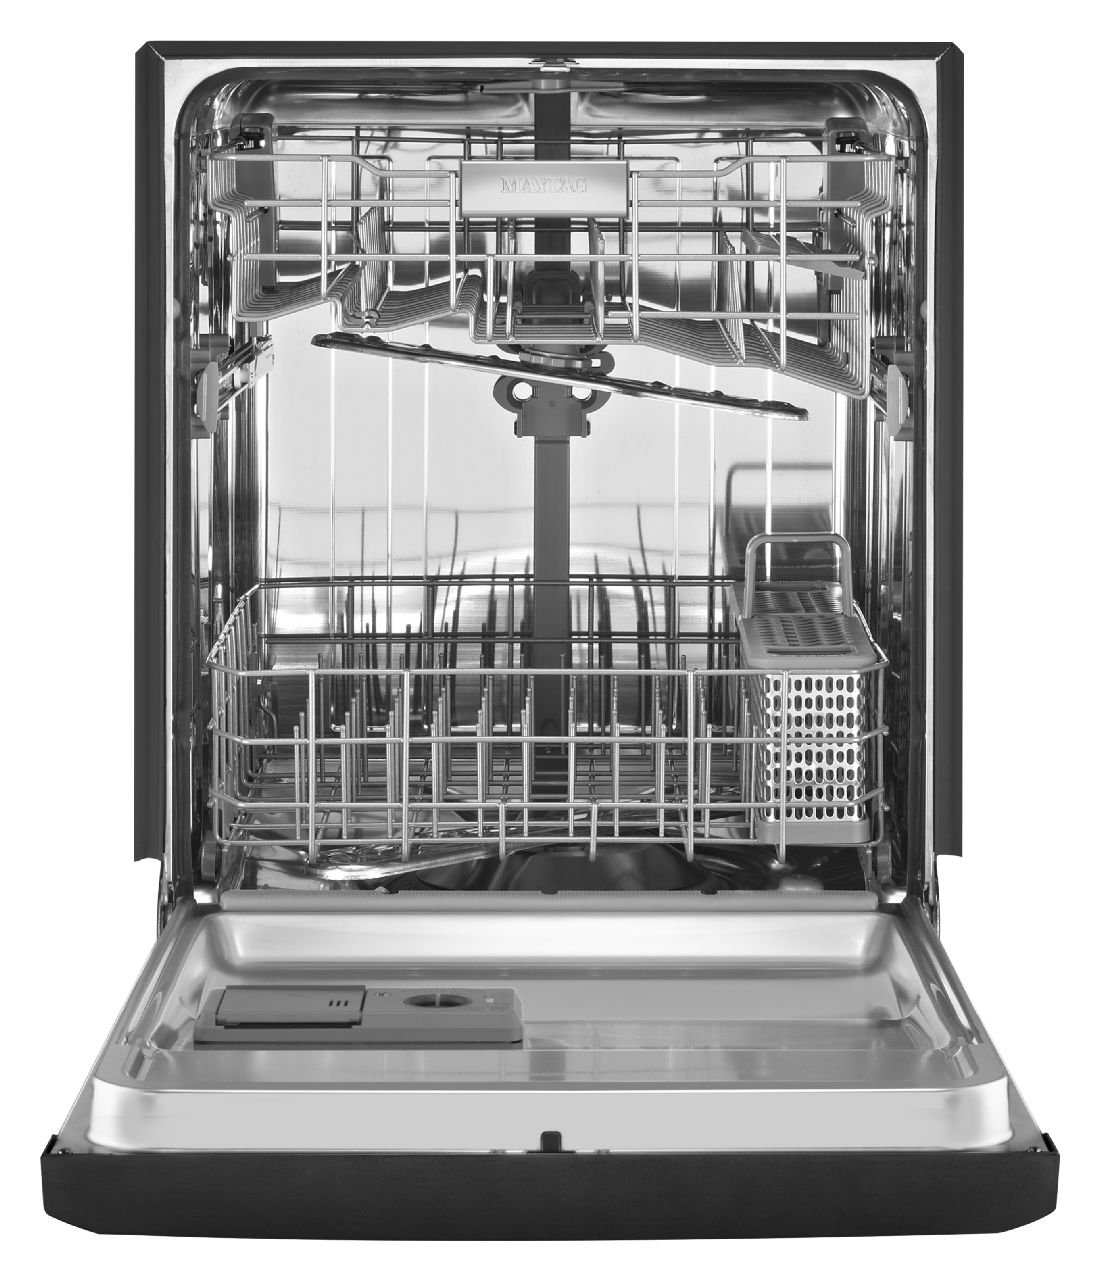
Soap Not Dissolving in Dishwasher
Sep. 29, 2019
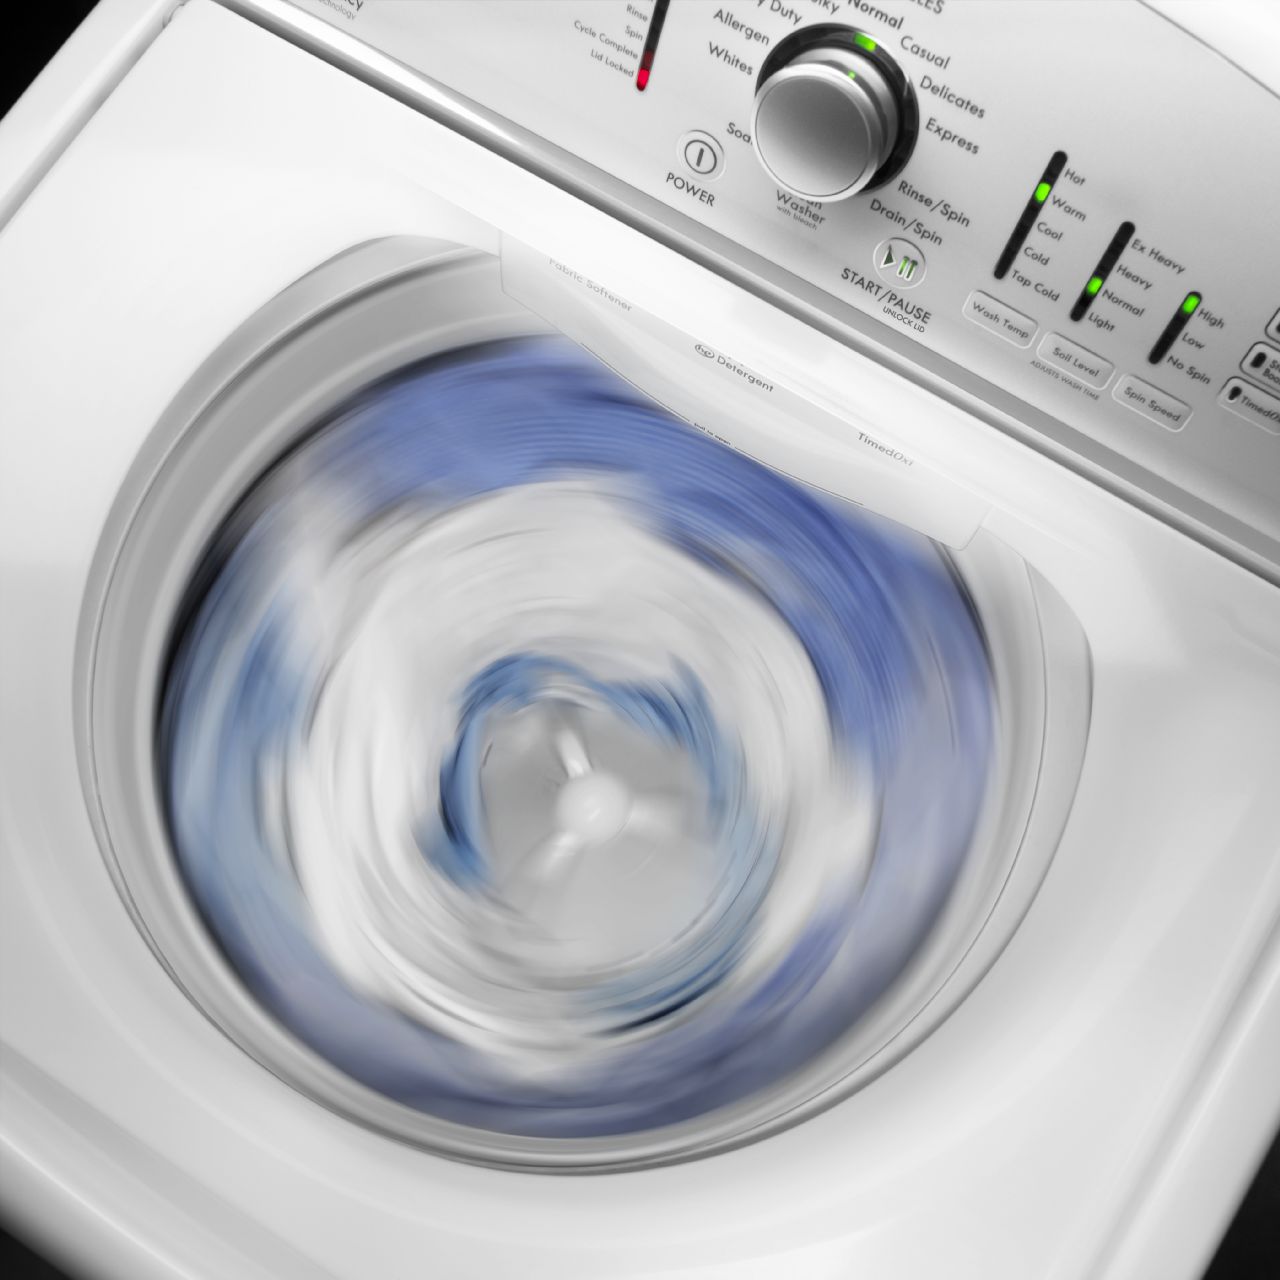
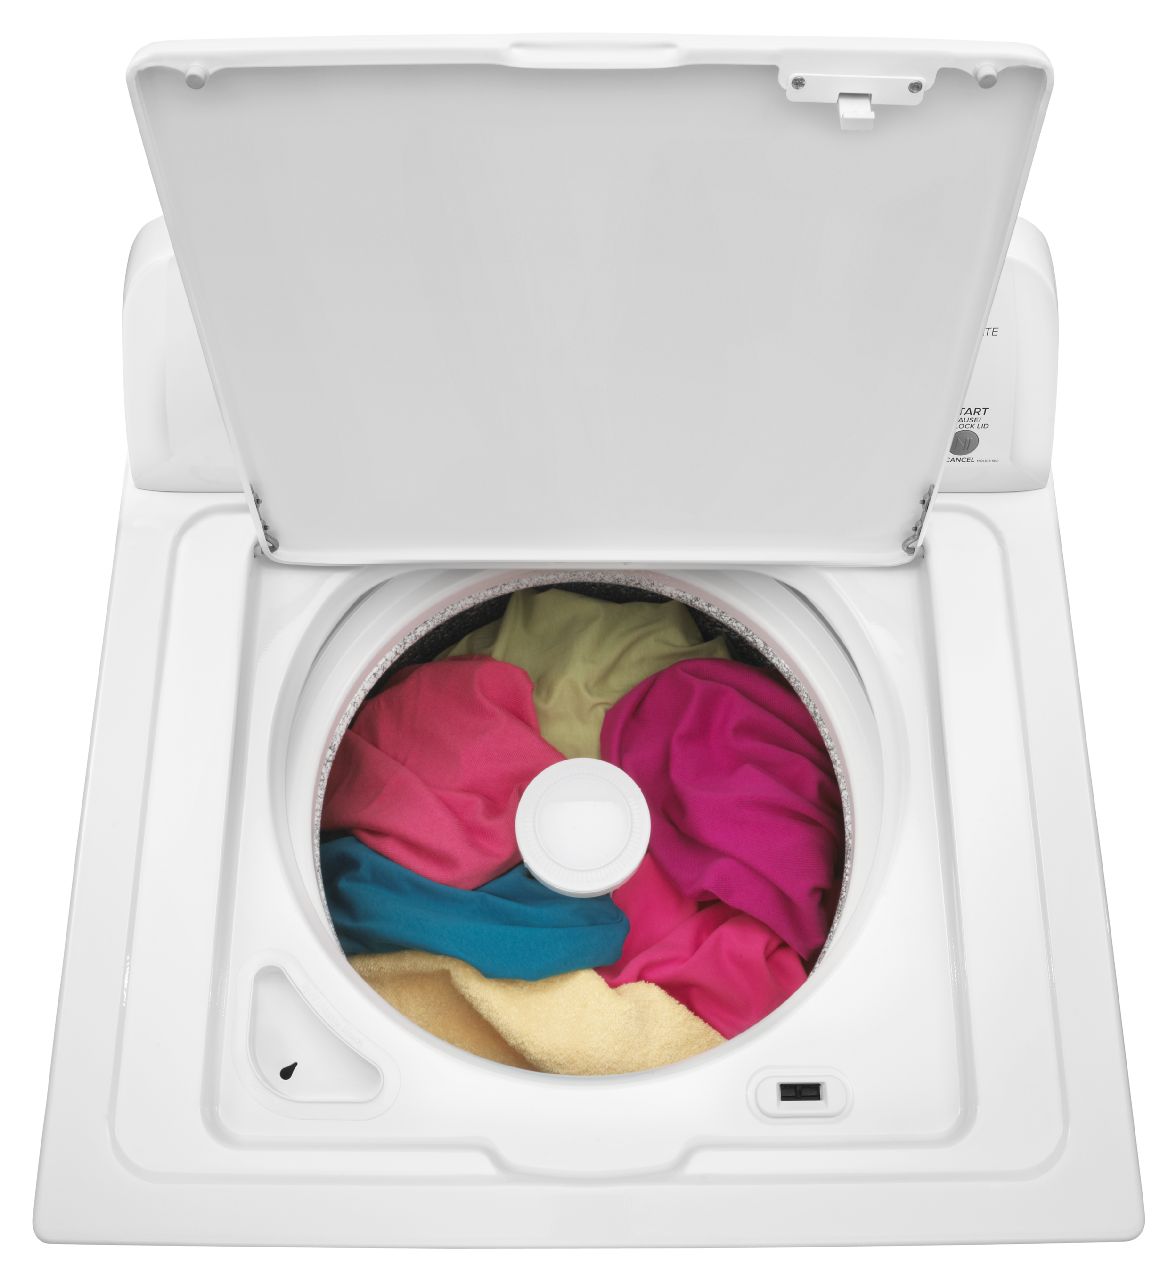
Why Won’t My Washing Machine Stop Spinning?
Sep. 16, 2019
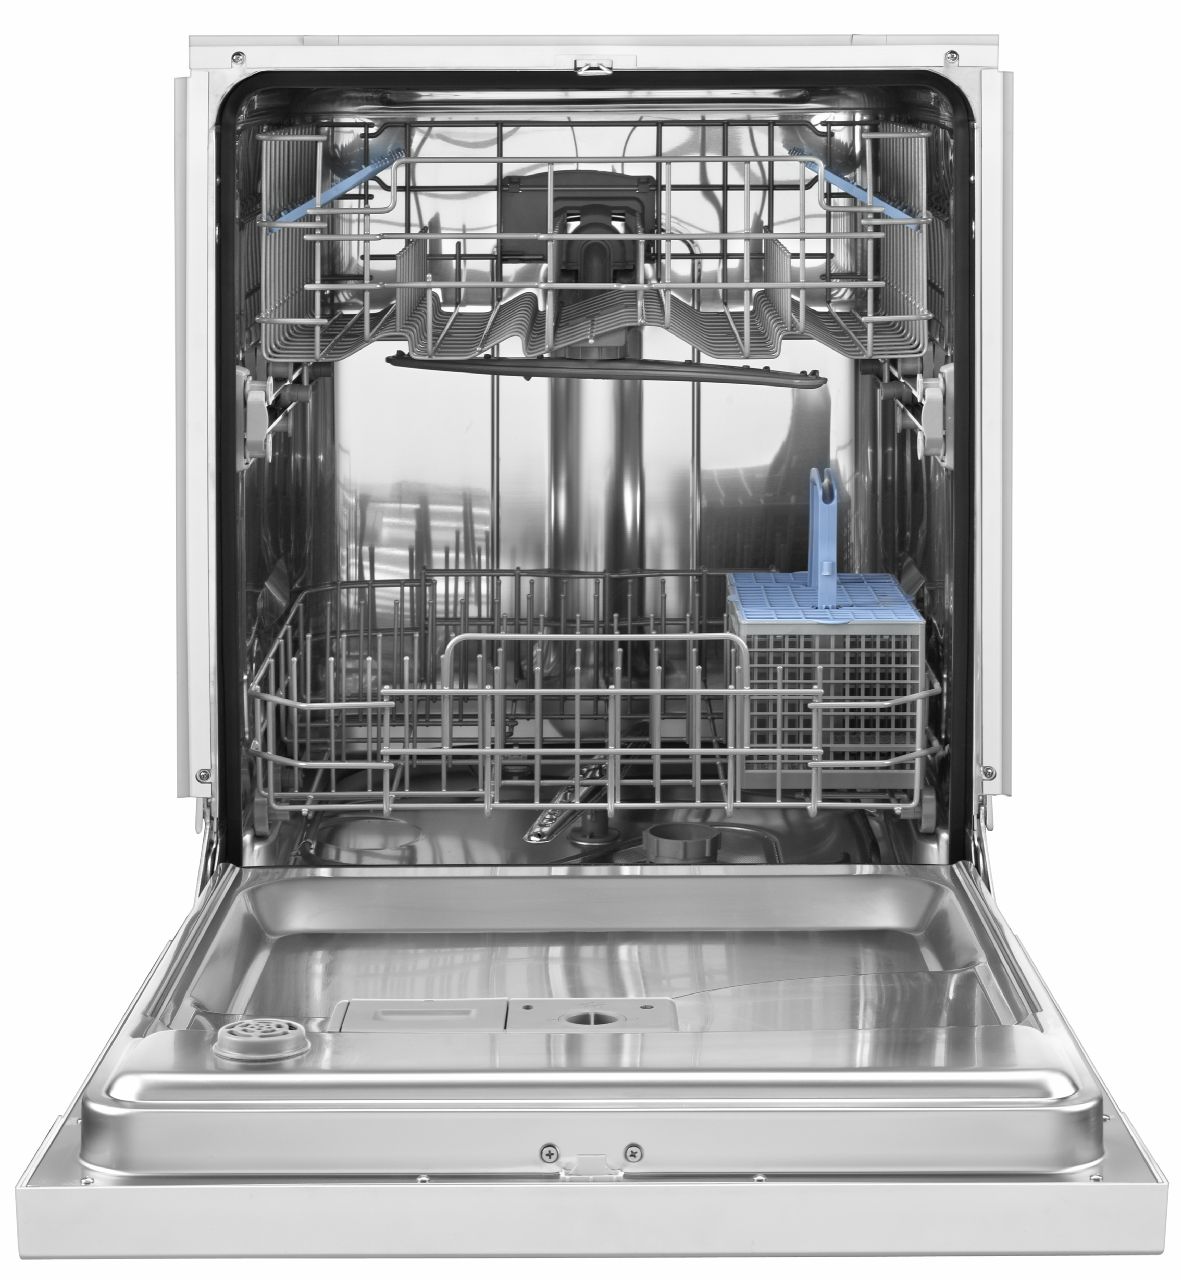
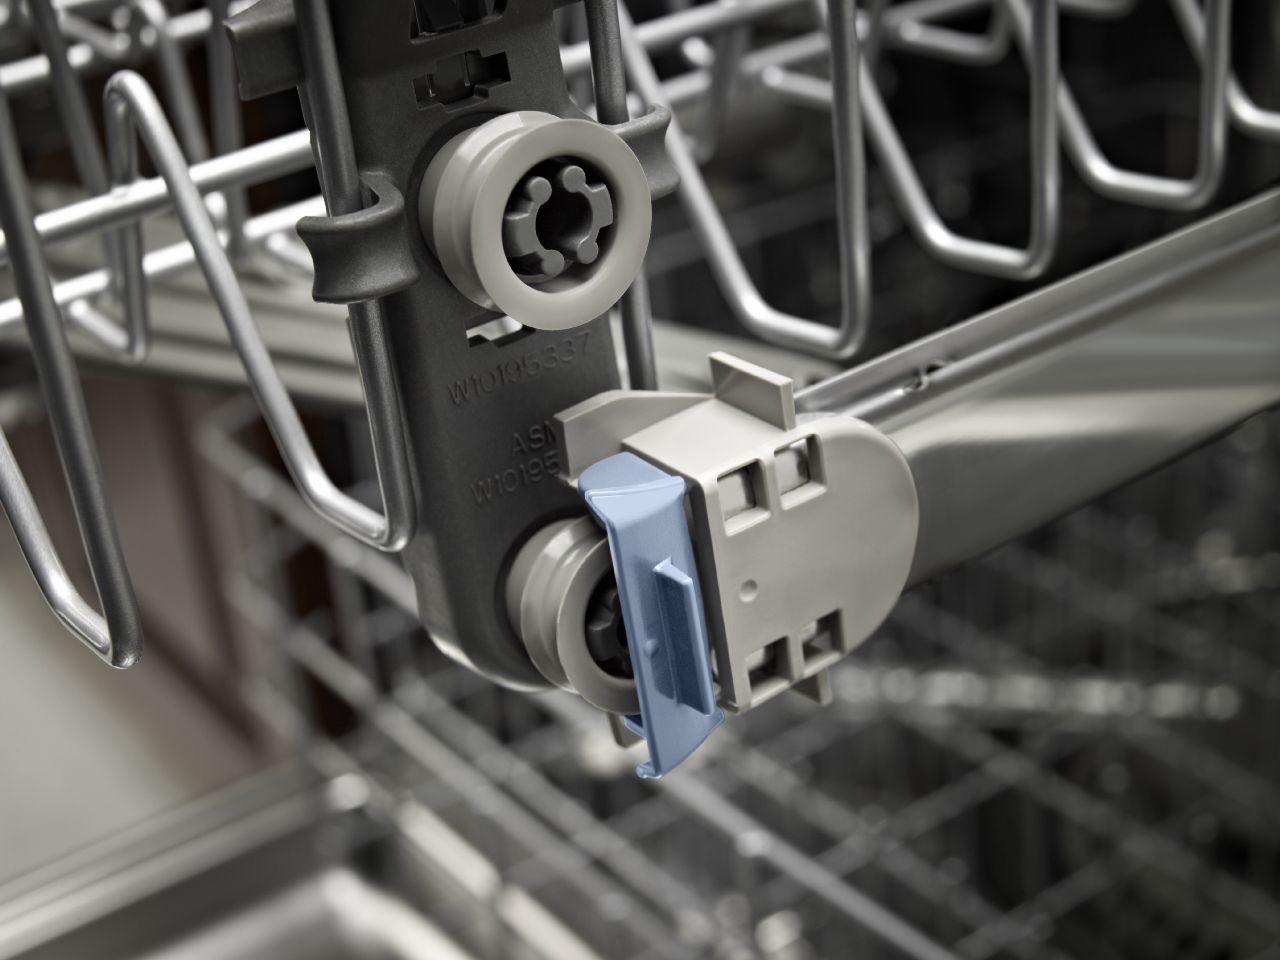
How to Replace the Door Panel on a Dishwasher

Sep. 09, 2019
Samsung Top Load Washer Lid Lock Repair
Aug. 22, 2019
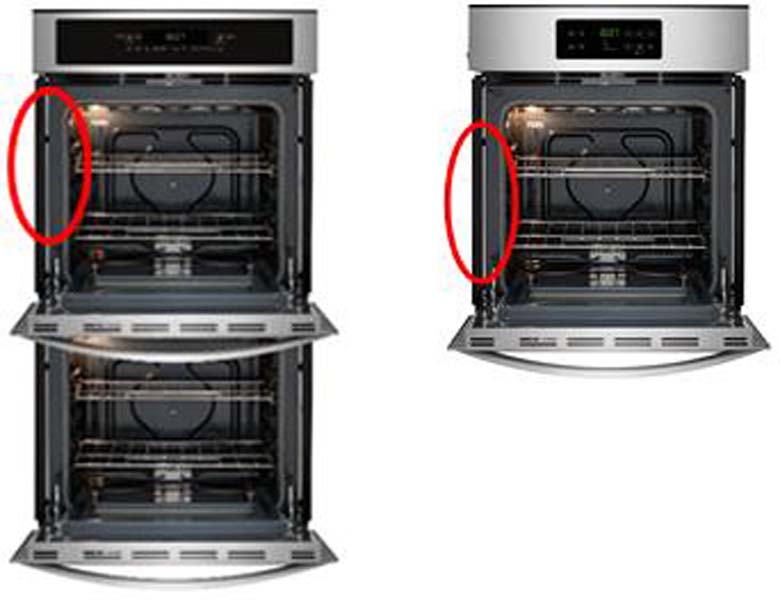
Kenmore and Frigidaire Wall Ovens Recalled
Aug. 16, 2019
What to Do When an Oven Door Will Not Unlock
Aug. 06, 2019
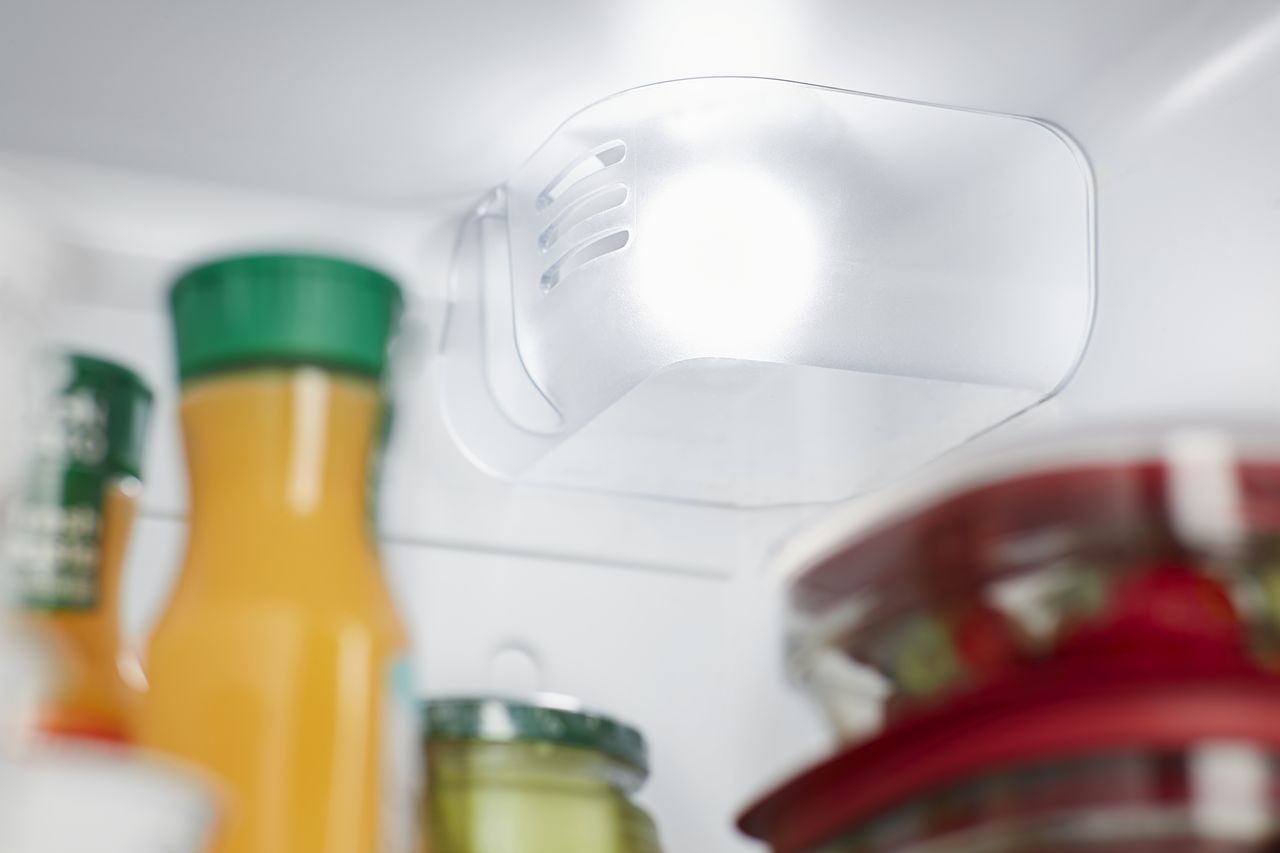
How to Replace a Refrigerator Light

Jul. 29, 2019
Reasons Your Dishwasher Takes Forever to Fill
Jul. 22, 2019
Fixing a Washer That is Not Filling Fast Enough
Jul. 16, 2019
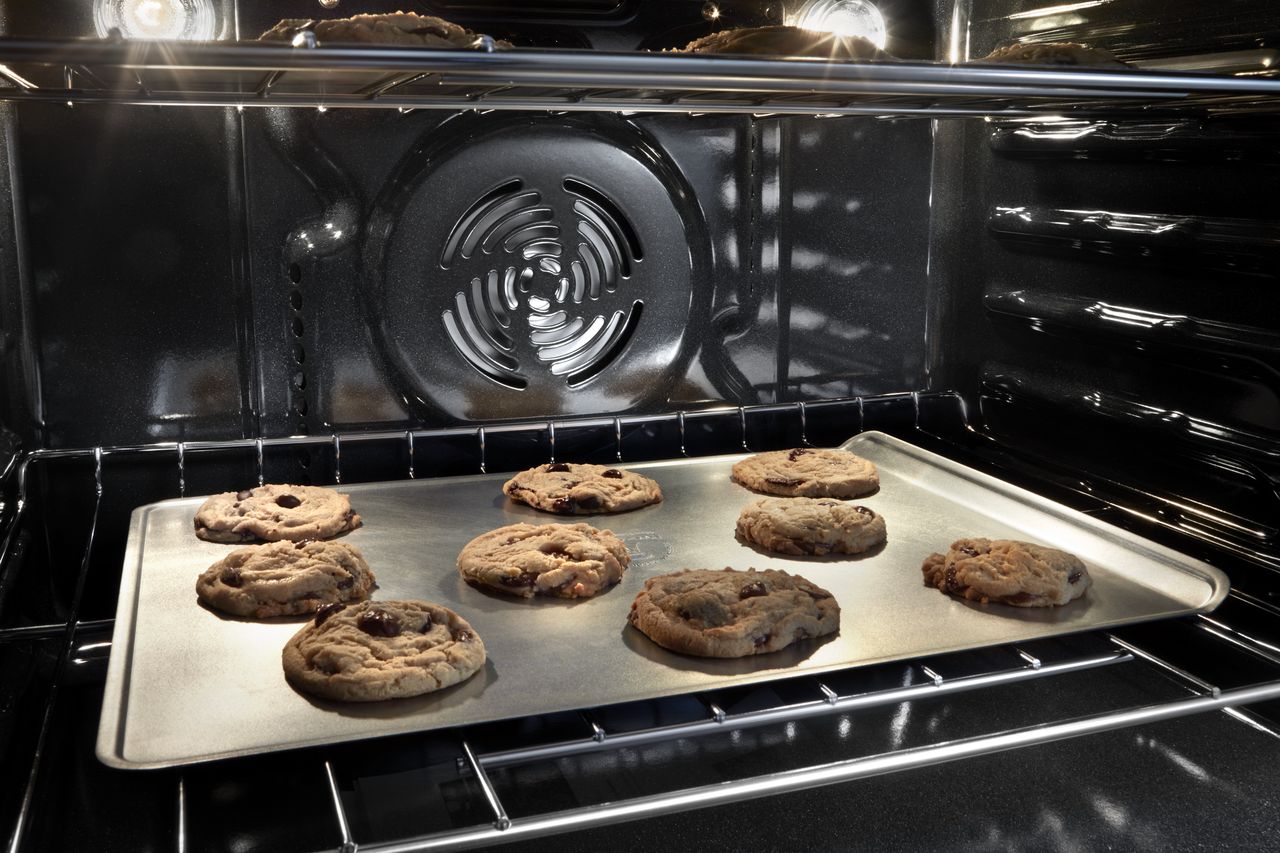
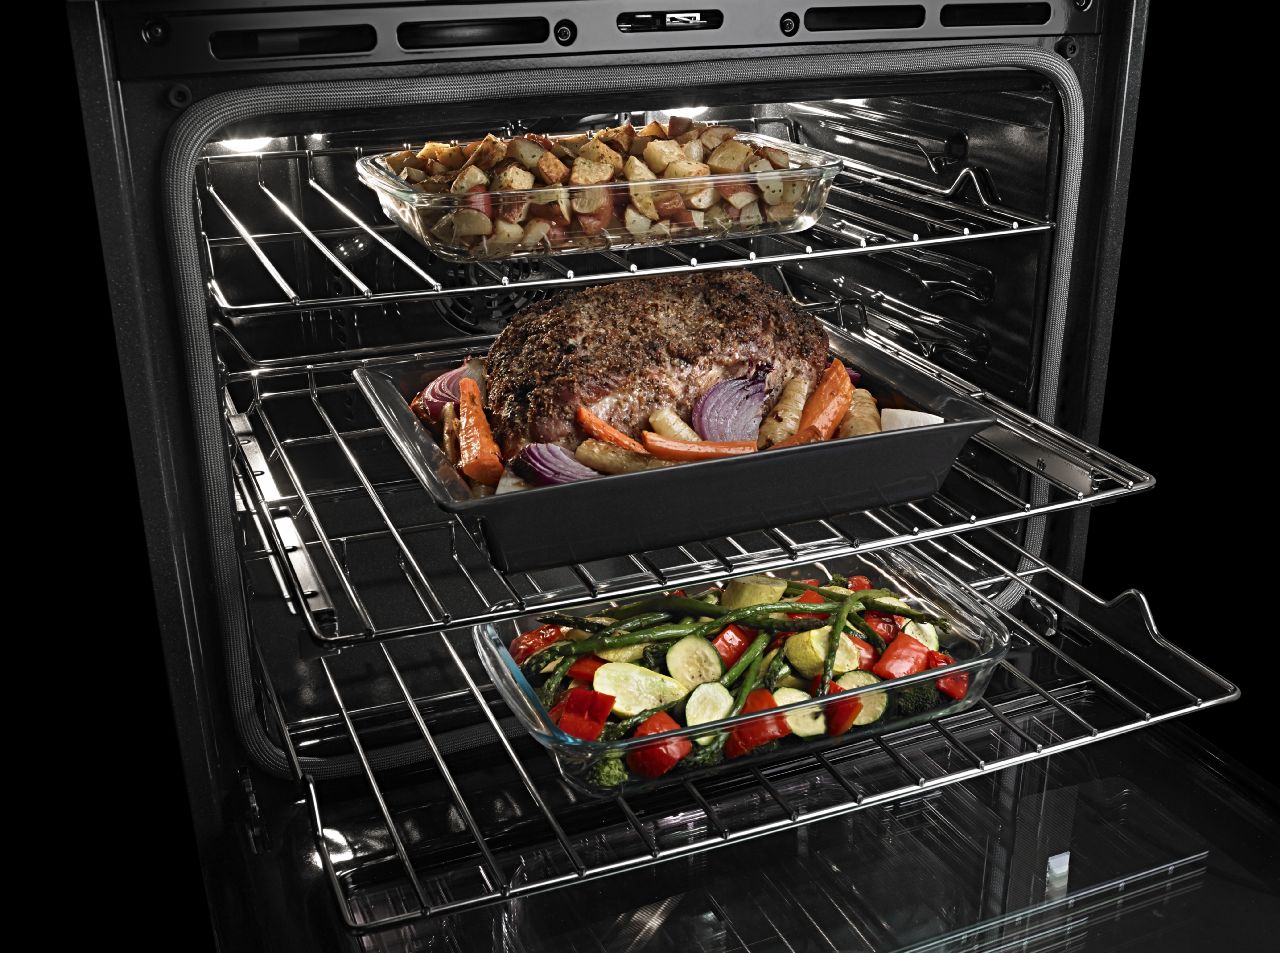
What to Check When The Oven Door Won’t Close
Jun. 27, 2019