

March 21, 2018
Oven Repair
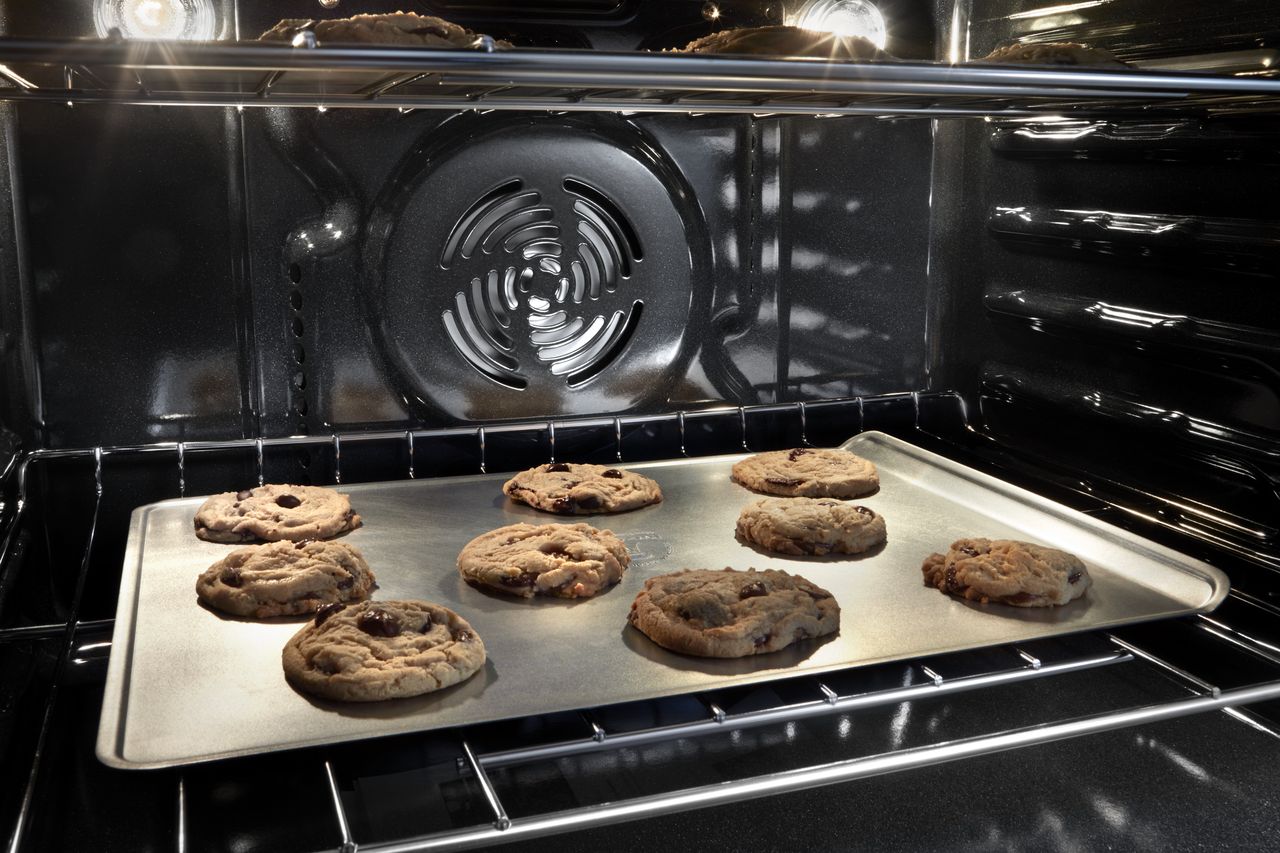
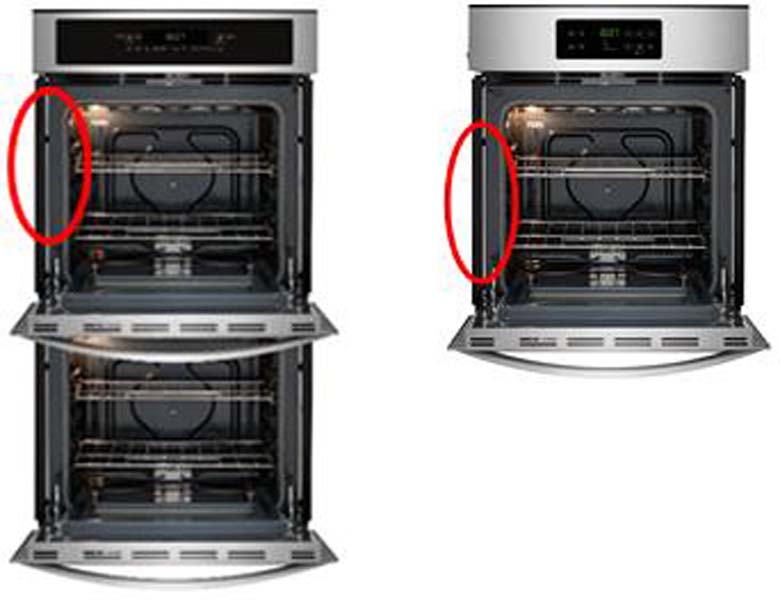
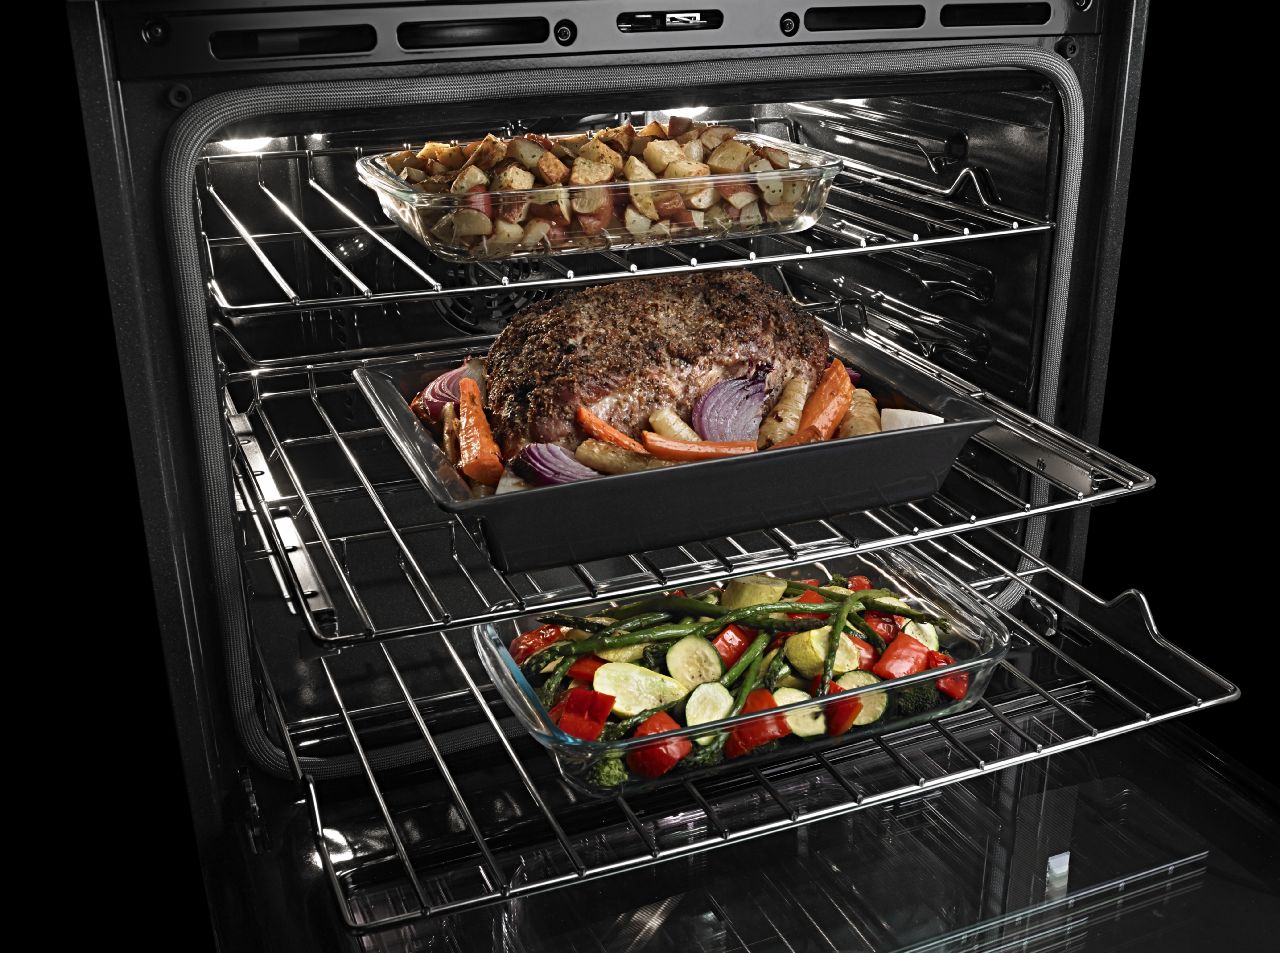
In the back corner of a KitchenAid oven’s cavity, there’s a long sensor that senses internal temperature. The sensor sends the information to the main circuit so the oven can heat to the correct temperature and shut off in the event of a malfunction. But if the temperature sensor shorts out or burns, the oven can’t detect temperature changes. If the range can’t tell what temperature the oven is at with accuracy, then it can’t regulate the temperature or maintain safe heating conditions. If your range isn’t heating correctly, order the replacement part #WP8053344 and follow these steps.
1. Unplug the appliance or flip the circuit breaker.
This should be one of the first steps for any appliance repair job. But it’s especially crucial when replacing the oven temperature sensor because you will be pulling the oven away from the wall and replacing an electrical component.
2. Pull the oven range away from the wall so you can access the back.
Remove the screws holding the back panel in place, release the locking tab to pull the panel away, and then set the access panel to the side.
3. Remove the old oven temperature sensor.
This should be located in the top left corner, and you will see the two wires trailing to the wire nuts, not the probe itself. Use a flathead screwdriver to pry open the locking tab connect the wire nuts to the next collection of wires. Then unscrew the base of the sensor with a Phillips head screwdriver and completely remove the part. Set it to the side.
4. Replace the oven temperature sensor.
Slide the replacement temperature sensor into the hole and secure the base by screwing it into position. Then connect the plug by hand. You should hear the click of the locking mechanism. If the plug doesn’t fit, cut off the ends and replace them with the included wire nuts for a better connection.
5. Reattach the access panel.
Slide the access panel down so it aligns with the locking tabs and clicks into position. Then tighten the screws back into position. The range is ready to be pushed back into position and plugged back in.
For more oven and major appliance repair tips, go to Jerry’s Appliance Repair here.
Oct. 17, 2019
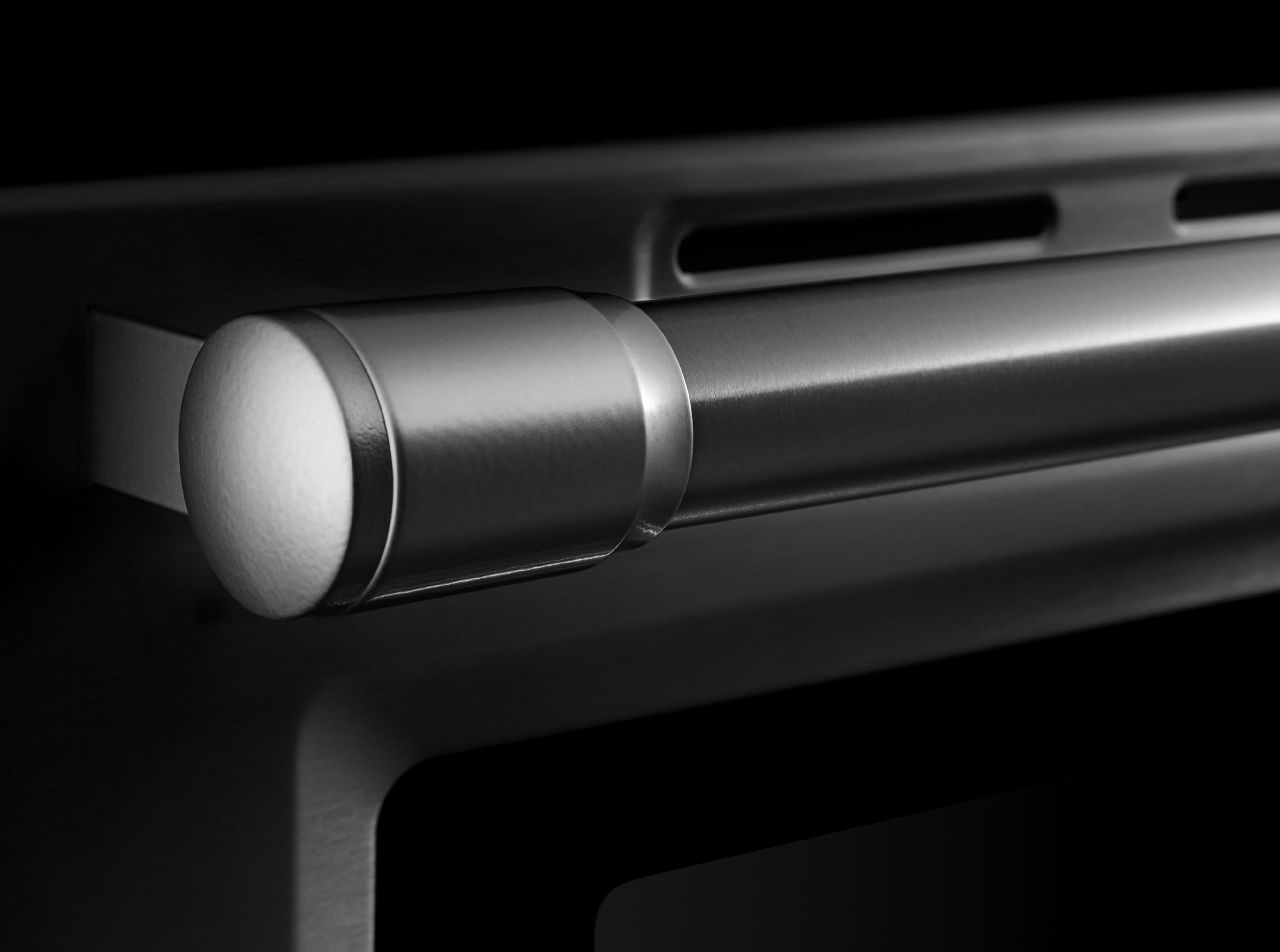
How to Replace the Handle on Your Oven
Oct. 07, 2019
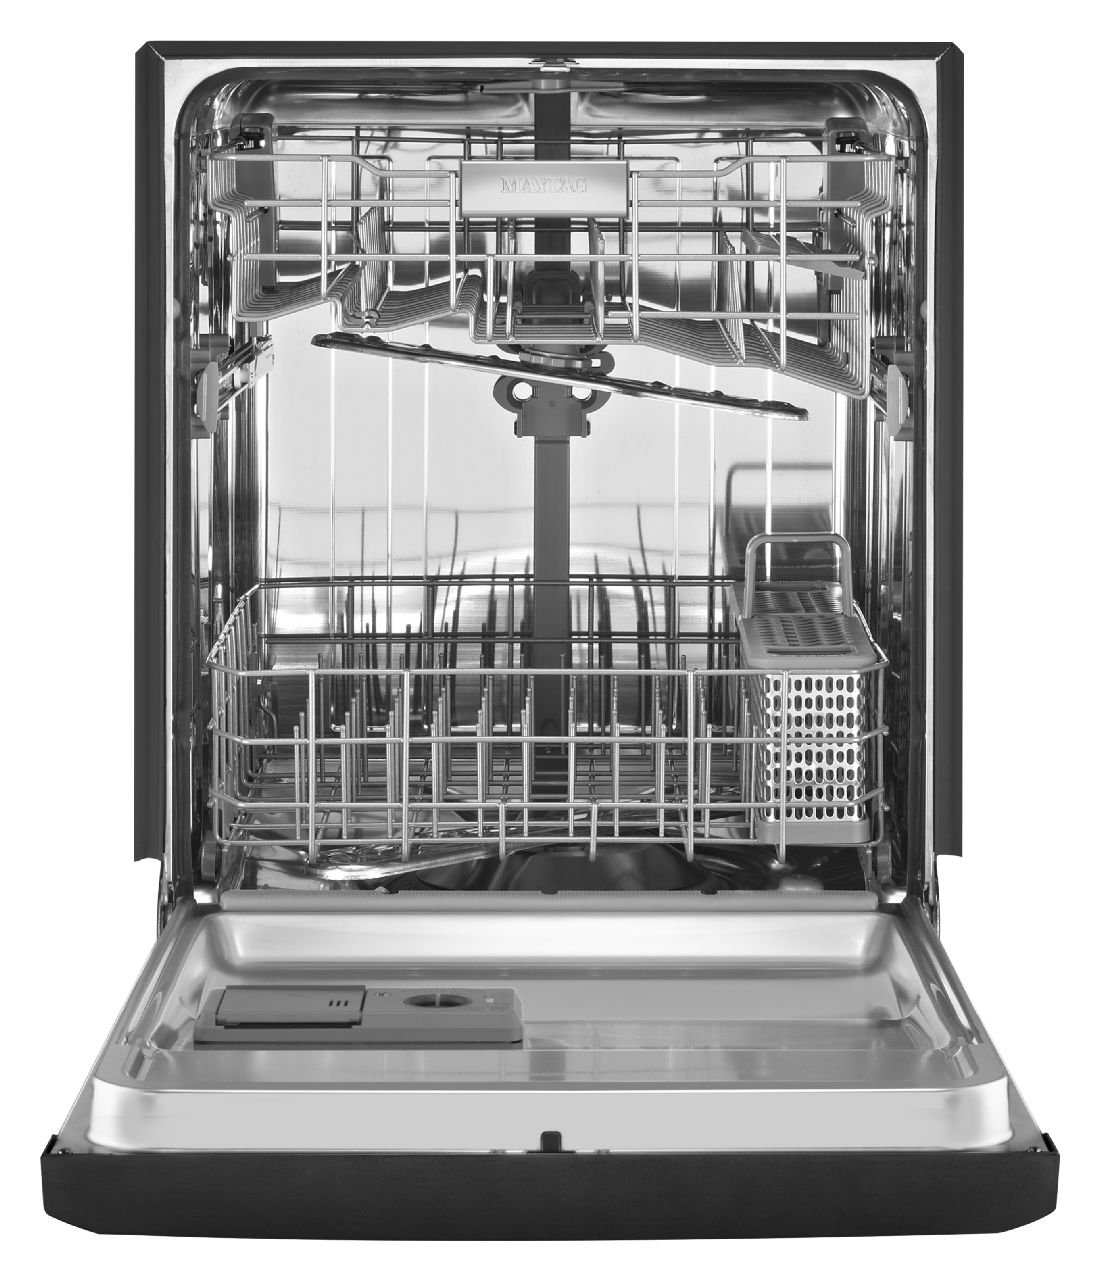
Soap Not Dissolving in Dishwasher

Sep. 29, 2019
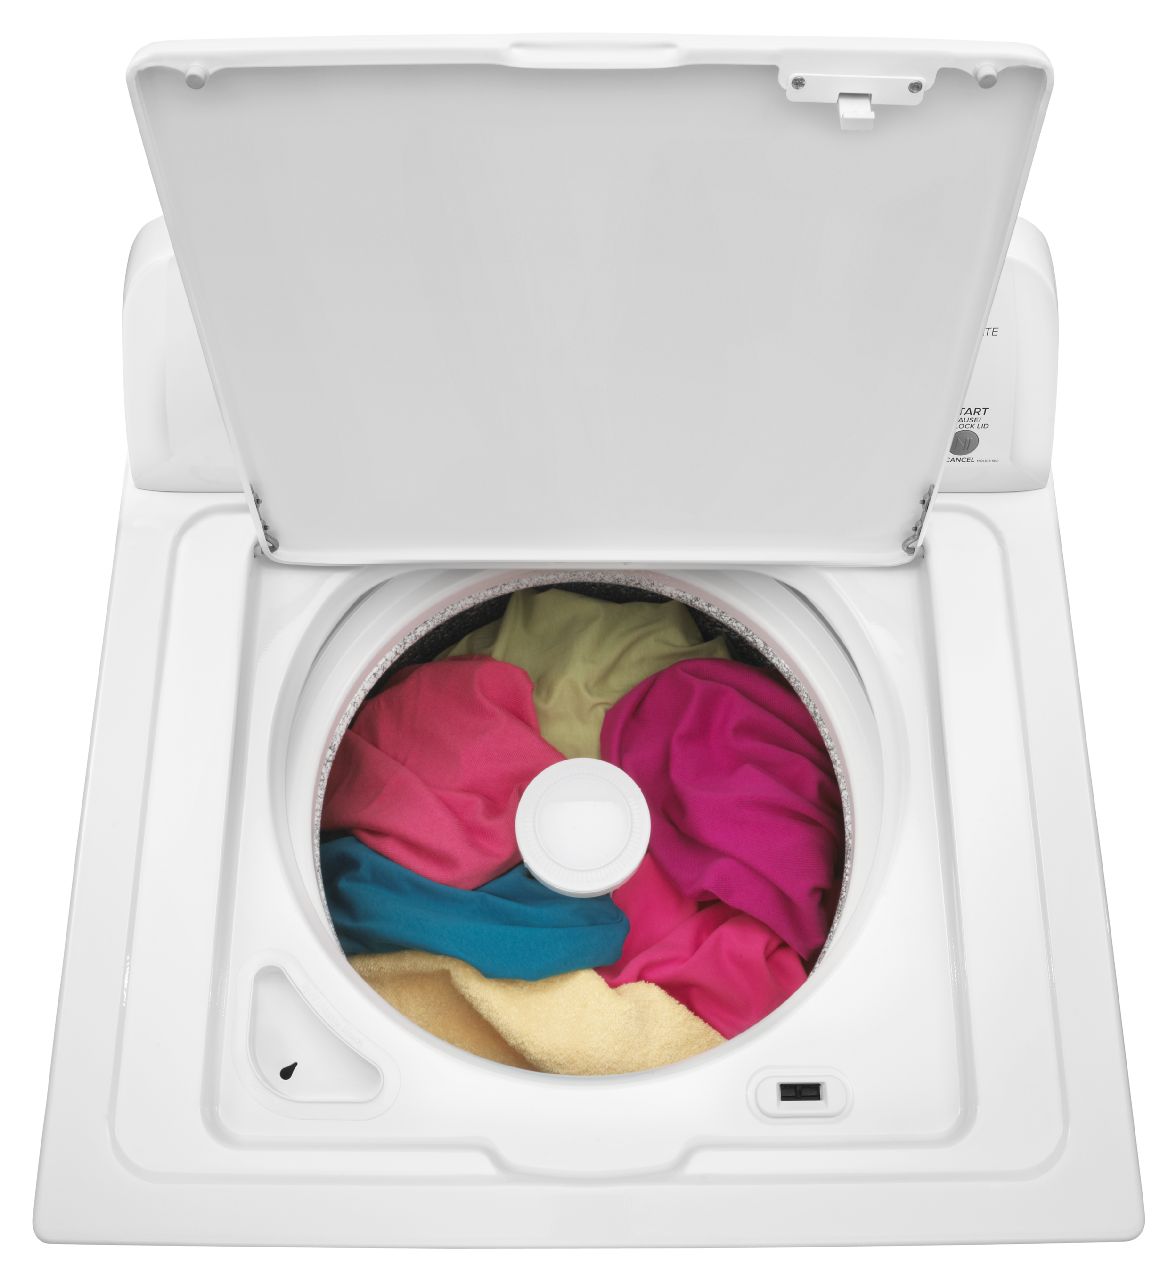
Why Won’t My Washing Machine Stop Spinning?
Sep. 16, 2019
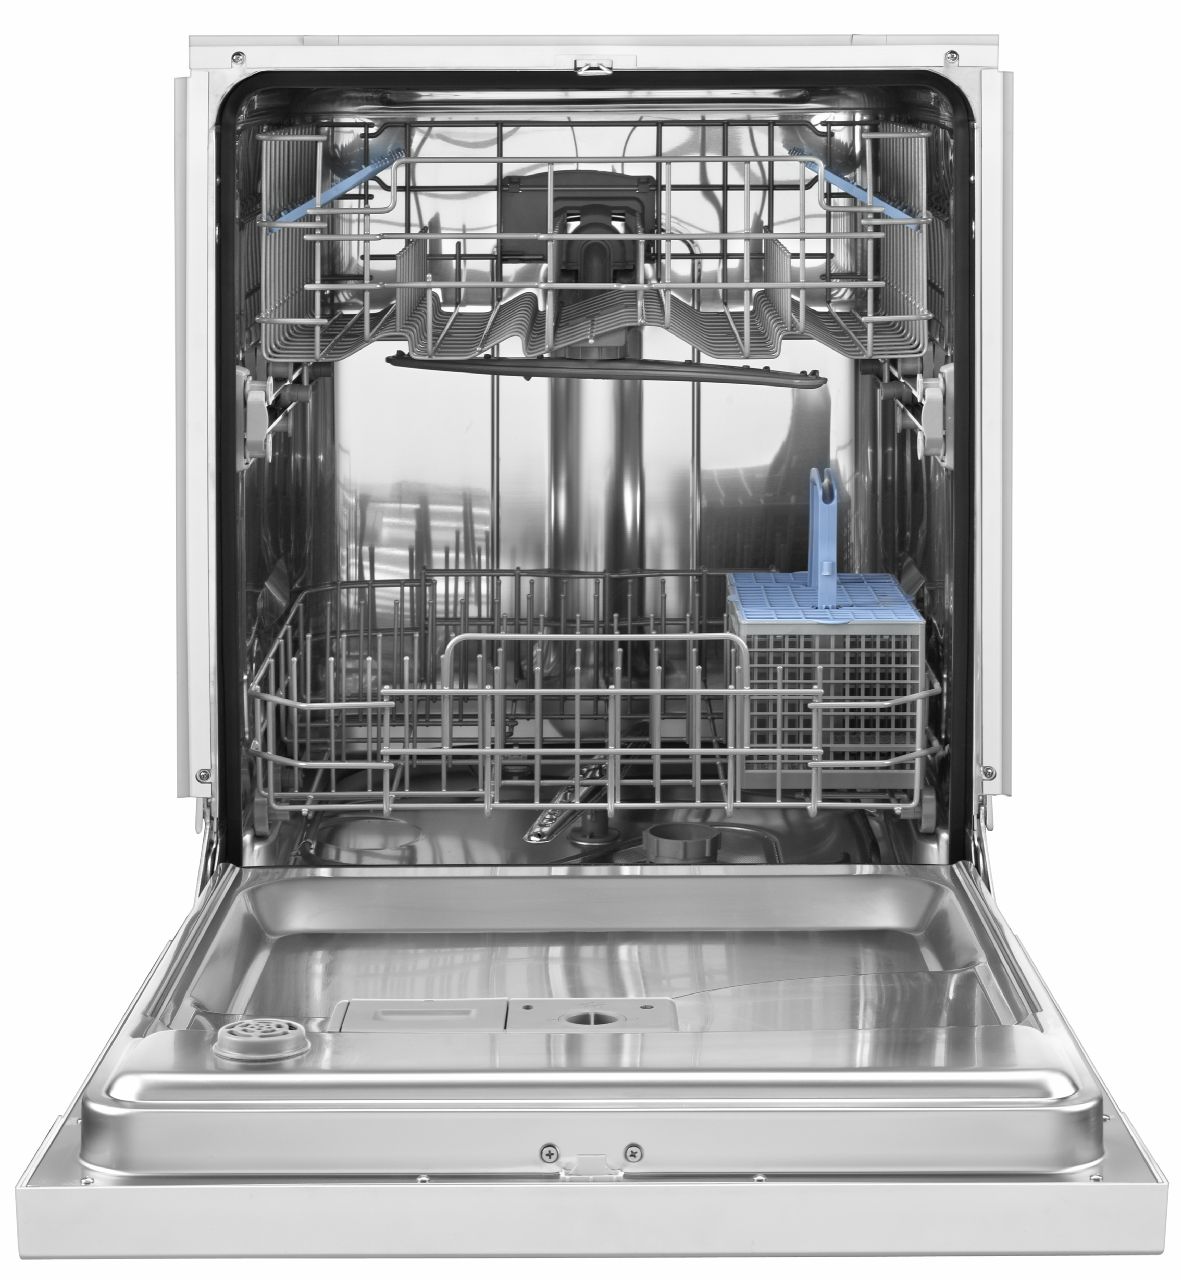
How to Replace the Door Panel on a Dishwasher

Sep. 09, 2019
Samsung Top Load Washer Lid Lock Repair
Aug. 22, 2019
Kenmore and Frigidaire Wall Ovens Recalled

Aug. 16, 2019
What to Do When an Oven Door Will Not Unlock
Aug. 06, 2019
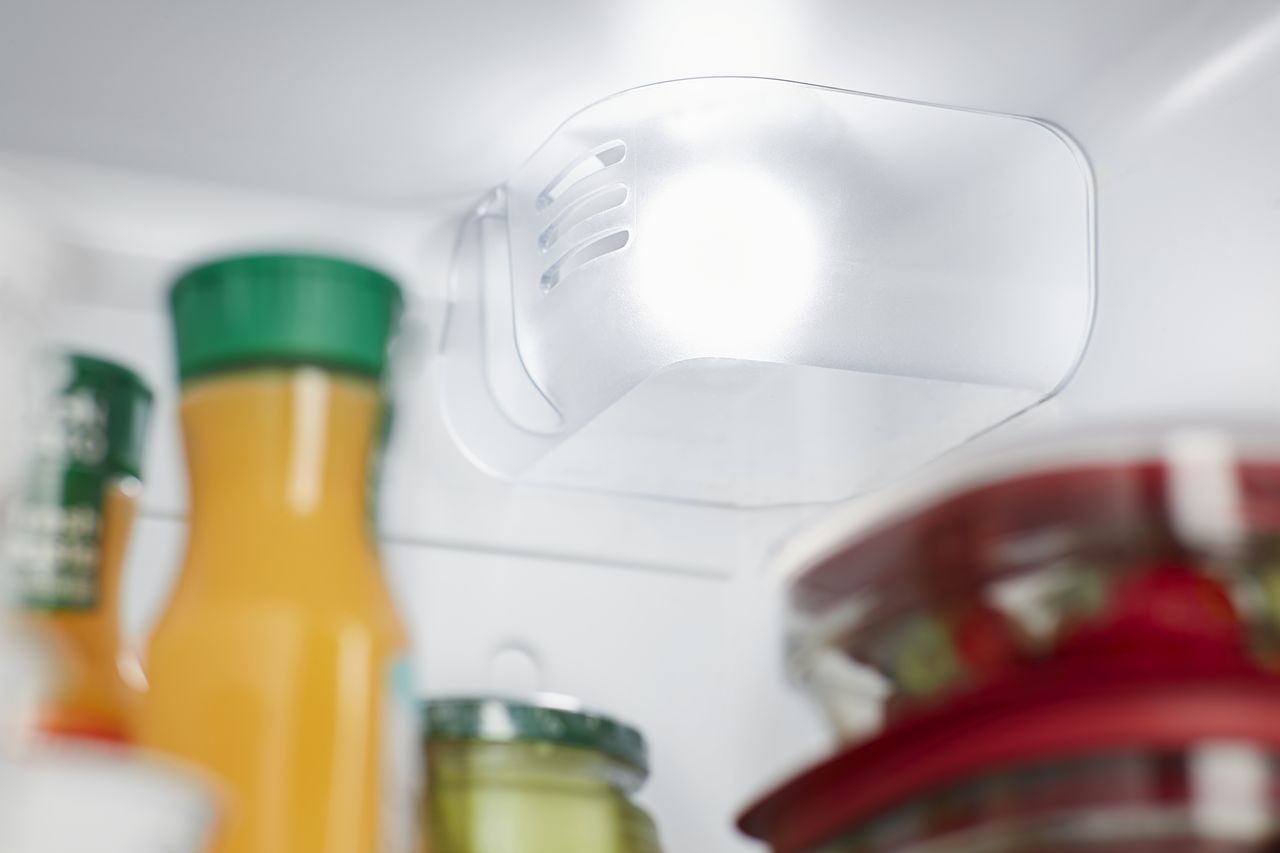
How to Replace a Refrigerator Light

Jul. 29, 2019
Reasons Your Dishwasher Takes Forever to Fill
Jul. 22, 2019
Fixing a Washer That is Not Filling Fast Enough
Jul. 16, 2019
What to Check When The Oven Door Won’t Close
Jun. 27, 2019