

August 13, 2018
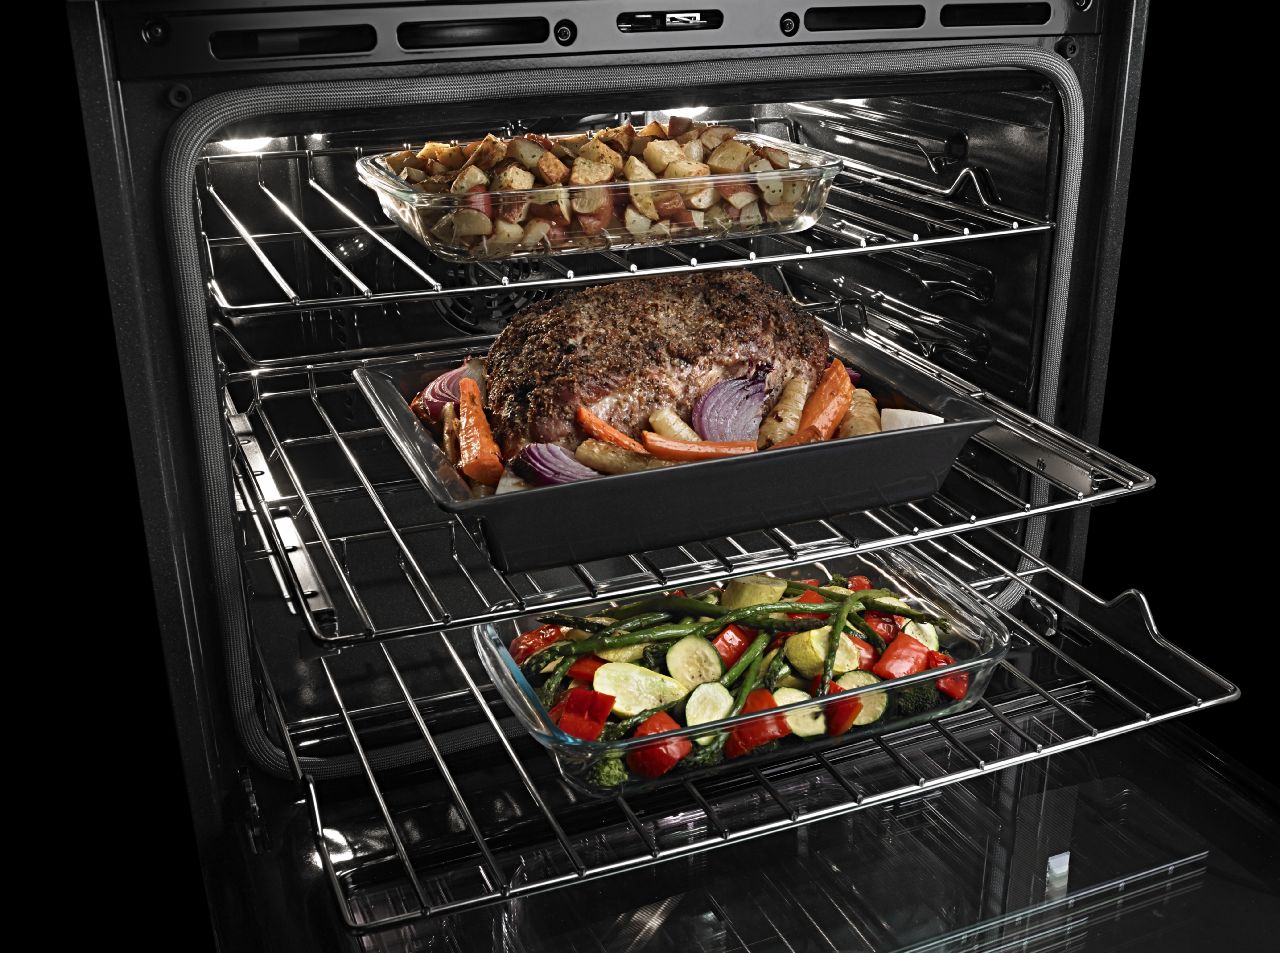
Oven Repair
The seal around the inside of your oven door stops hot air from escaping the appliance. If the seal is damaged or you can feel hot air escaping, it’s time to replace the seal. Order replacement part #WB04T10022 if you have a GE oven. Then follow these steps to replace the part.
1. Unplug the oven before starting the repair.
Even though this repair doesn’t involve directly touching any electrical components, unplugging your appliance should always be your first step.
2. Remove the oven door.
Open the door fully. Use a flathead screwdriver to flip open the door hinge locks. Next, pull the door mostly closed and securely grab the sides of the door. Now you can lift it up and pull it completely free of the appliance.
Set the door down with the inside facing up on a soft surface to protect the glass.
3. Remove the old door seal.
Pull the ends of the seal free from the two slots at the bottom of the door. Then remove the seal. It is secured every few inches by clips. Use a flathead screwdriver to depress each clip and slowly separate the seal from the door interior.
4. Install the new seal.
Set the new seal around the perimeter of the extruding interior edge. Make sure the ends are equal. Then, starting at one end, slide the first end into the slot. Next, start pushing each of the seal’s retainer clips into position around the perimeter of the door. Once you reach the other edge of the door, push the end into the second slot.
5. Reinsert the oven door.
Carefully pick up the door. Slide the hinges into the bottom depressions, then carefully lower the door into a fully open position. Flip the hinge locks closed so they grab onto the door hinges. Then swing the door into a closed position.
If you have more appliance repairs on your to-do list, go to Jerry’s Appliance Repair here. We have procedures, tips, and parts guides to help you get the job done.
Oct. 17, 2019
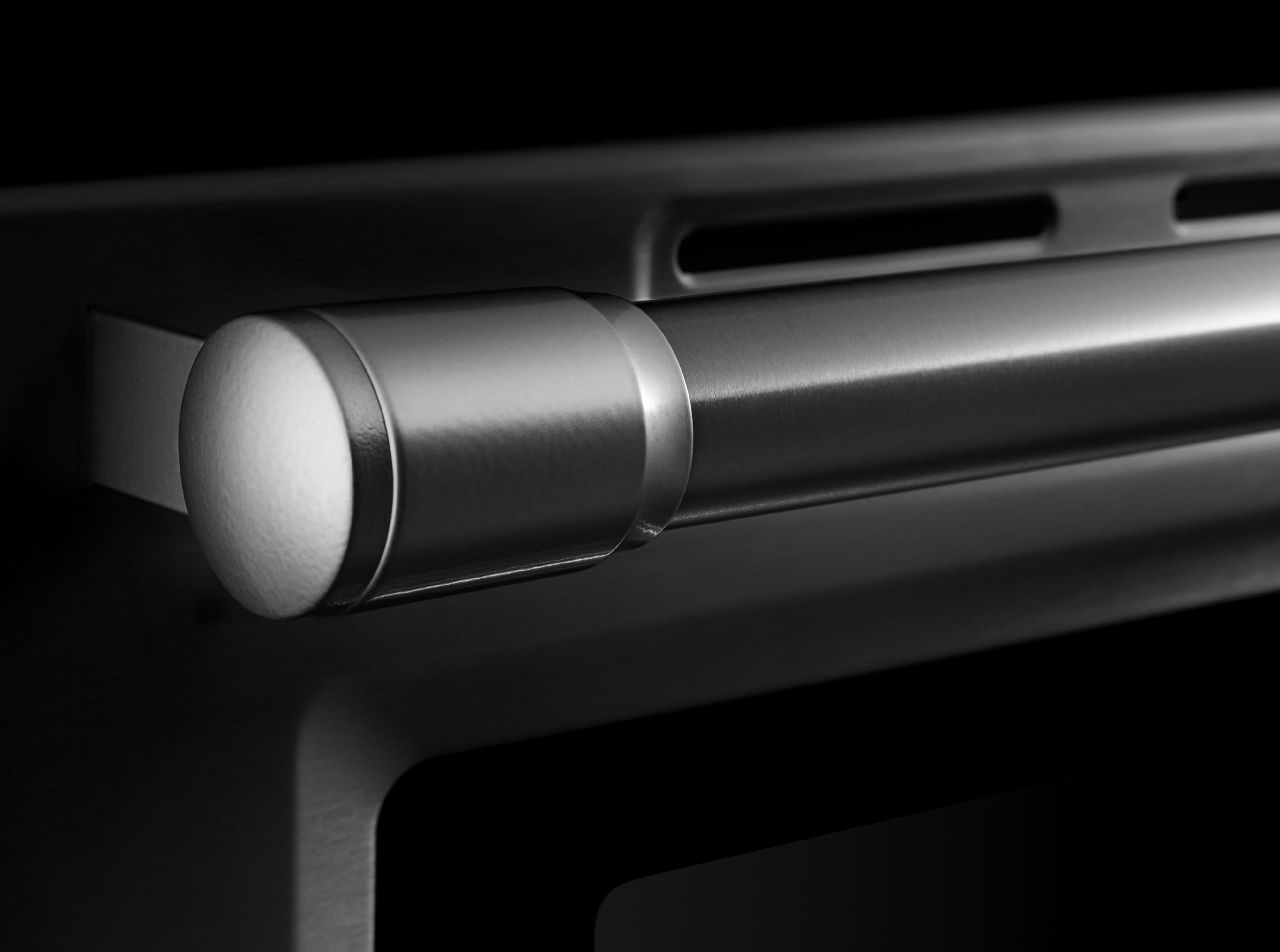
How to Replace the Handle on Your Oven
Oct. 07, 2019
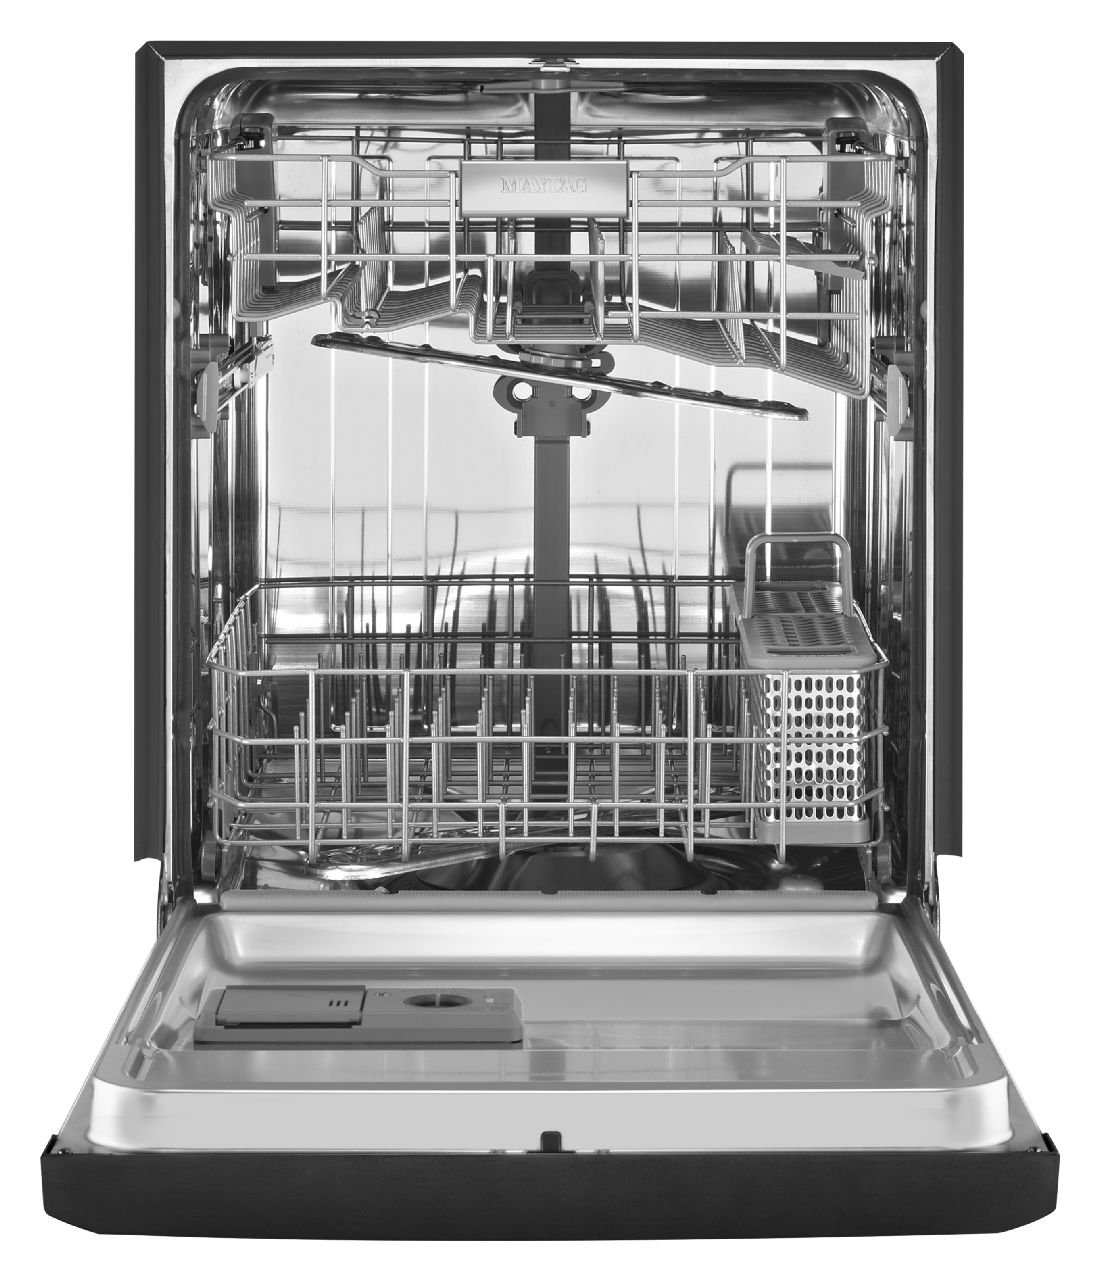
Soap Not Dissolving in Dishwasher
Sep. 29, 2019
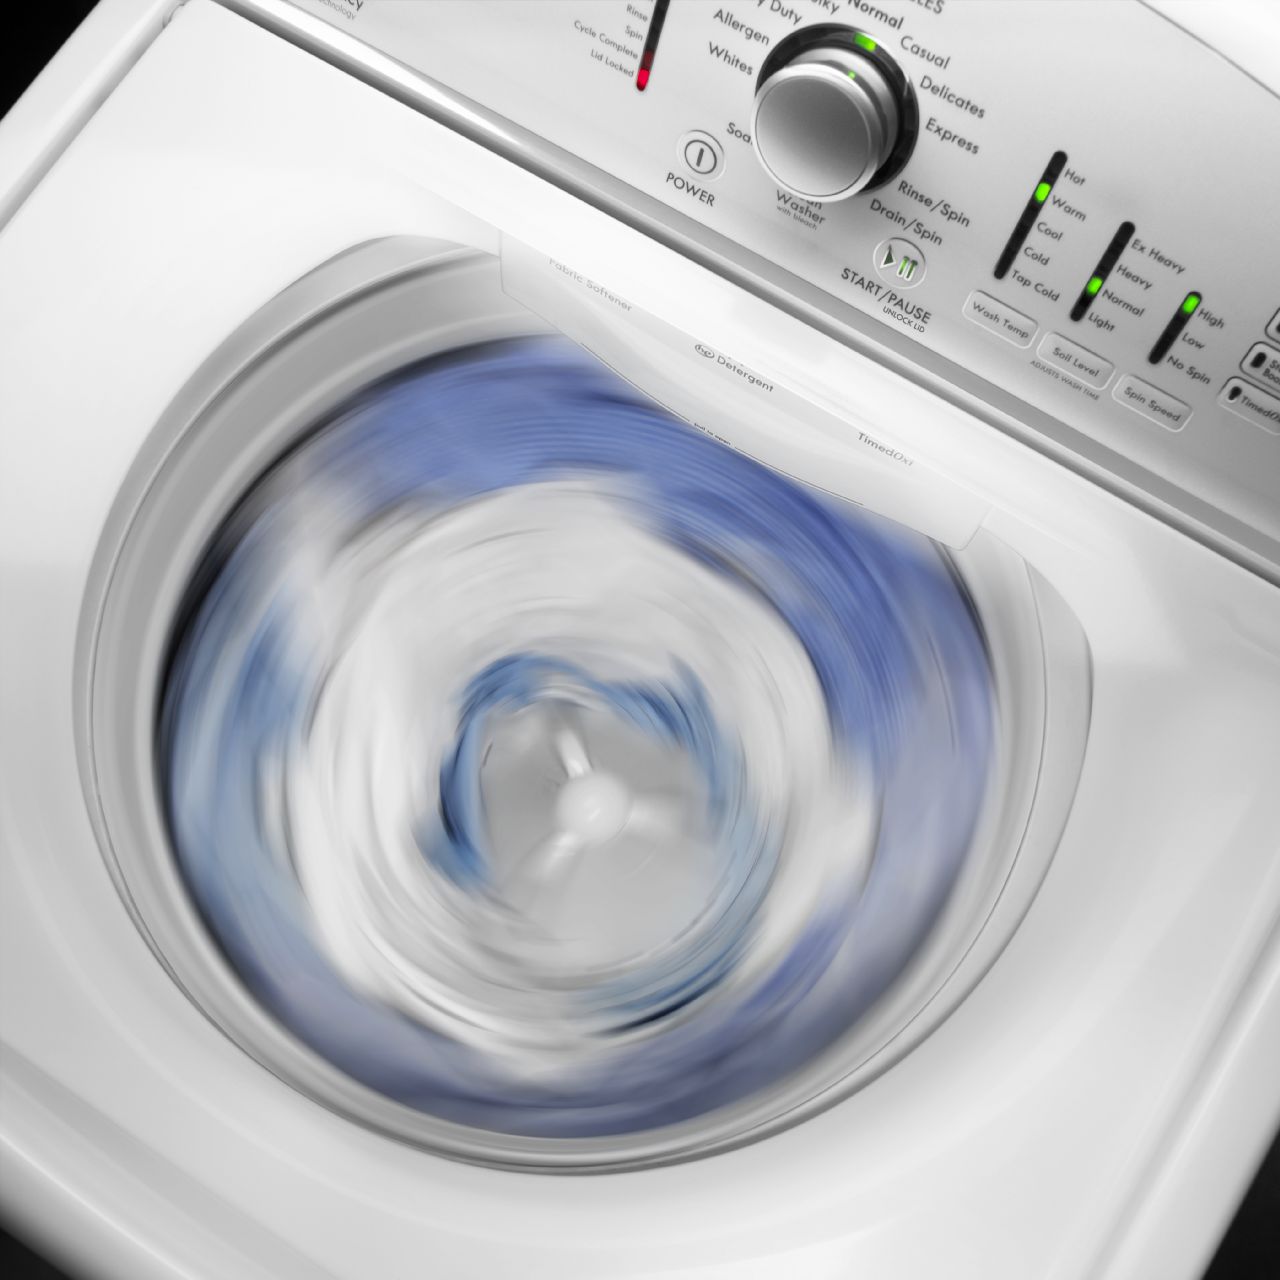
Why Won’t My Washing Machine Stop Spinning?
Sep. 16, 2019
How to Replace the Door Panel on a Dishwasher

Sep. 09, 2019
Samsung Top Load Washer Lid Lock Repair
Aug. 22, 2019
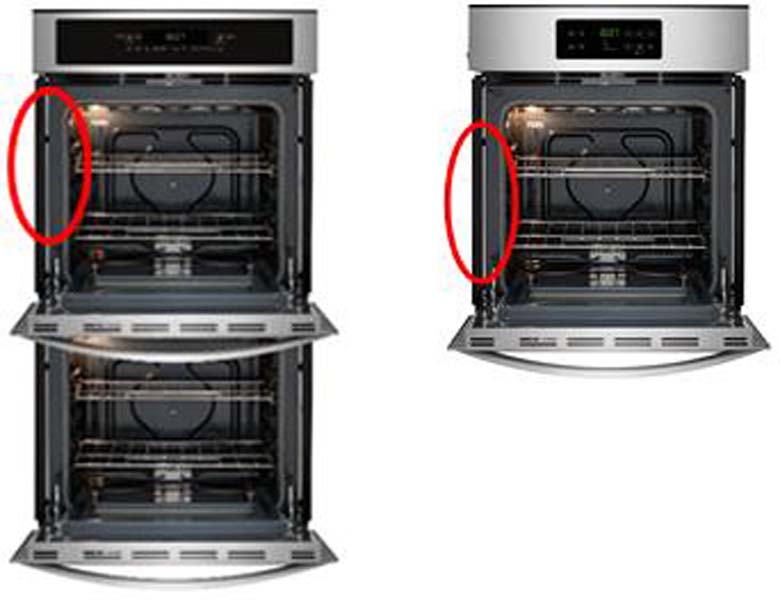
Kenmore and Frigidaire Wall Ovens Recalled
Aug. 16, 2019
What to Do When an Oven Door Will Not Unlock
Aug. 06, 2019
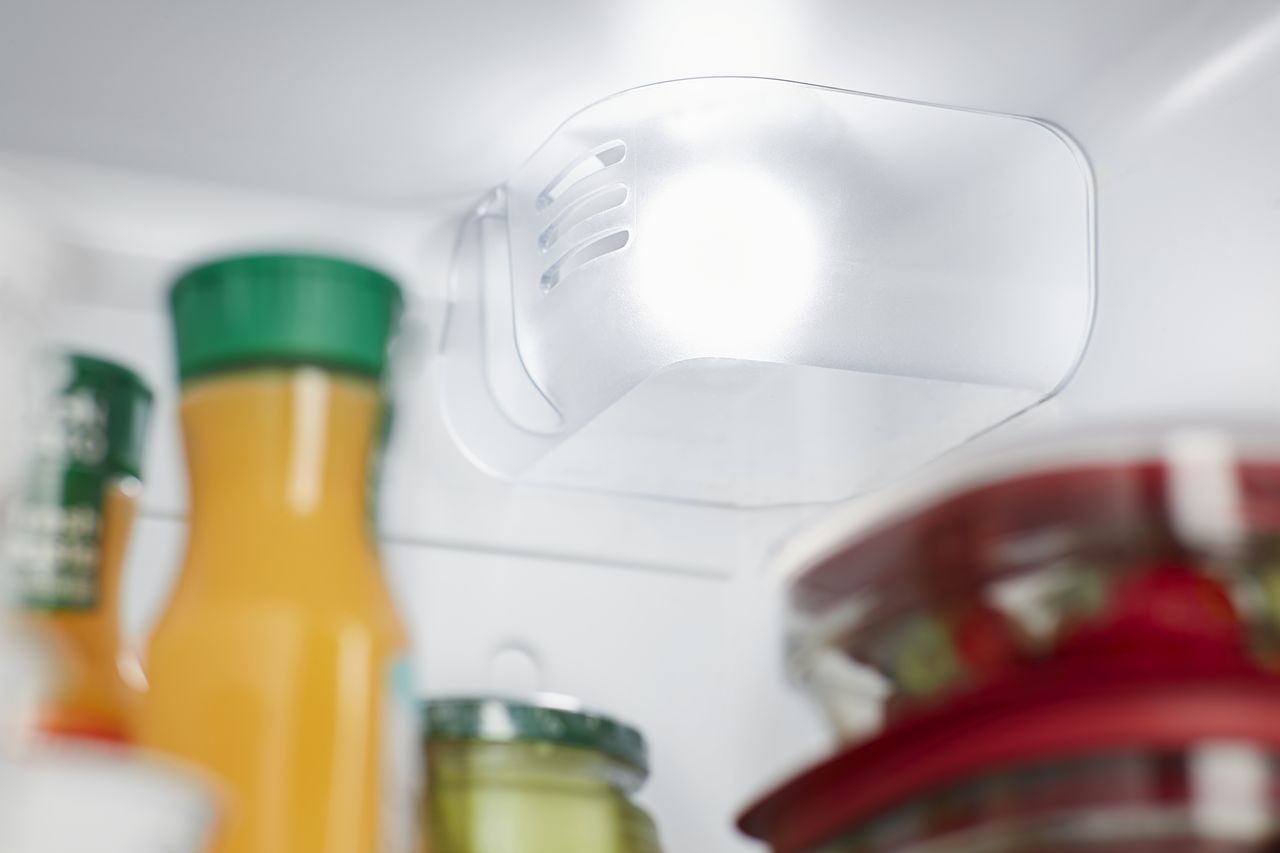
How to Replace a Refrigerator Light

Jul. 29, 2019
Reasons Your Dishwasher Takes Forever to Fill
Jul. 22, 2019
Fixing a Washer That is Not Filling Fast Enough
Jul. 16, 2019
What to Check When The Oven Door Won’t Close
Jun. 27, 2019