

September 20, 2017
Oven Repair
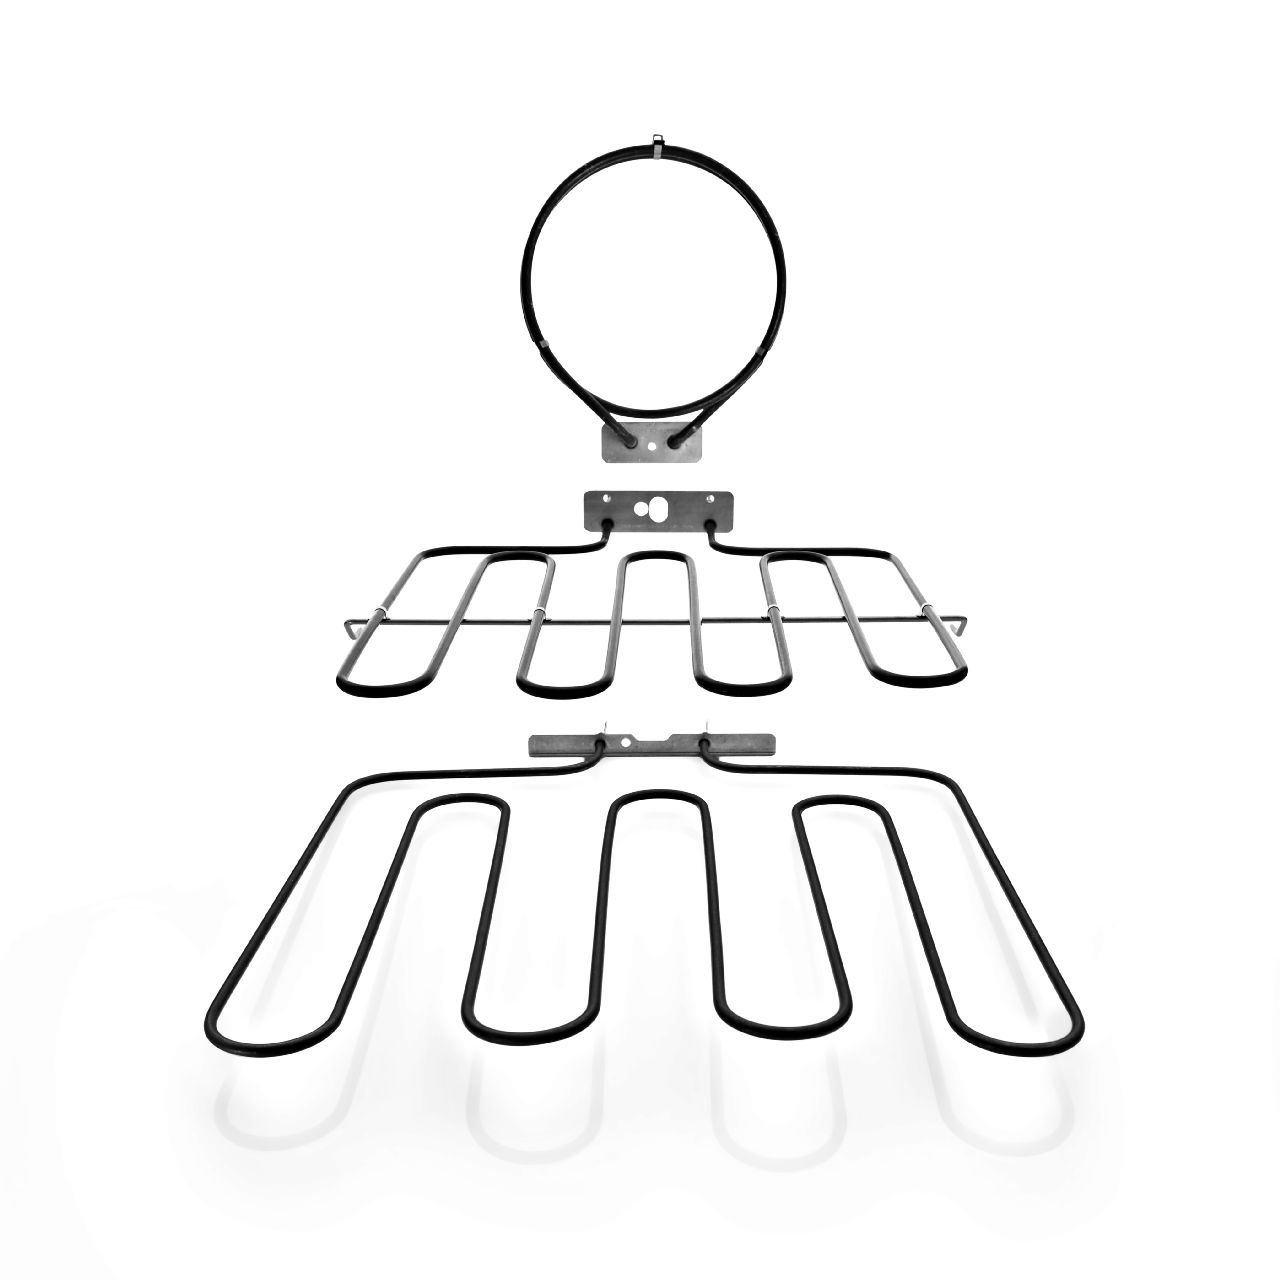
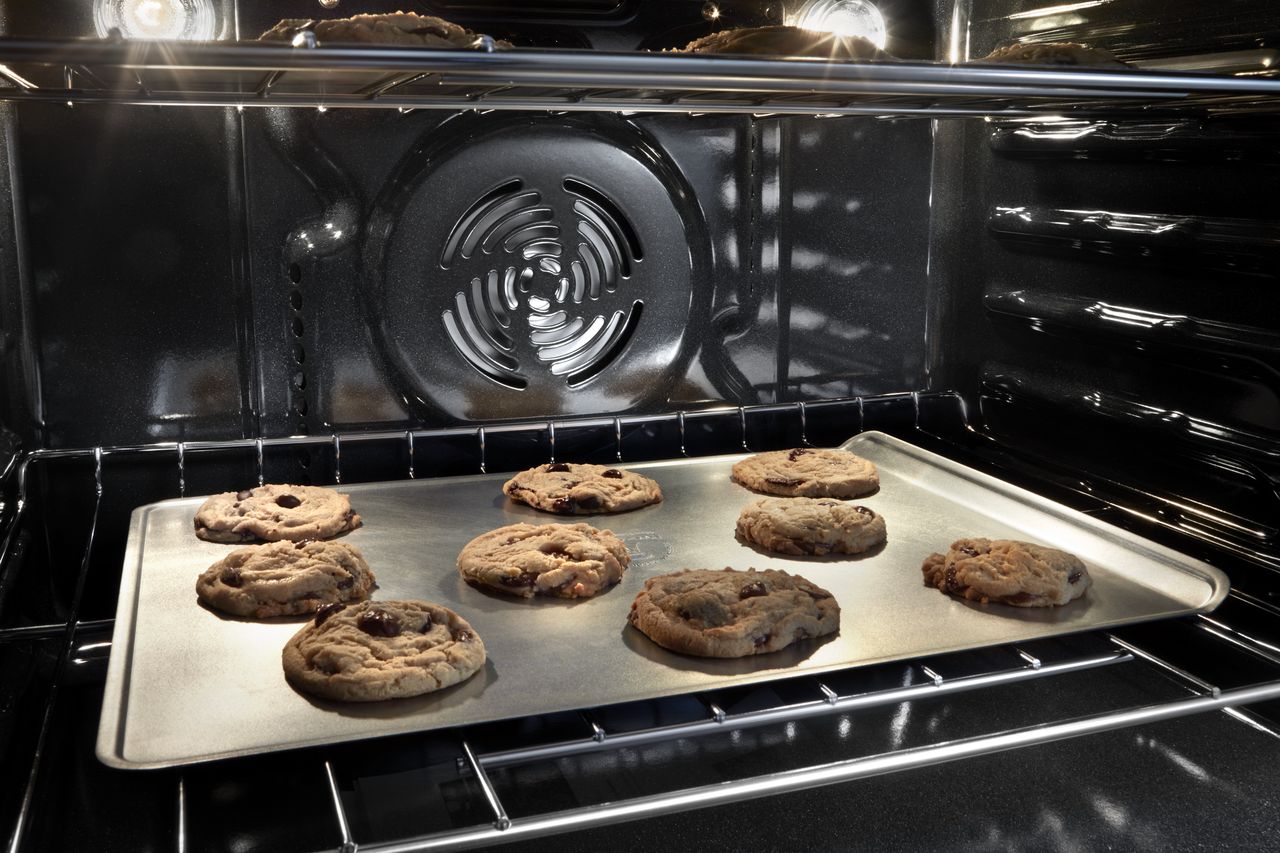
This article will walk you through the steps to repair your GE JBP26G0H3AD oven that is not heating properly. An oven will stop heating properly if the bake element is no longer working. This is how you can replace the bake element.
BEFORE WORKING ON ANY APPLIANCE, BE SURE TO DISCONNECT POWER TO THE PRODUCT. IF YOU CANNOT REACH THE CORD, TURN OFF THE BREAKER.
1. Access the Bake Element
First, remove the racks so that they don’t get in your way. It may be a good idea to clean the racks while you are at it.
2. Remove the Door
Lower the locks on the hinge to allow removal of the oven door. Pull up gently on the oven door when it is in a slightly open position. Beware that removing the door will expose sharp edges.
3. Protect the Door
Use a blanket to place the oven door on. It will protect the door and the floor from any unnecessary damage.
4. Remove the Bake Element
Using a screwdriver, remove the two 1/4 inch screws that hold the bake element in place against the back wall of the oven. Gently pull to bring the element slightly out of the back wall of the oven. You’ll see two more 1/4 inch screws that attach the element to the oven. Remove these, as well.
5. Replace the Bake Element
You must purchase a new bake element. Install the new element by first screwing the two 1/4 in screws into the connectors to the wires. Then gently push the end of the element back into the wall, and use the other two 1/4 inch screws that come with the bake element to screw it into the back wall of the oven.
For expert help with this repair, or other home appliance repair in the greater Indianapolis area, contact Jerry’s Appliance Repair.
Oct. 17, 2019
How to Replace the Handle on Your Oven
Oct. 07, 2019
Soap Not Dissolving in Dishwasher
Sep. 29, 2019
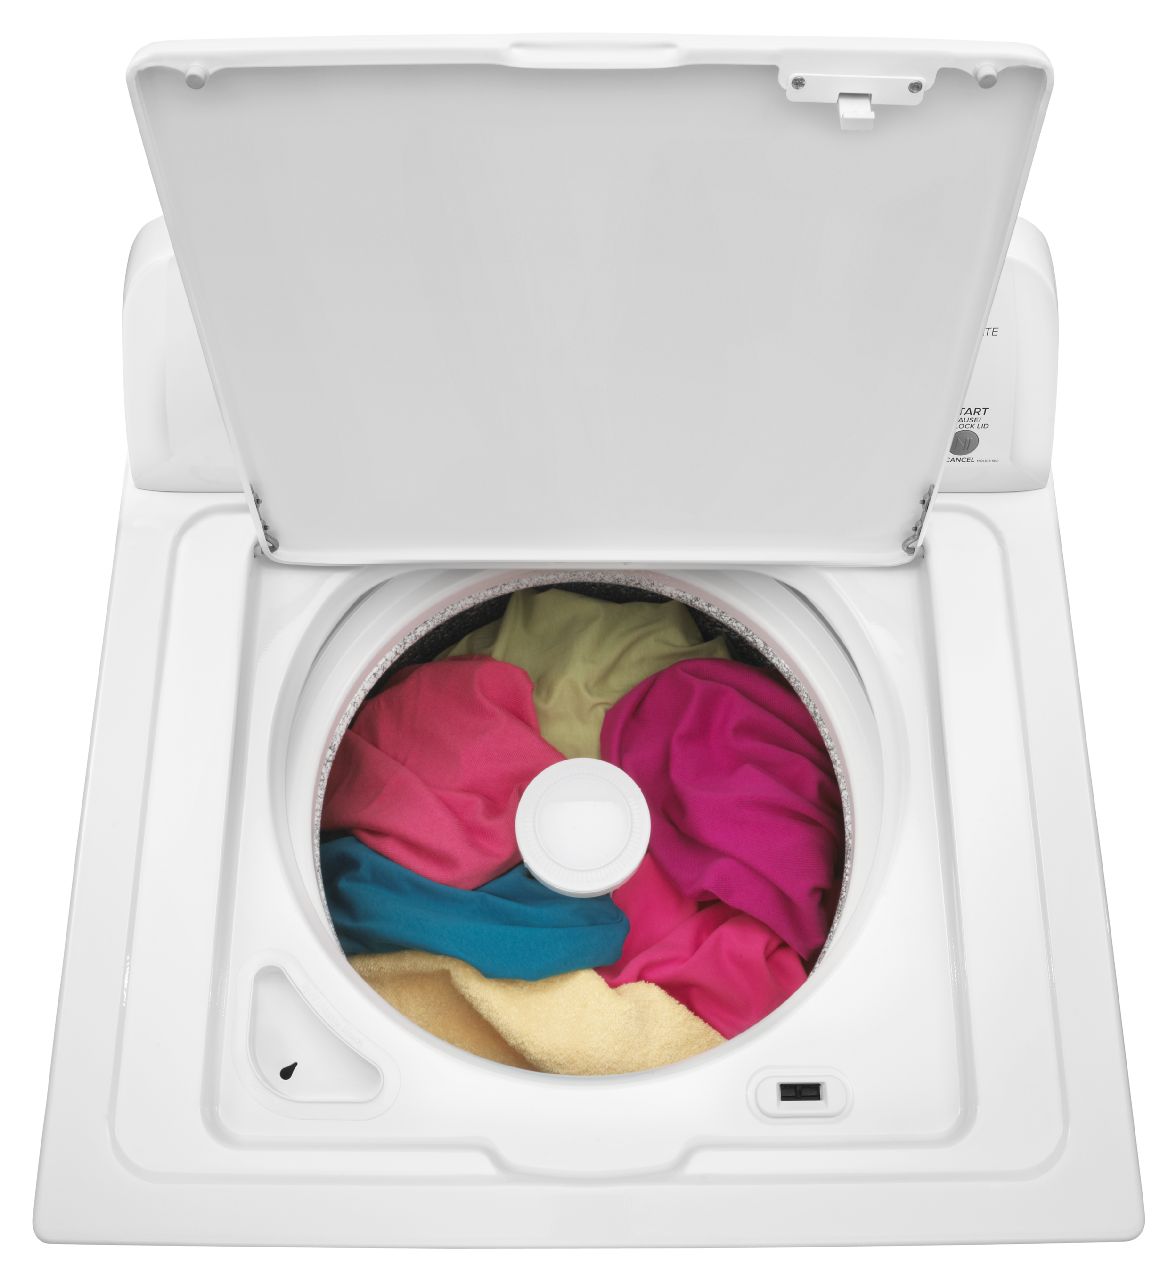
Why Won’t My Washing Machine Stop Spinning?
Sep. 16, 2019
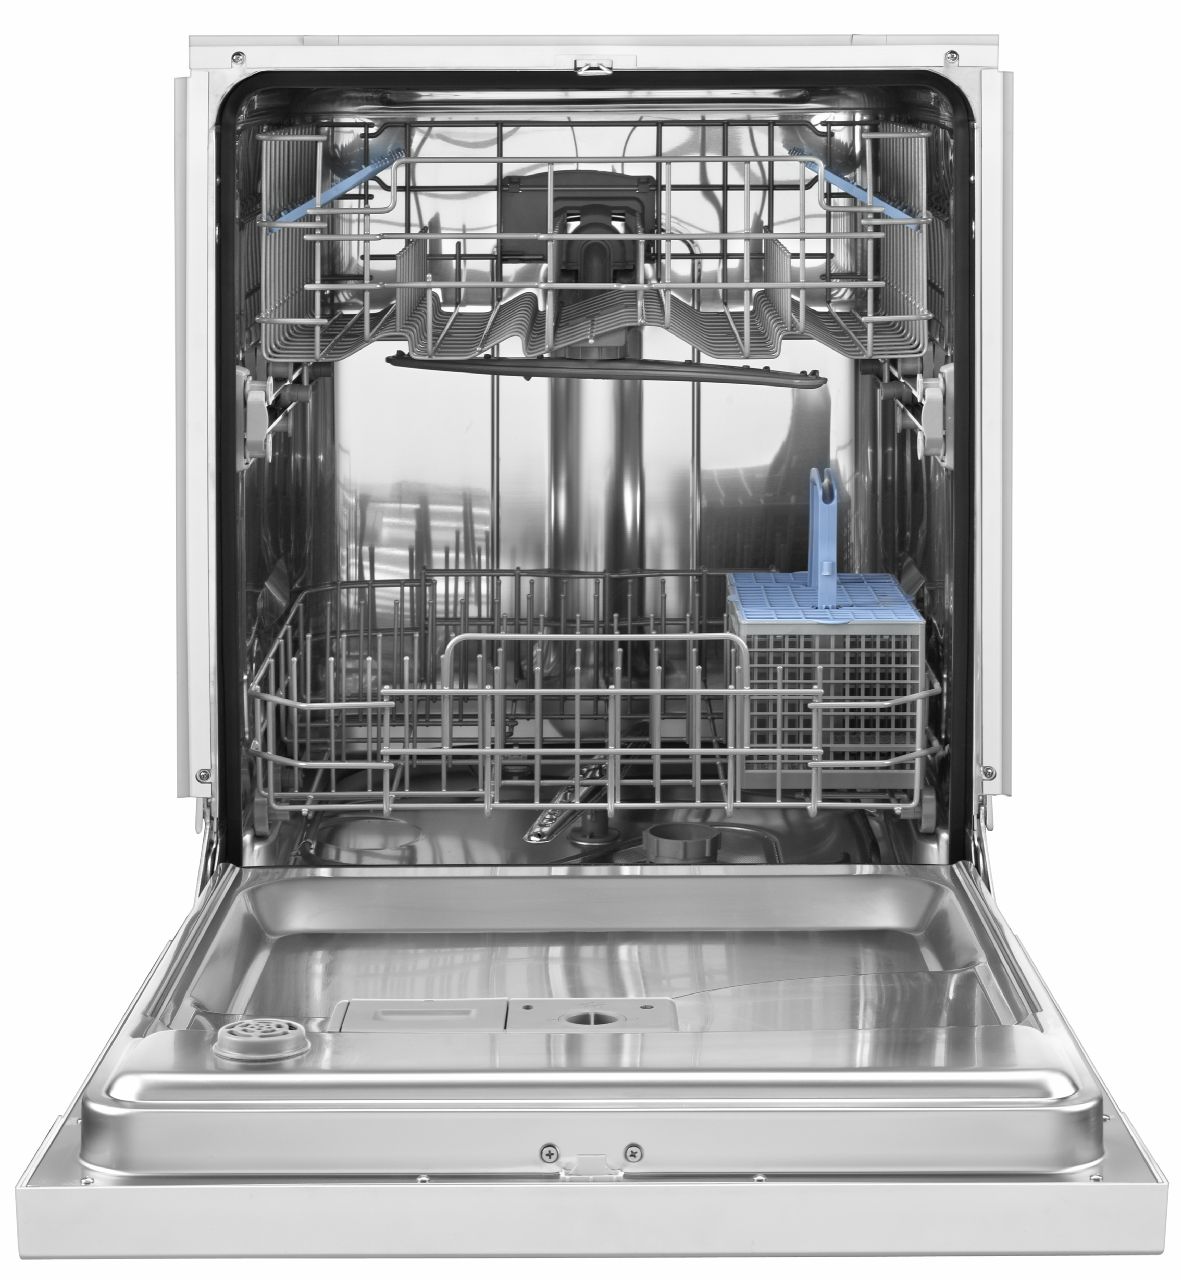
How to Replace the Door Panel on a Dishwasher

Sep. 09, 2019
Samsung Top Load Washer Lid Lock Repair
Aug. 22, 2019
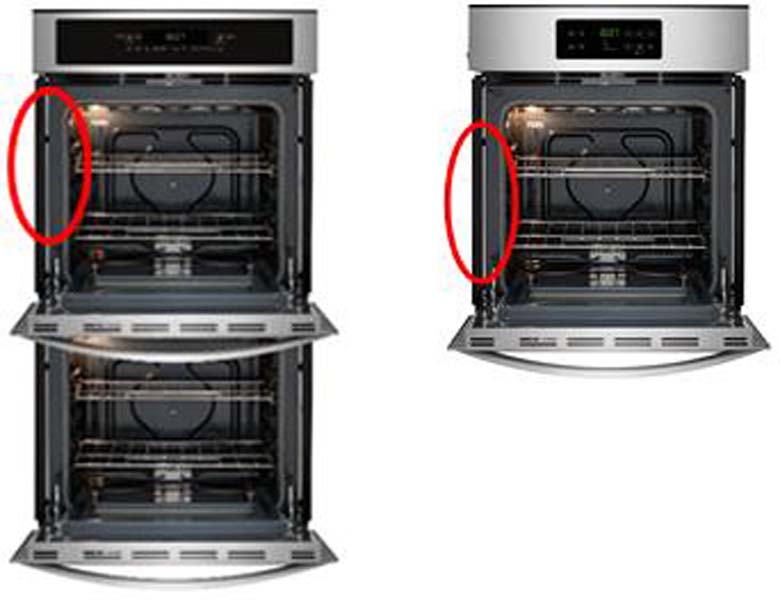
Kenmore and Frigidaire Wall Ovens Recalled
Aug. 16, 2019
What to Do When an Oven Door Will Not Unlock
Aug. 06, 2019
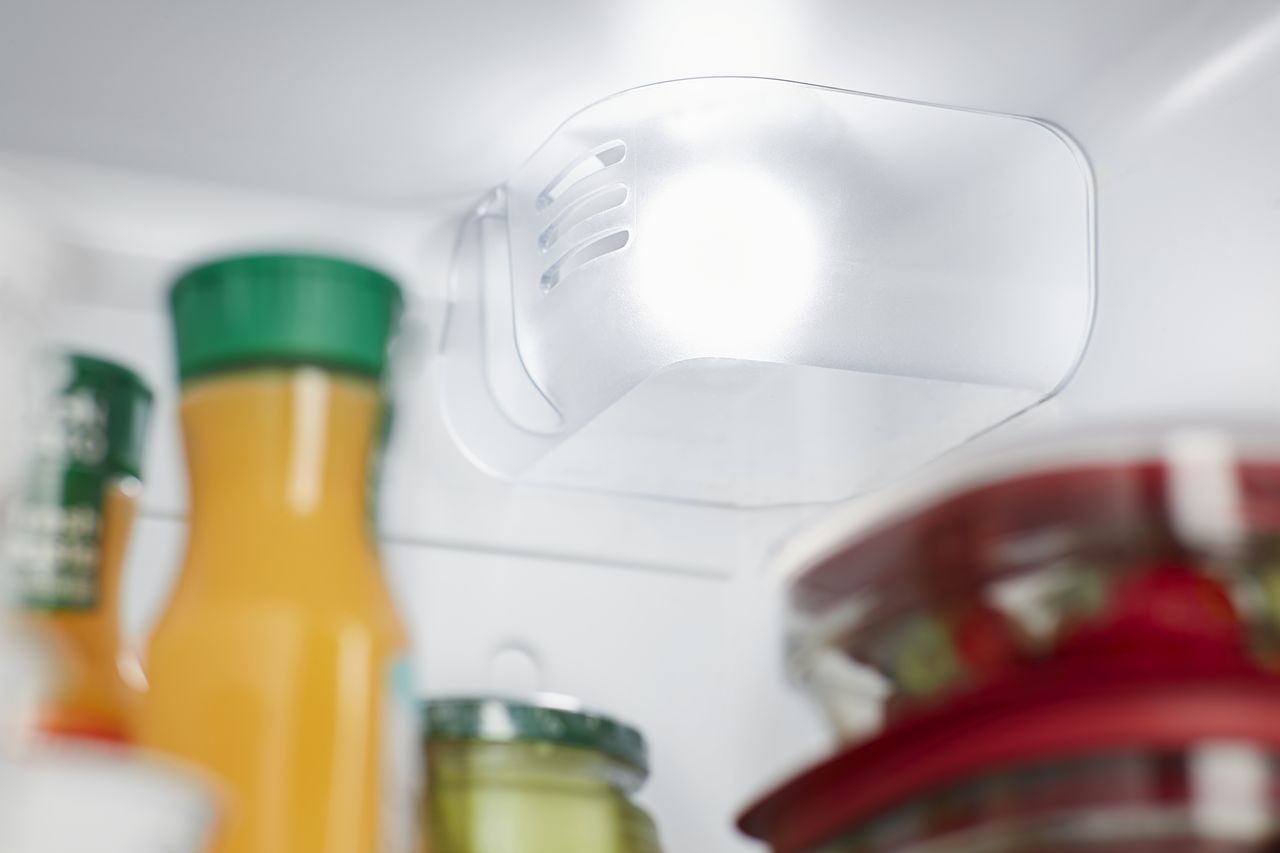
How to Replace a Refrigerator Light

Jul. 29, 2019
Reasons Your Dishwasher Takes Forever to Fill
Jul. 22, 2019
Fixing a Washer That is Not Filling Fast Enough
Jul. 16, 2019
What to Check When The Oven Door Won’t Close
Jun. 27, 2019